Total build time: 273 hours.
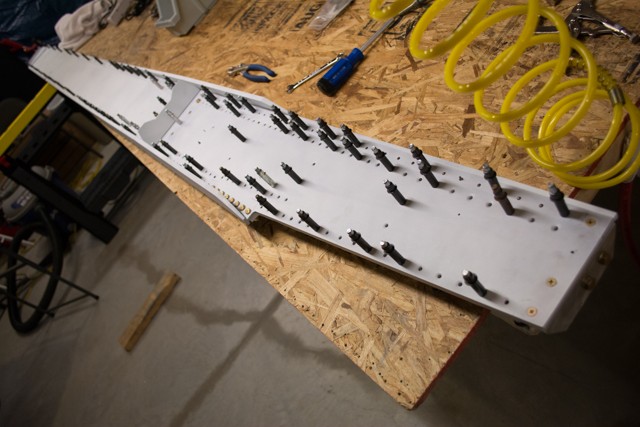
The primer is dry and it’s time to start the final assembly of the left main wing spar. Solid rivets!
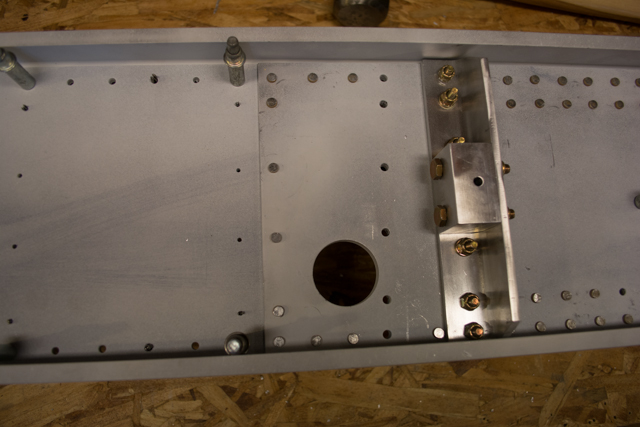
In the picture above you can see most of those angle components that I fabricated earlier. They really help make the root of the spar extremely strong.
For installing all of the flush rivets and most of the hard to access rivets, I used the Sonex hammer and bolt method. It’s hard grunt work, but it works. Here’s the lowdown:
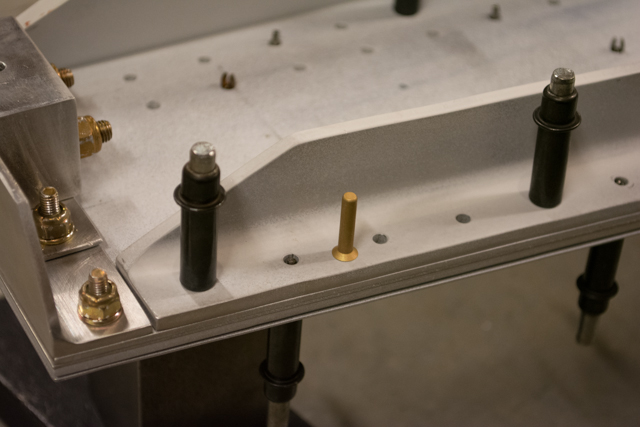
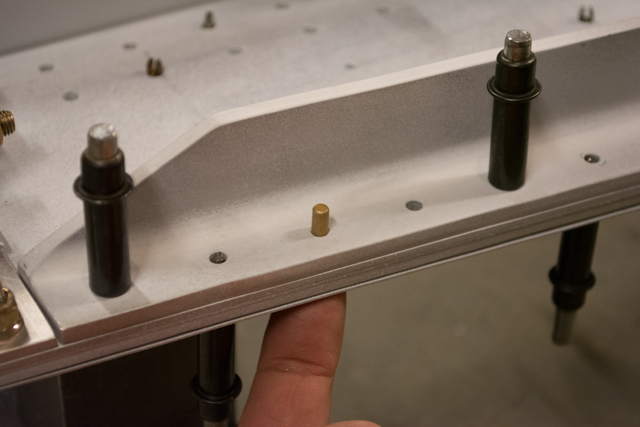
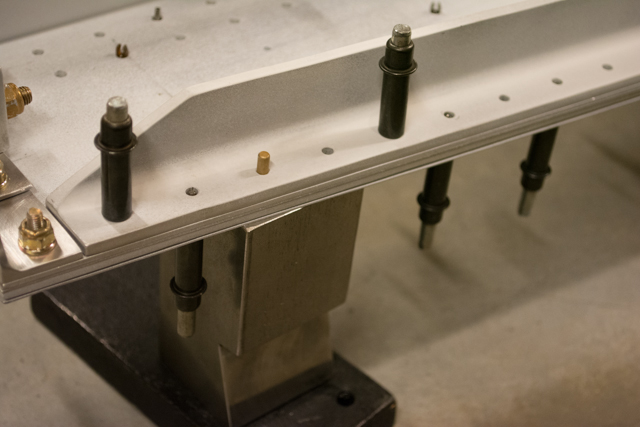
1) Position the spar with the bucking bar underneath on a hard sturdy surface (an arbor plate on concrete works well.)
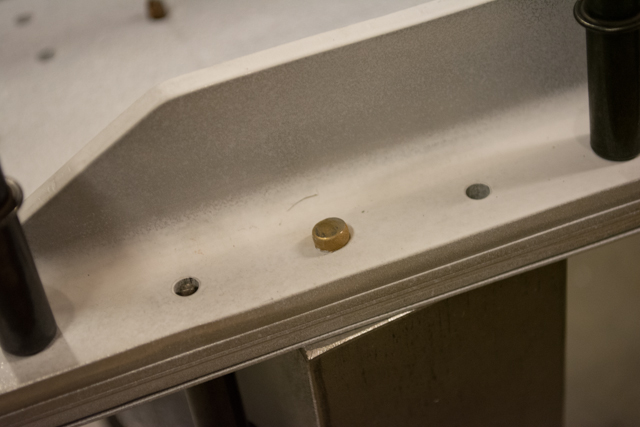
2) Use the proper rivet for the hole. This is a flush rivet, and it will be pressed into a countersunk hole from the bottom side.
3) Position the bucking bar under the rivet head.
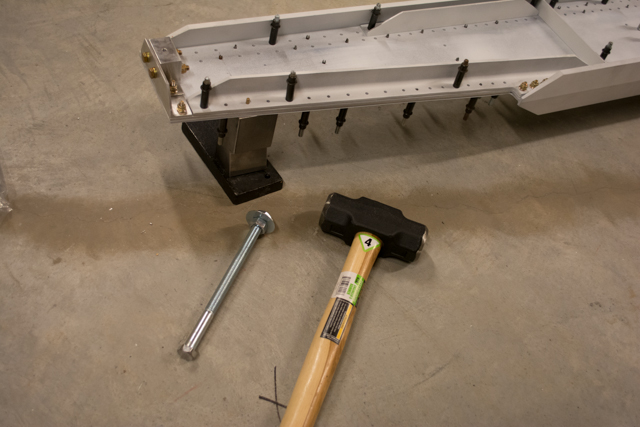
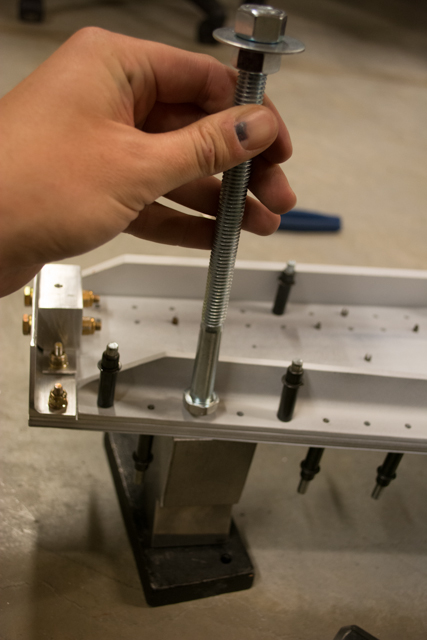
Get your $1.50 home depot polished bolt and 4lb sledge hammer ready.
4) Position the bolt on the shop head of the rivet and bash it several times with your Big Ass Hammer.
5) Admire your handywork.
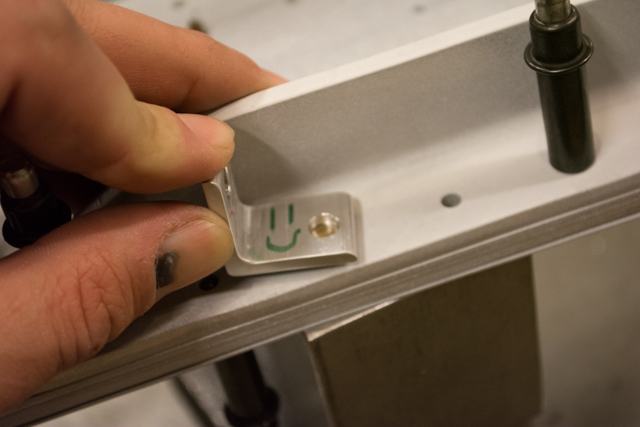
6) Check your rivet with a rivet gauge. Basically you want to make sure that the rivet head has been sufficiently pounded into submission, but not overly squashed. To do this, earlier I made precision rivet gauge with 2 holes in it.
The rivet should be sufficiently “squashed” so that it does NOT fit through the happy hole, like so:
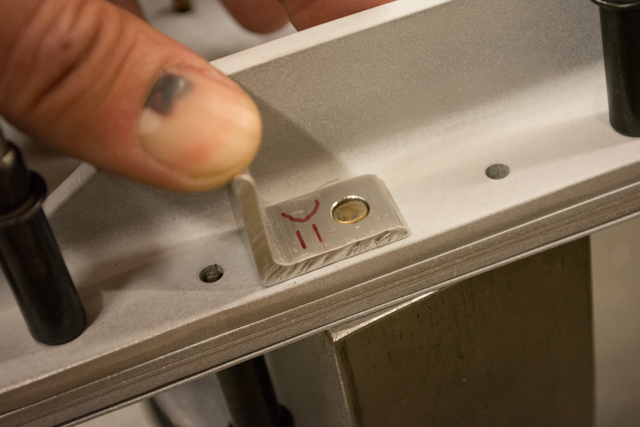
So far it’s a happy hole, it didn’t fit. However I also want to check that it wasn’t OVERLY squashed, so my gauge had another hole…
Hooray! The hole fit inside the sad hole, meaning it wasn’t squashed too flat. A good rivet!
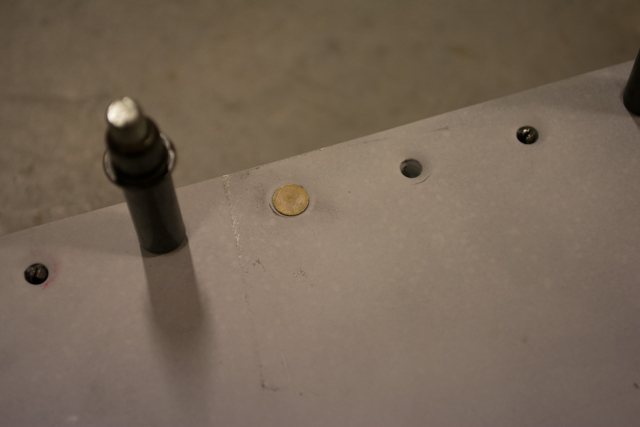
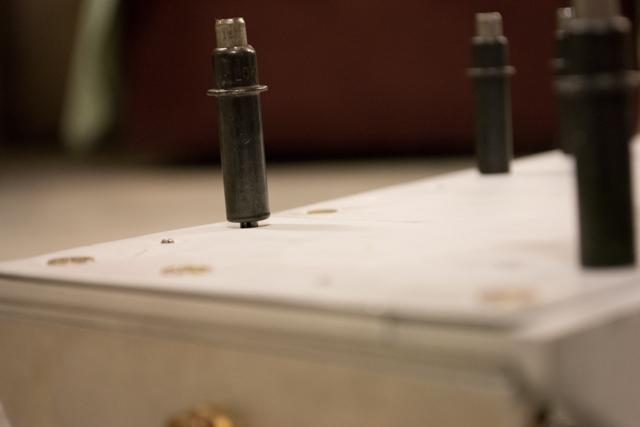
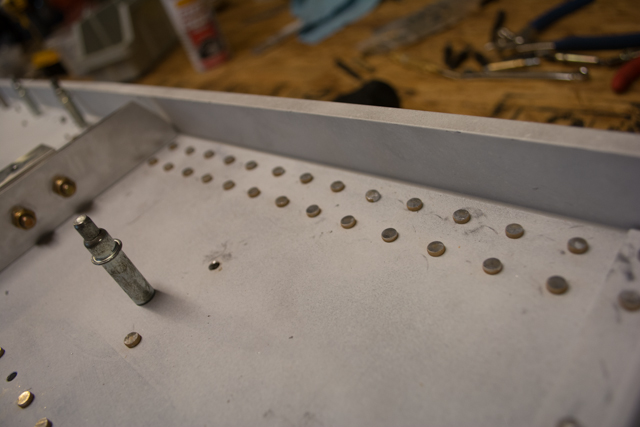
Here is a look at the other side of the flush rivet. Notice that the entire area around and including the flush rivet remains flat.
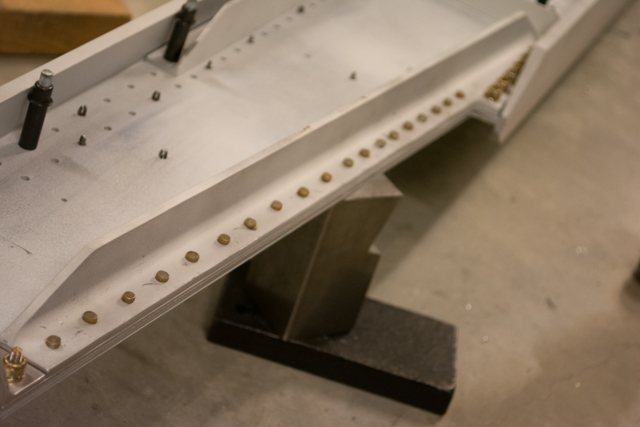
More happy rivets:
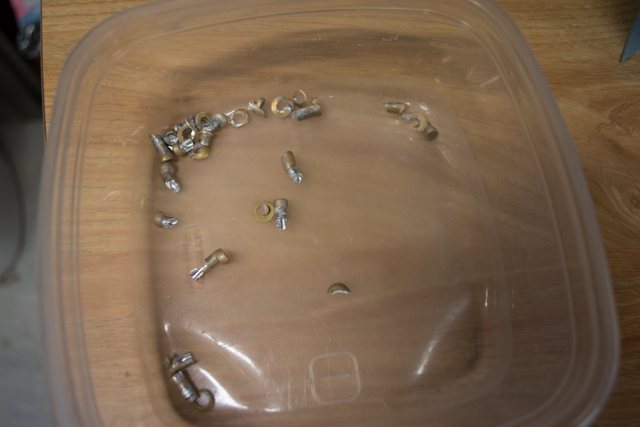
I did have my fair share of rivets that didn’t pass the happy test. These rivets had to be drilled out and replaced. Here are some sad rivets.
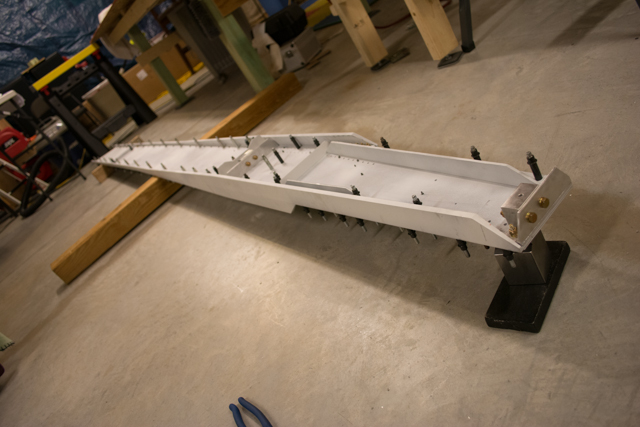
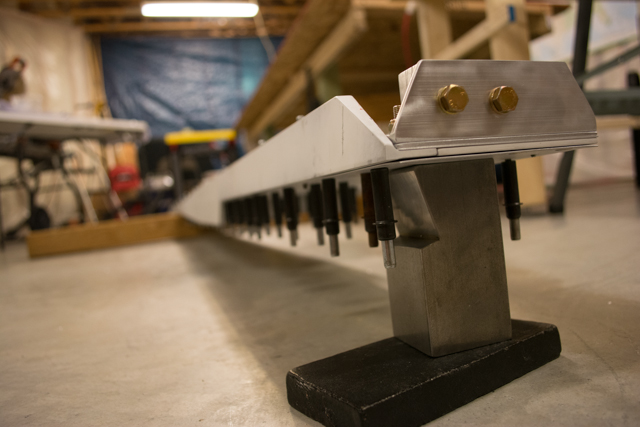
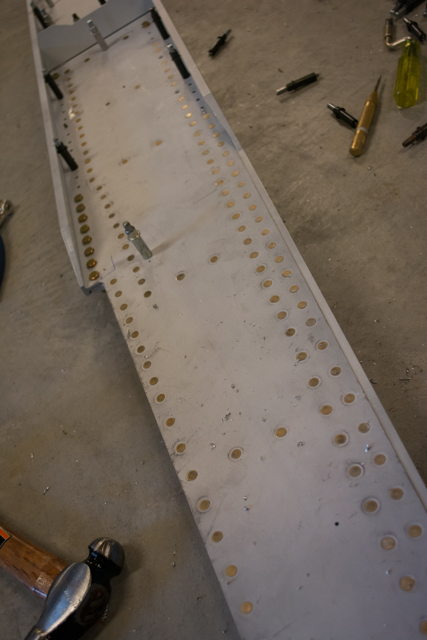
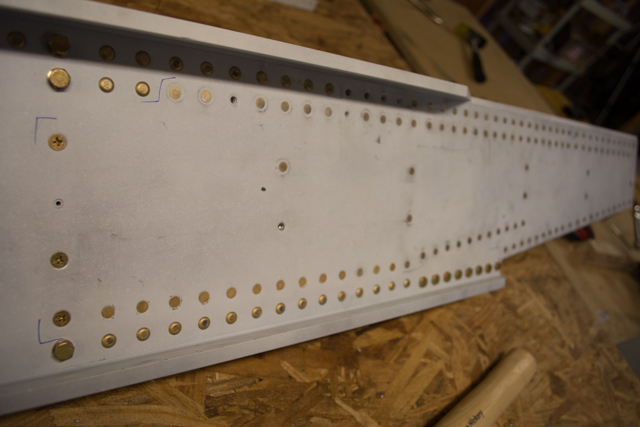
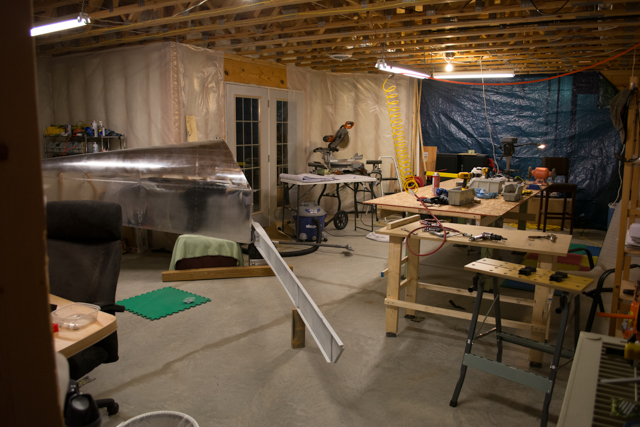
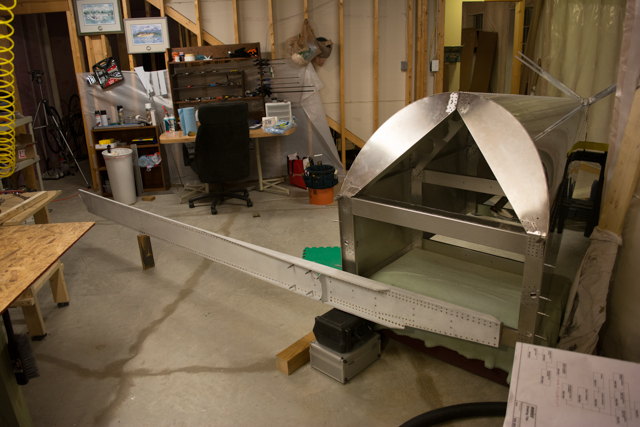
After a lot of whacking with a hammer and a bit of help from an air hammer with rivet sets, the left spar is complete. Make no mistake, this is serious grunt work, 8 hours on your knees pounding with a huge hammer. I placed the completed spar next to my aft fuselage to give an idea of placement, although this placement is off by several feet and the wrong side of the plane.
I did learn a small side benefit of the priming I did on the spar… the solid riveting involves a lot of knocking around, hammer swinging and whatnot. The primer made it very easy to tell where i might have marred or scratched areas of the spar so I could correct any issues before calling the job done.


One Response to Wing Spars #3 (Riveting Left Spar)