Total Build Time: 296 Hours.
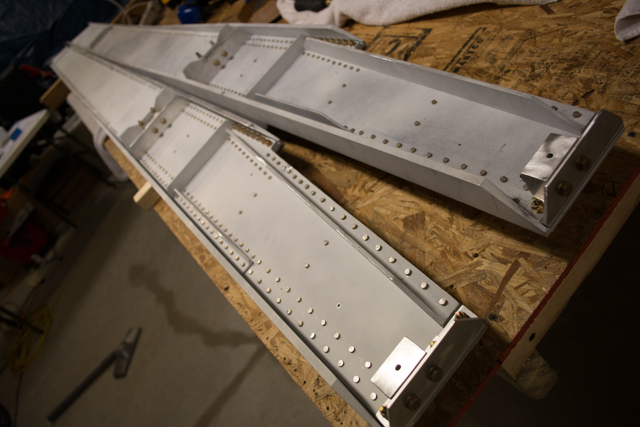
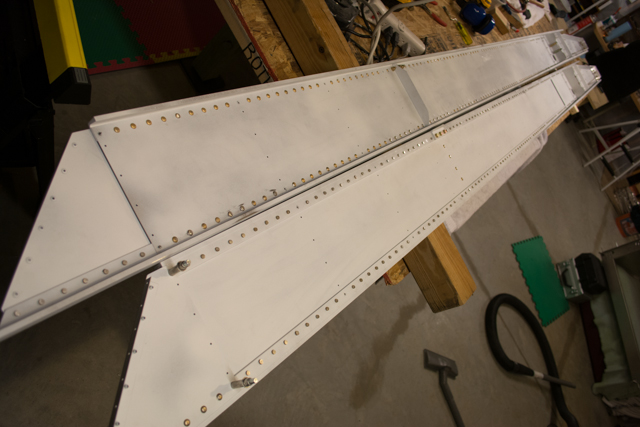
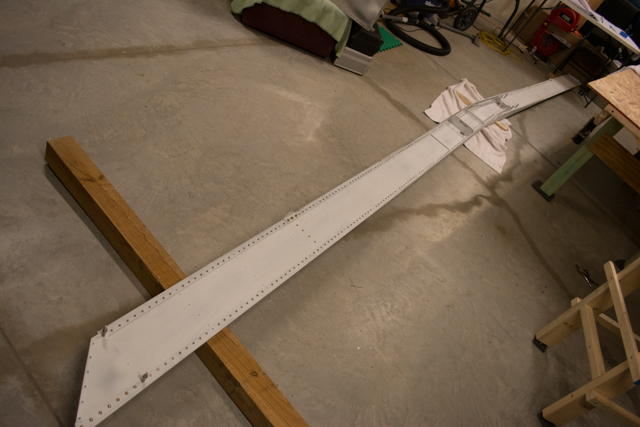
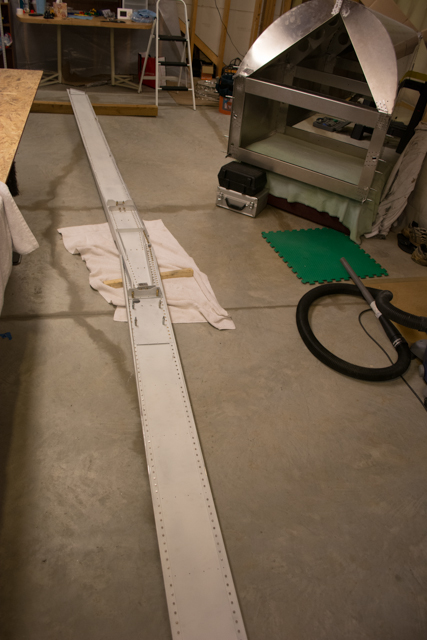
Completing my wing spars ranks right up there with completing the turtledeck and seeing the entire aft fuselage come together. So much time put into working the same looking hard-to-work-with parts, it’s easy to lose track of progress and get frustrated in the process. It was with great satisfaction that I finished both wing spars.
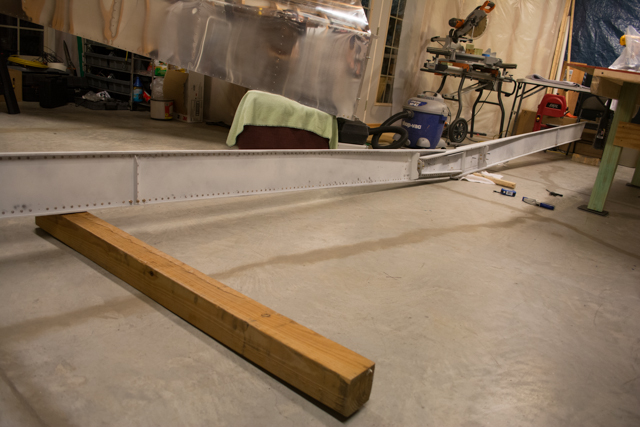
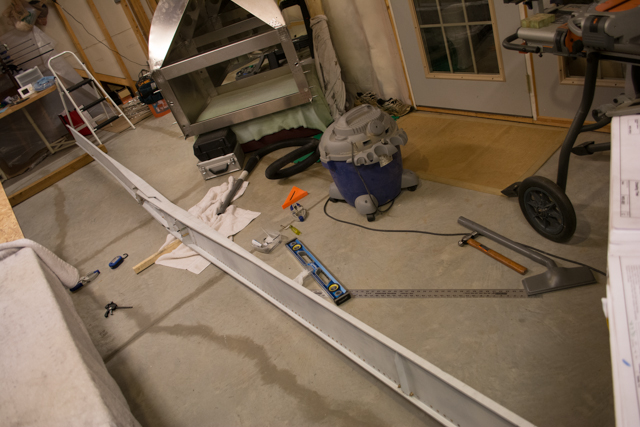
With the 2 spars complete, there now had to be a mating process (G rated) to align and connect them.
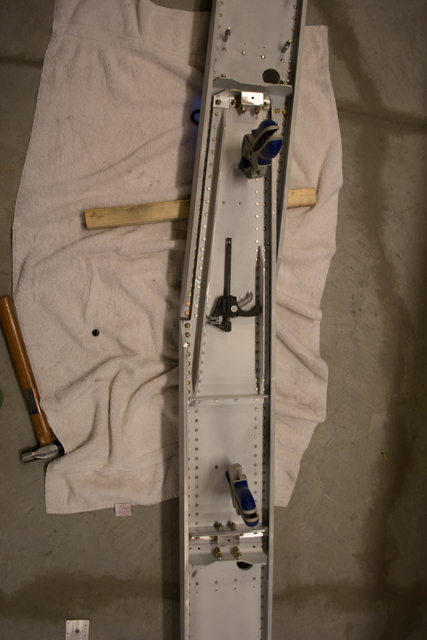
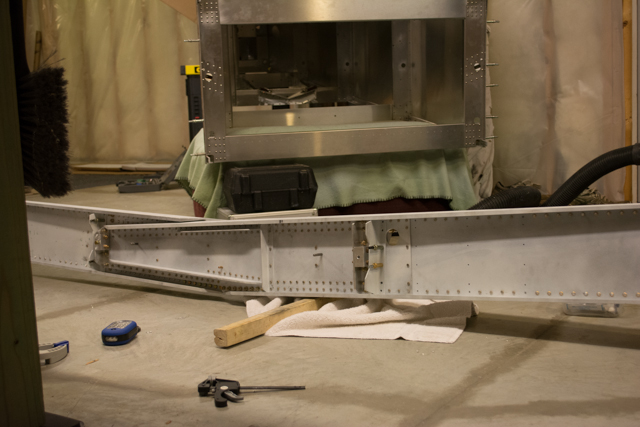
My silver clecoes were far too short to penetrate all the layers of spar web and maintain alignment. Piano hinge pin, however, is the perfect diameter and can be cut to fit. I used piano hinge pin to secure the middle 3 alignment holes in place to prepare for drilling out the main spar attachment brackets.
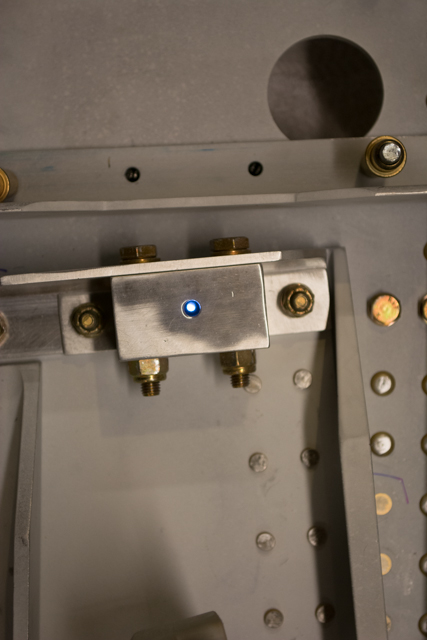
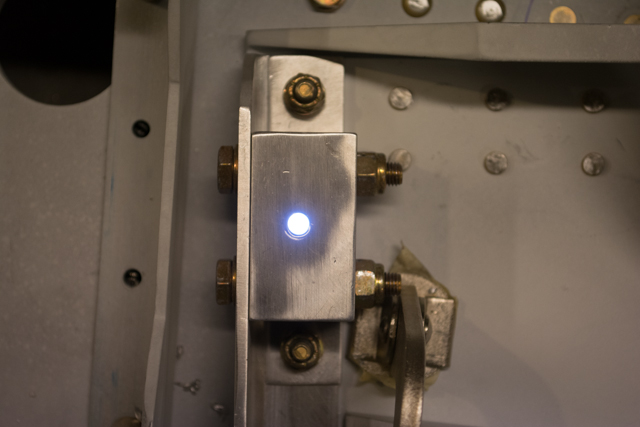
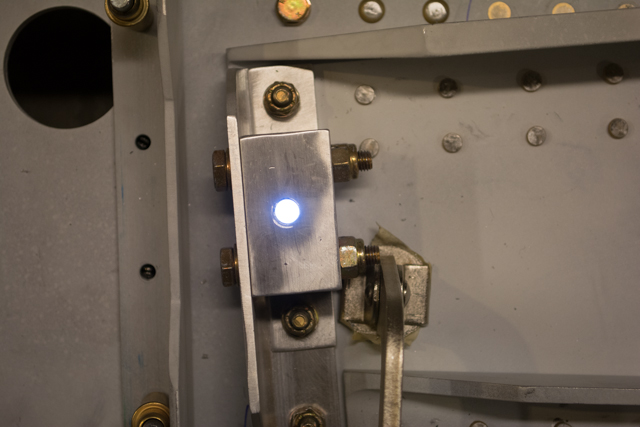
With the spar secure, and a light illuminating the hole from beneath, it was clear that my attention to detail in the placement of the attachment brackets on both spars had paid off!
I drilled out the web hole with a #13 bit (just shy of 3/16″), before drilling the entire assembly to D size and reaming out to 1/4″. This hole is through over 3 inches thick of aluminum, with the opposite bracket and block on the other side.
Finally with the alignment holes drilled to size, I was able to pin them with bolts and allow the wing spar structure to hold itself.
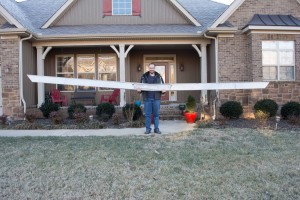
But I couldn’t stop there with the structure holding itself… I wanted to hold it too! Here is the mandatory, obligatory, compulsory photo required of all aircraft builders when they complete their main spar structure:
It’s quite remarkable to think that the structure I’m holding literally in the palm of my hands will support the weight of myself and the entire aircraft while in the air, plus 6+ G’s. In knowing how it was built and what it was built from however, I’m confident that it is an extremely robust structure.


