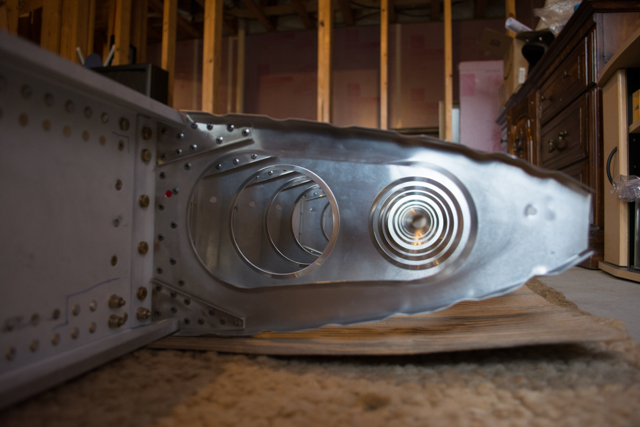
Total Build time: 330 hours.
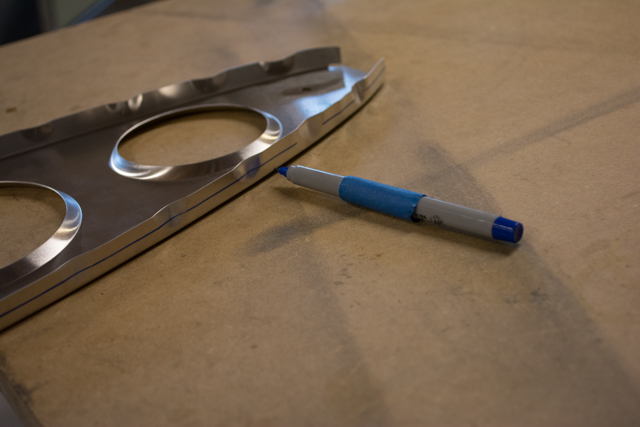
After updrilling and deburring all of the ribs, I marked blue lines on the flanges to align them later with the wing skins. My method was to use a flat table and blue sharpie with a little bit of masking tape wrapped around to shim the point to the correct height. Then slide the pen around the rib to mark the line.
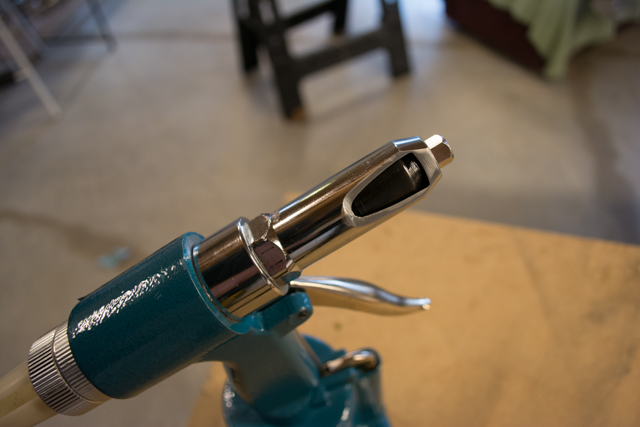
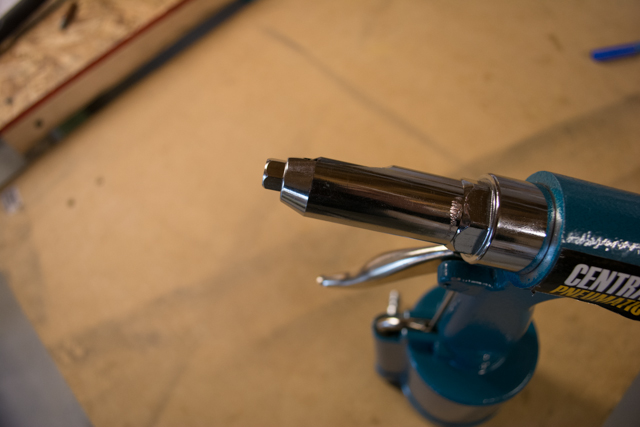
The access to the rivets to assemble the substructure is tight, so I modified a spare rivet gun head.
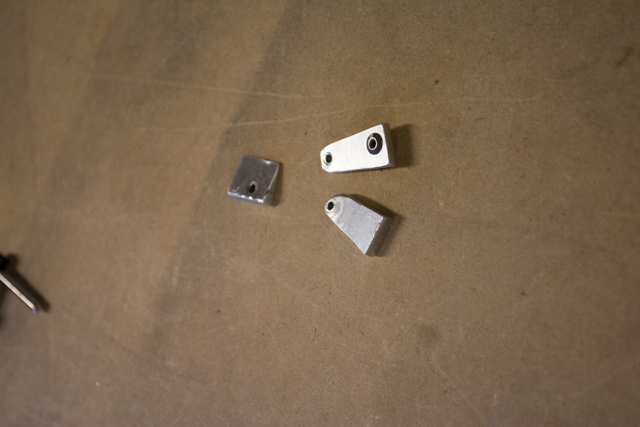
I also fabricated a few shims from scrap with a hole for the rivet stems. These proved invaluable for properly setting the rivets with the rivet gun.
I came up with an assembly order that worked very well for me in maintaining good clearance and access to each rib as I riveted. I’ve seen lots of methods from other builders and I felt this was the simplest way to proceed:
1) Rivet the root ribs to the main spar attach angles (with angles unbolted to main spar)
2) For the left wing I then installed the root ribs to the main spar and tightened the bolts. Then I did the rest of the ribs working outwards (riveting from the front side since the forward ribs are easier to deflect out of the way). For the right wing I did ribs 3,2,1, then bolted the root ribs on. Then the rest of the ribs.
3) I then positioned the aft spar (with the root rib aft attach angle bolted/riveted in place), riveted the aft root rib to the aft angle (there are no clearance issues if you rivet from the root side on either wing), and riveted the rest of the ribs to the aft spar.
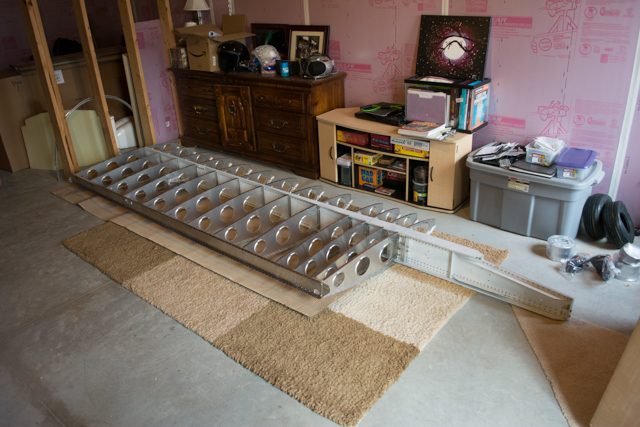
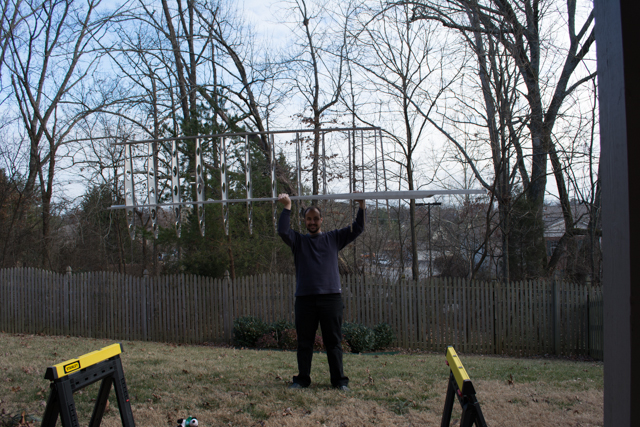
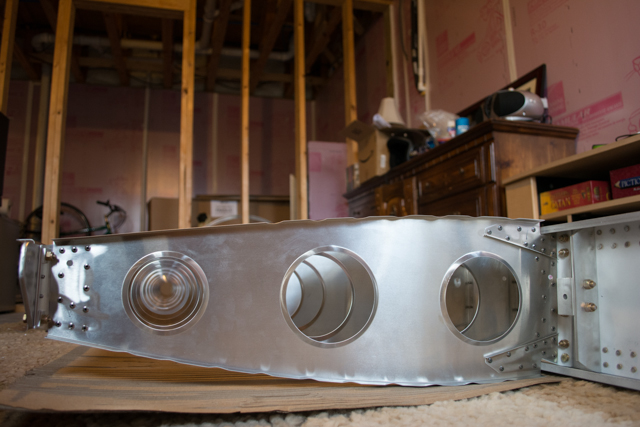
End result… a completed right wing substructure!


