Total build time: 438 hours.
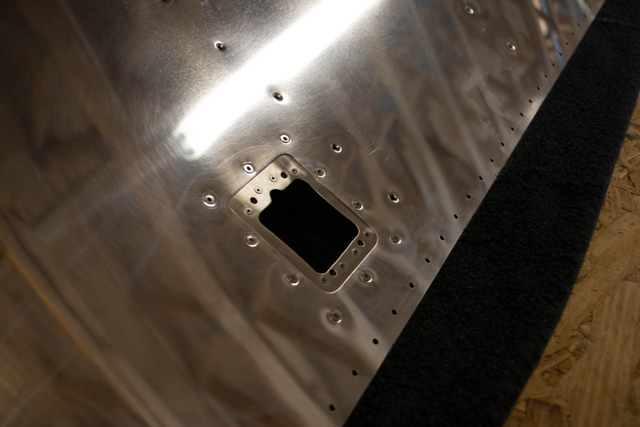
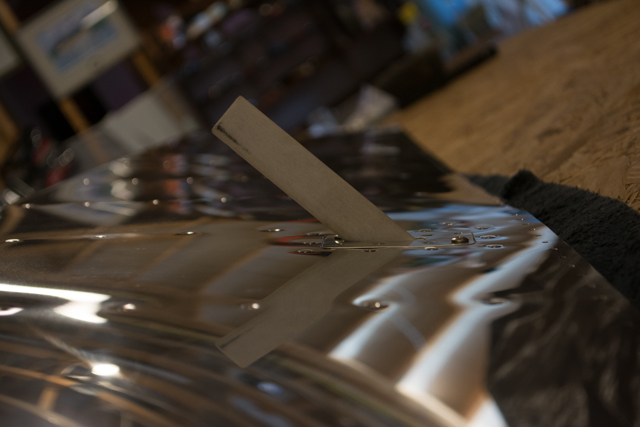
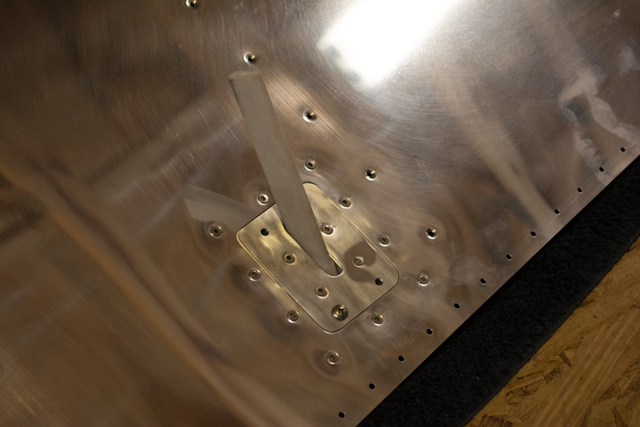
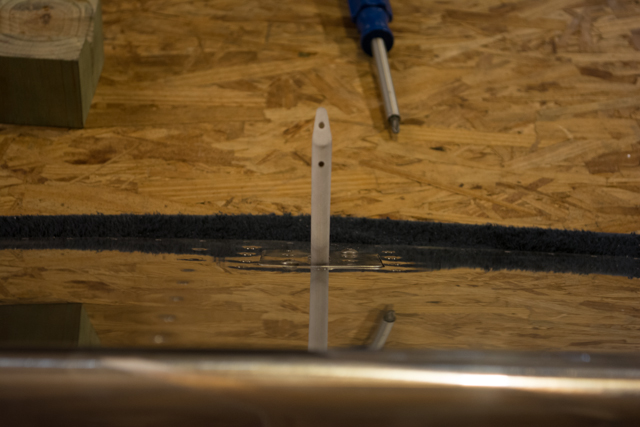
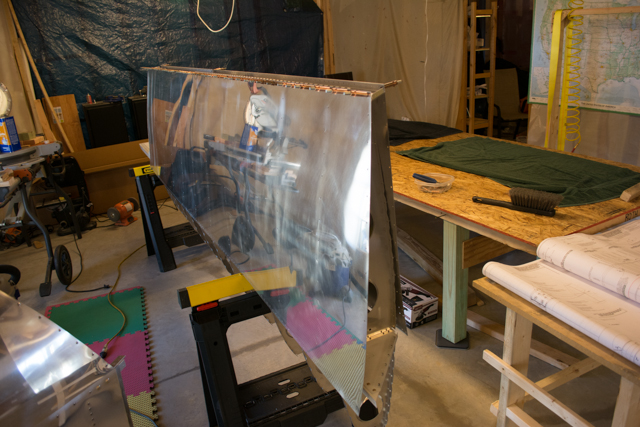
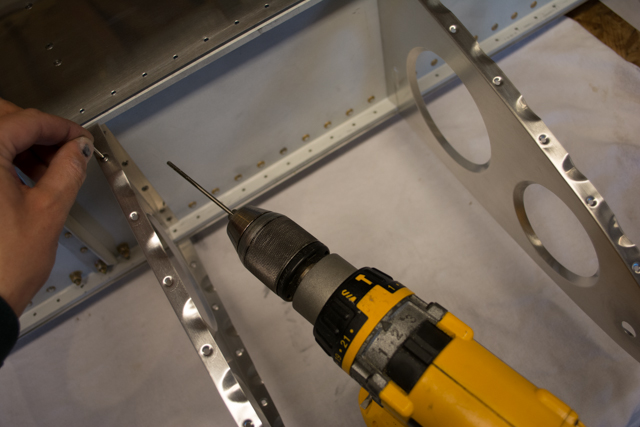
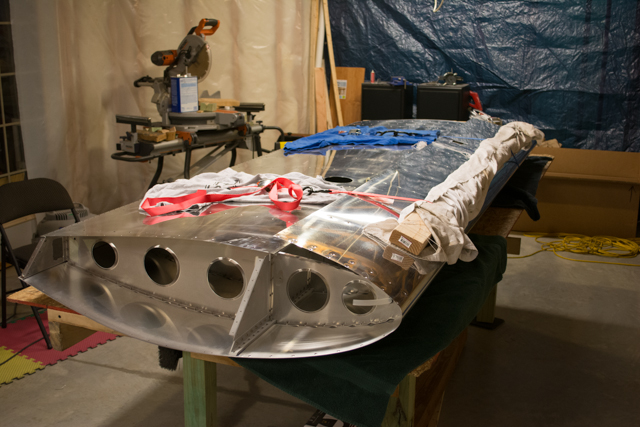
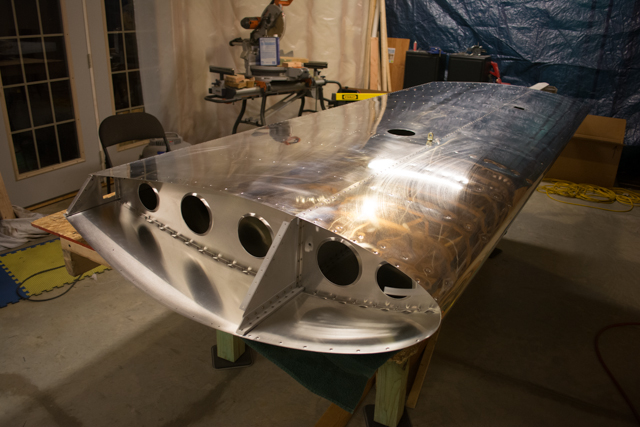
The wing skins are polished and just about ready to install. I have a few more details to take care of on the leading edge skin. First I dimpled the holes for flush rivets (using the Sonex super-simple-dimple-die), and then I completed the LRI installation.
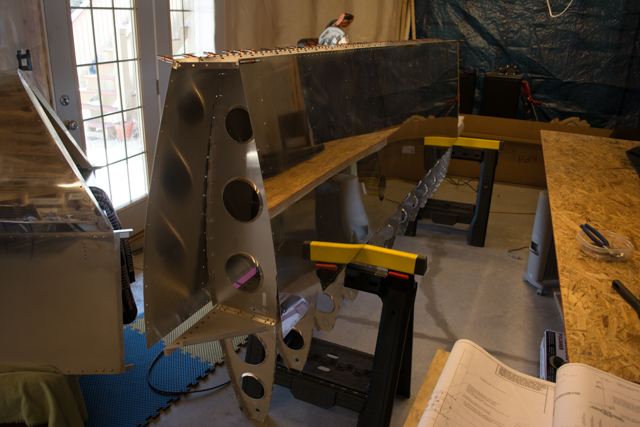
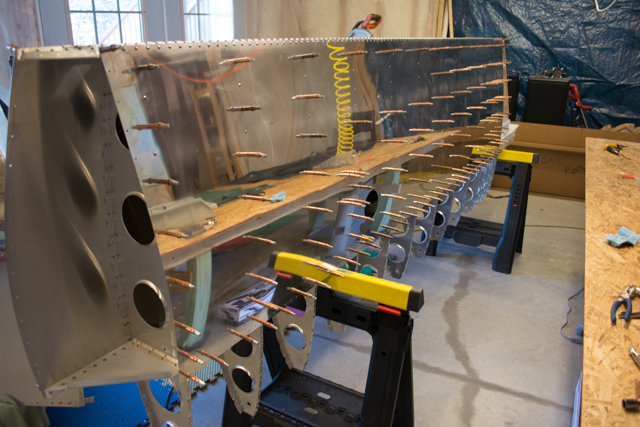
Then I started mounting and riveting the skins. I followed the same sequence as the drilling process by first riveting the rear spar, then the ribs. The main spar holes are left un-riveted until the forward skin is fitted. Since the holes are already drilled in a fashion to prevent twisting of the wing, there was no longer a need to clamp and shim the wing level like I did for drilling. I kept it vertical on sawhorses and did add some small shims to make it straight. The root doubler/wing walk is left unriveted until later.
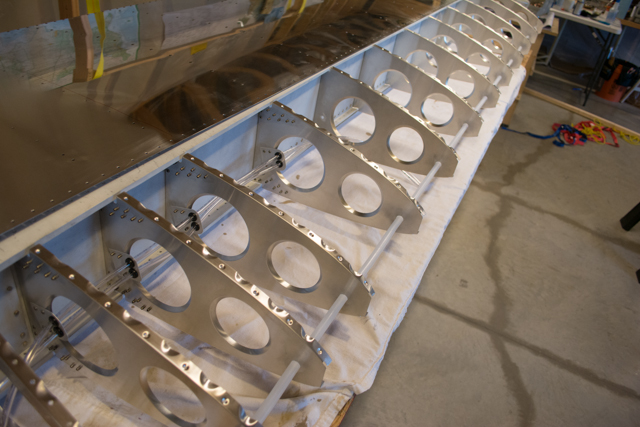
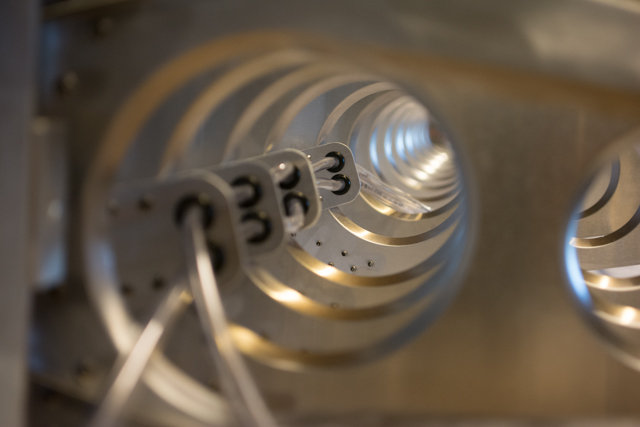
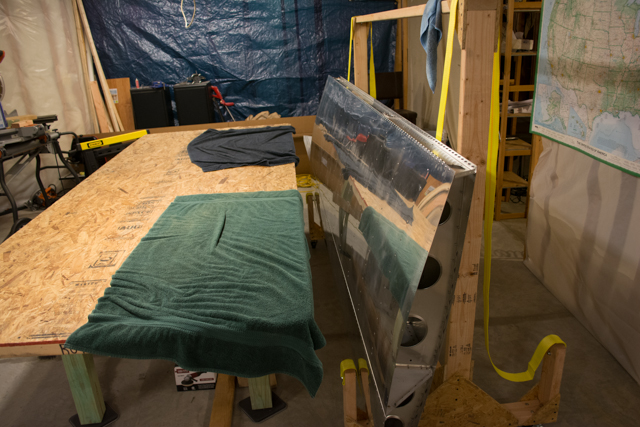
I then placed the wing flat on the table and took care of the last few items inside the wing. I ran some 1/2″ diameter tubing from root to tip in case I ever wanted to run wires for wingtip lighting in the future, and ran the tubing for the LRI through their grommets. I also verified the sizes of all my dimple holes, using a #30 reamer in case the rivet was going to be a tight fit. Drilling these holes at #32 then dimpling made almost every hole a perfect #30.
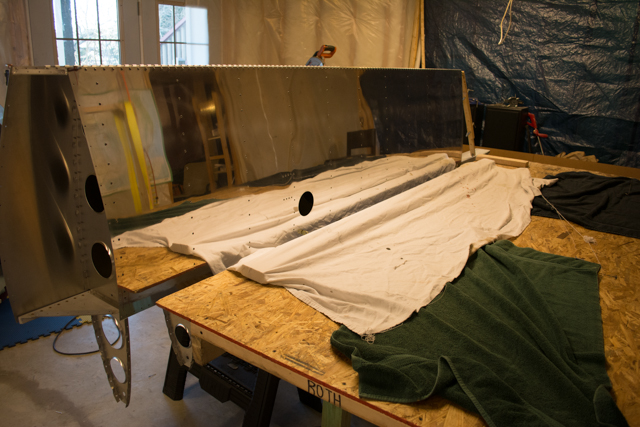
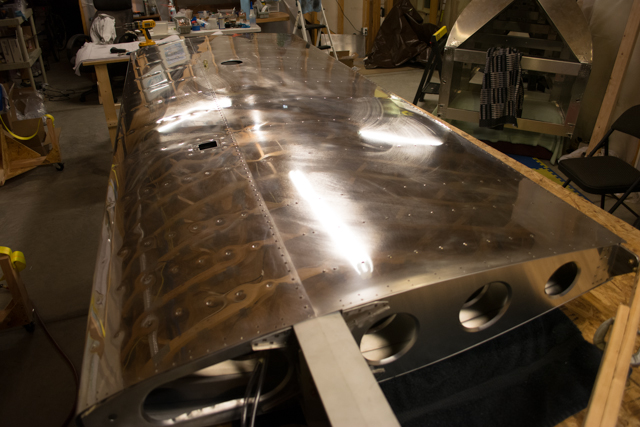
Finally, I riveted on the forward wing skin.
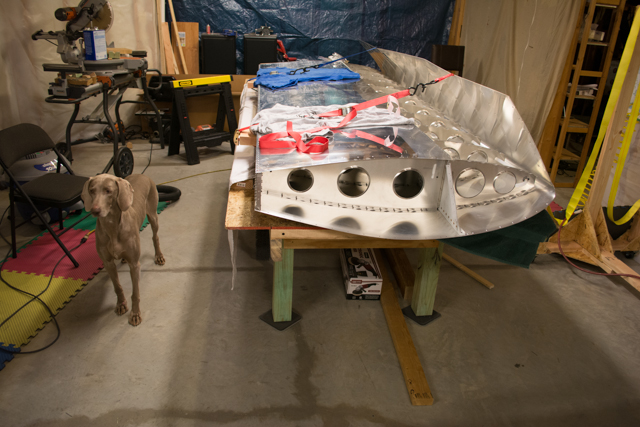
My helper.
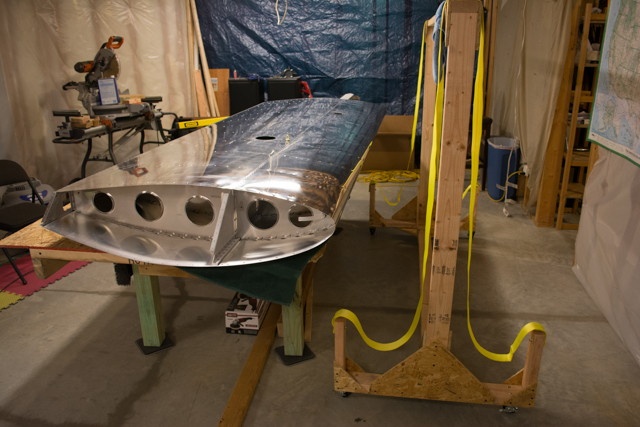
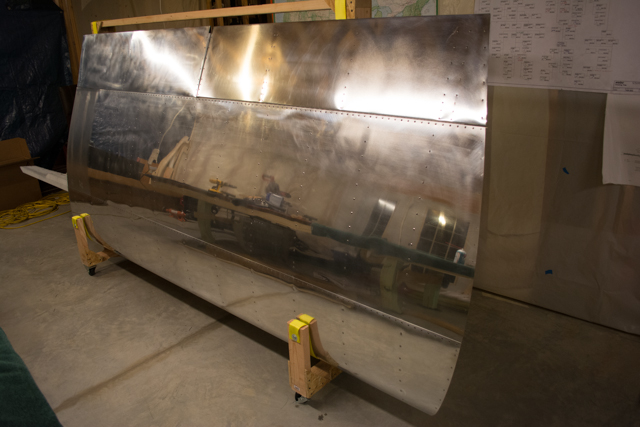
Done! Time to rack it.
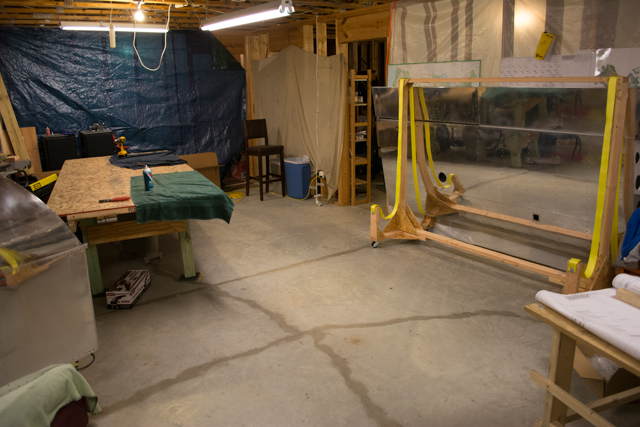
I pinned on the flap and aileron, and used the castoring wheels on the rack to spin it around against the wall.
NEXT!


