Total build time: 483 hours.
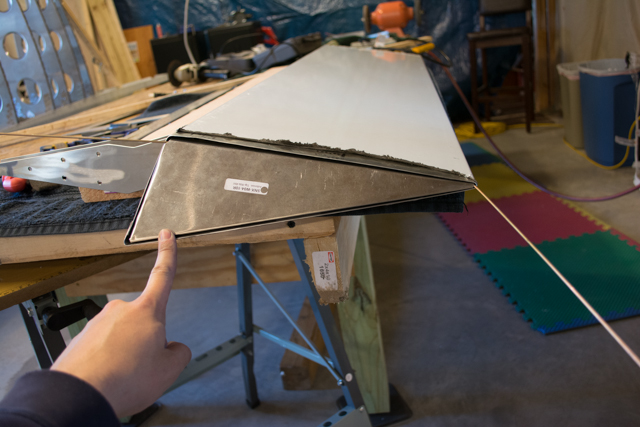
Right-side flap and ailerons went together much like the left. Ends trimmed to fit, aileron first.
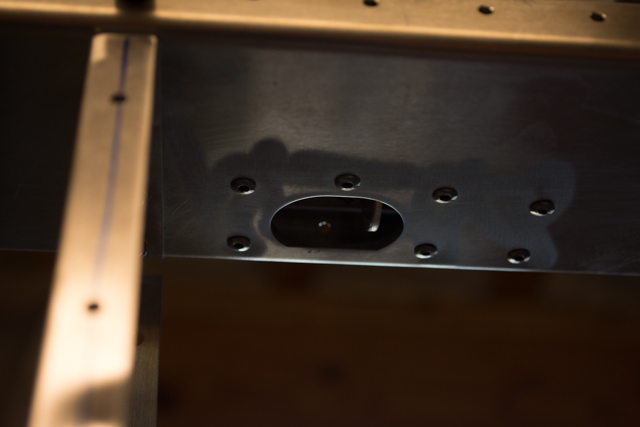
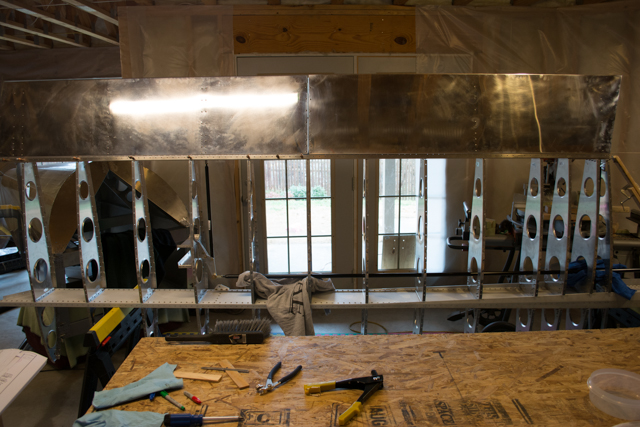
Again I liked having the wing substructure open (no skins) while building the flap and aileron, as I can verify fitment as I go, such as testing the location of the aileron drive horn in reference to the rear spar.
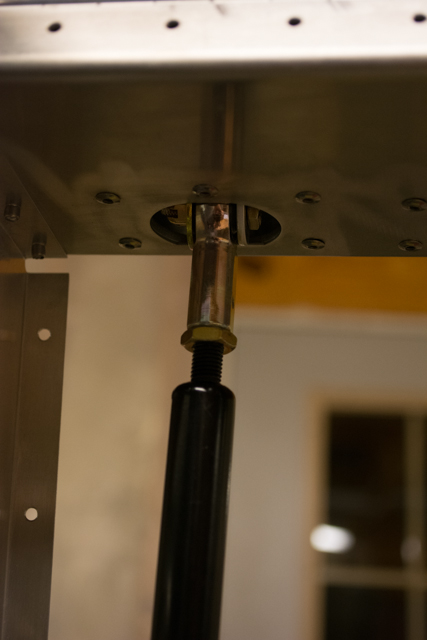
That’s a good fit! It places the future location of the pushrod in the center of the opening.
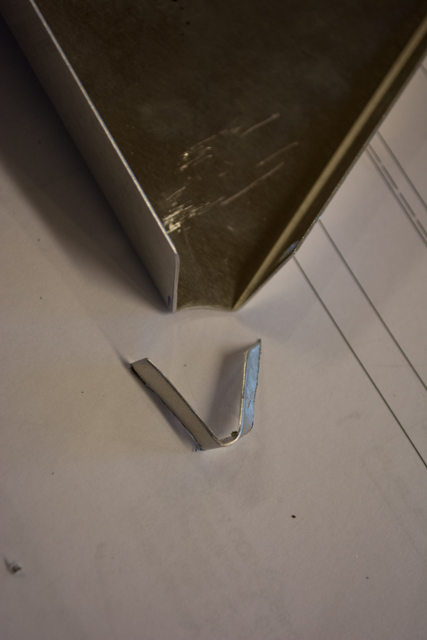
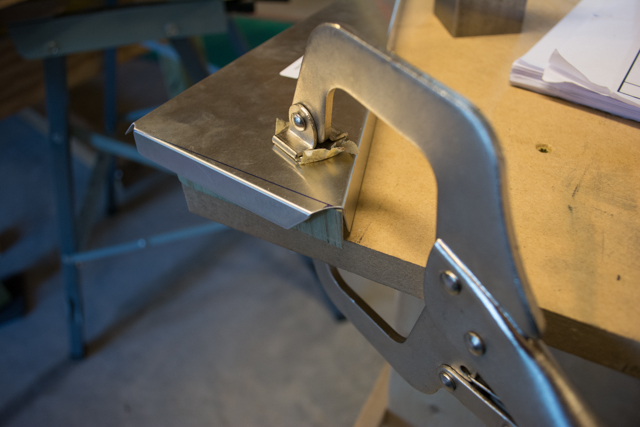
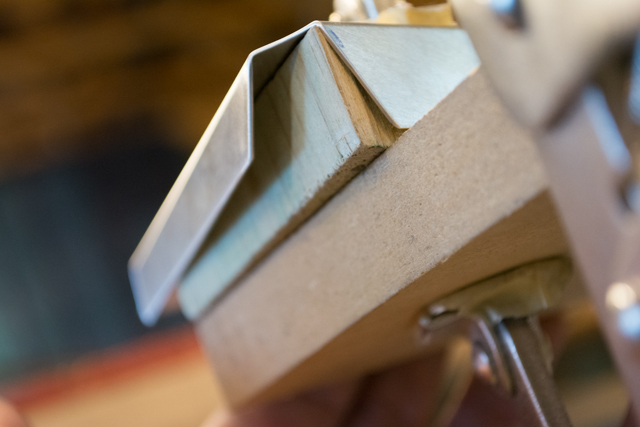
Once again the aileron tip rib was too large to fit, but knowing this ahead of time made the trimming and bending process easier.
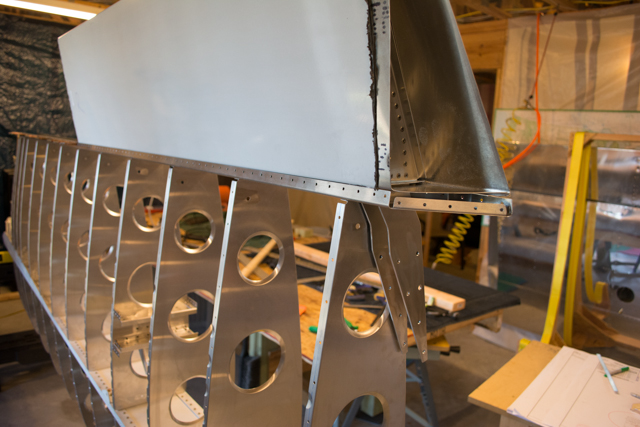
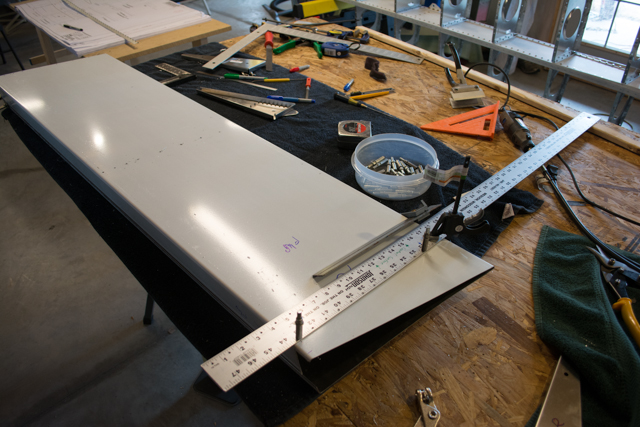
Here’s the flap coming together:
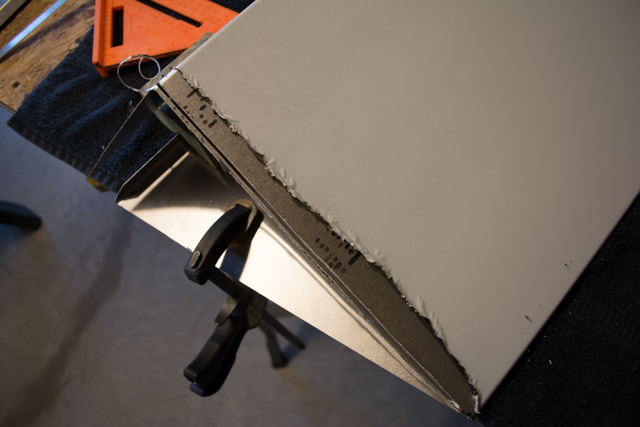
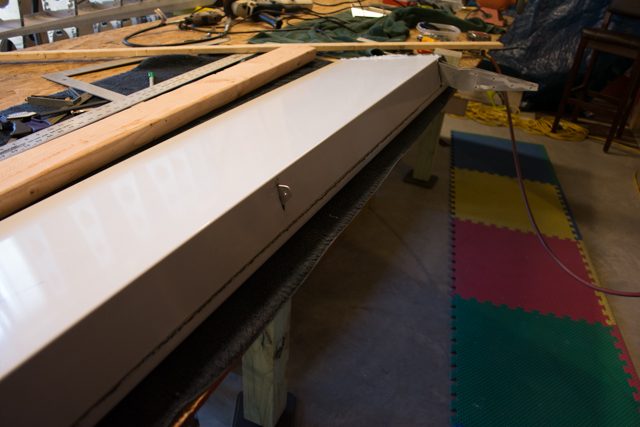
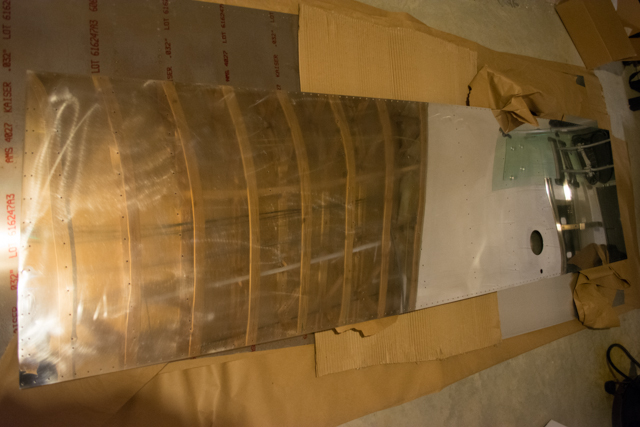
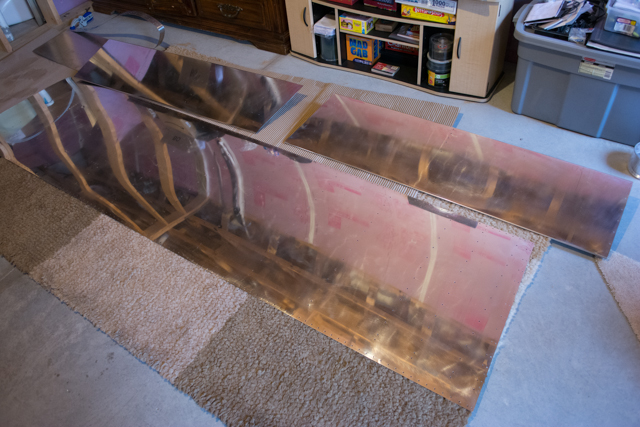
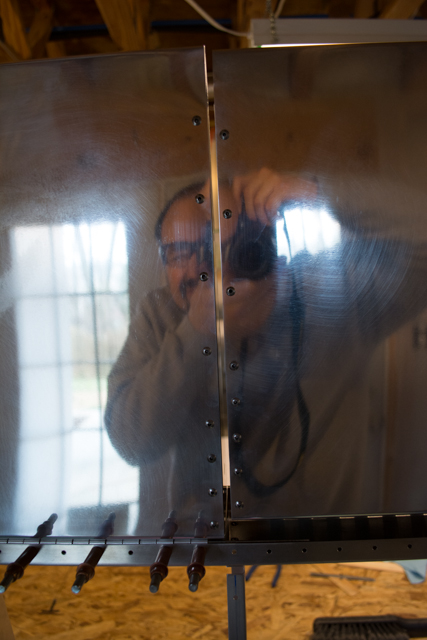
Then came a whole lot of polishing for everything on the right wing (3 wing skins and 2 control surfaces):
Again I modified the rear spar to clear the bolts that hold the aileron counterbalance.
I stayed conscious of the location of the counterbalance when I was making the aileron as the clearances are tighter with the 12th wing rib on the right wing (versus the left wing, due to the orientation of the wing ribs.) The result was good clearance. Also the drive plate location was good, and I again pre-rigged the length of the aileron pushrod with the wing still open and accessible.
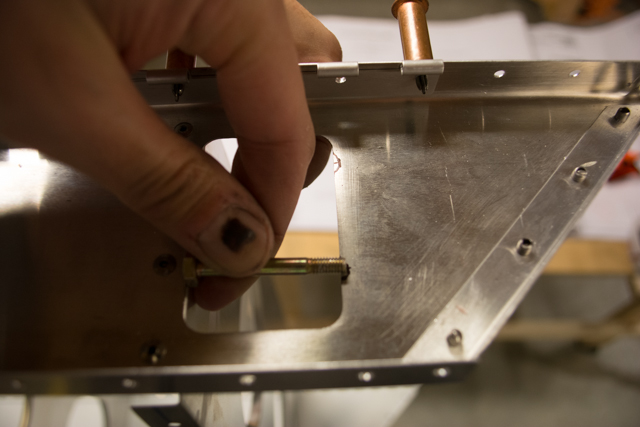
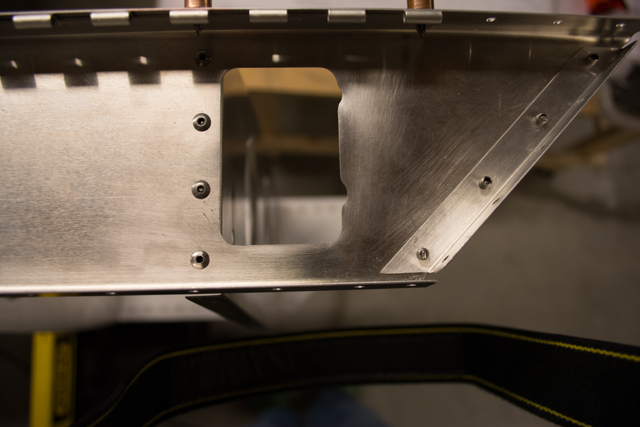
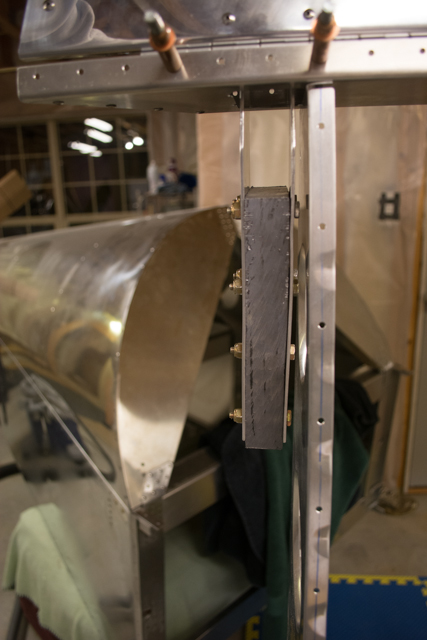
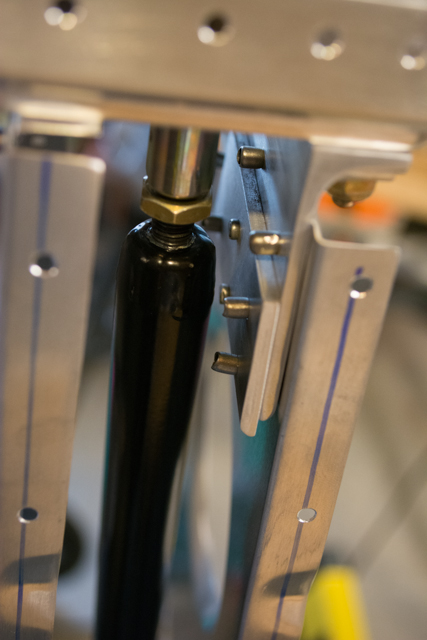
I also tested the flap rigging and immediately found a problem. The rivets on the extra strengthening plate I’d added to the wing root rib potentially interfered with the movement of the pushrod. In looking closely at all the rivets, I’m not sure that this wouldn’t be a problem even without the extra plate, as the shop heads of the rivets seem to stick out far enough to interfere in any case.
My solution to this was twofold… file down the heads of the rivets a bit, and add an extra washer to the push-rod to distance it from the rib (approved by Sonex.) This worked and left plenty of clearance for the pushrod to move.
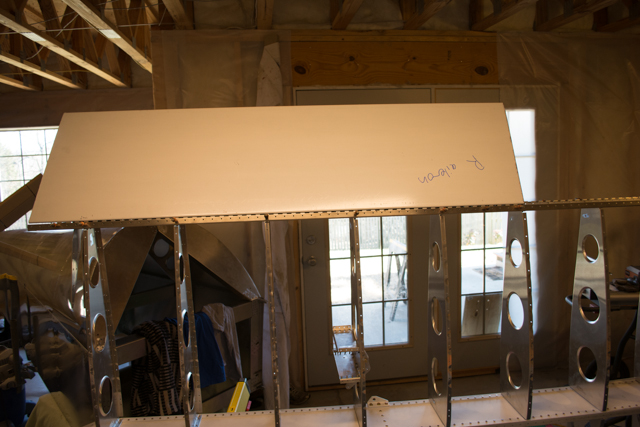
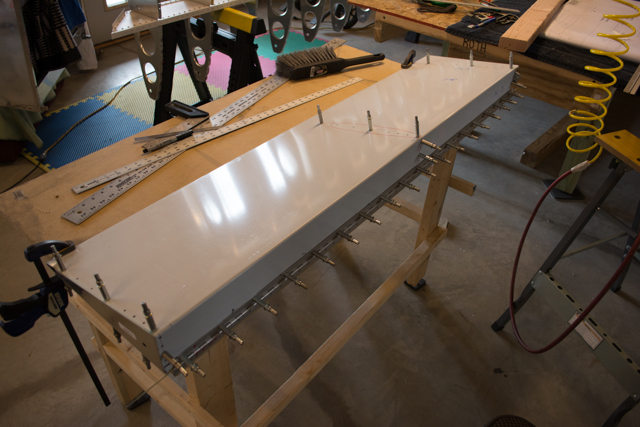
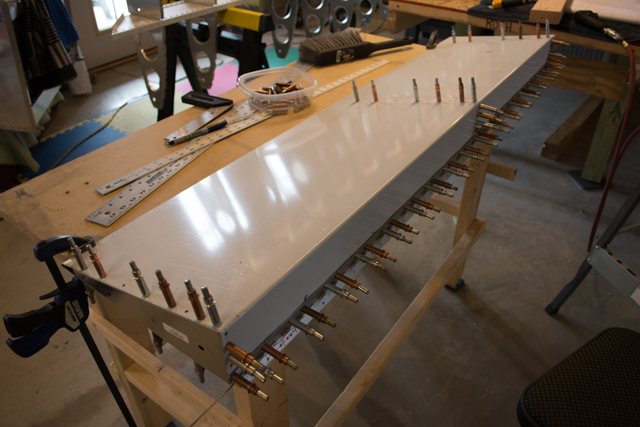
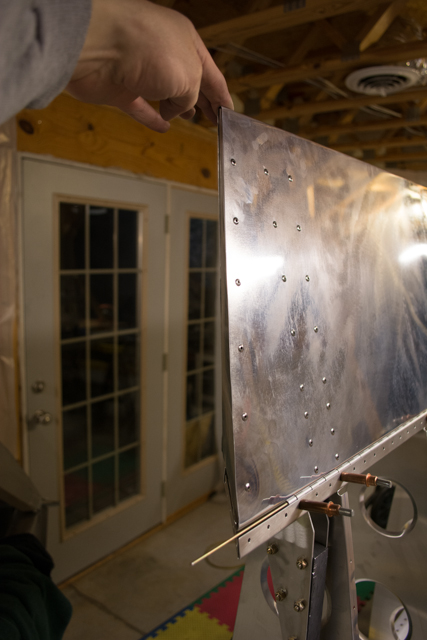
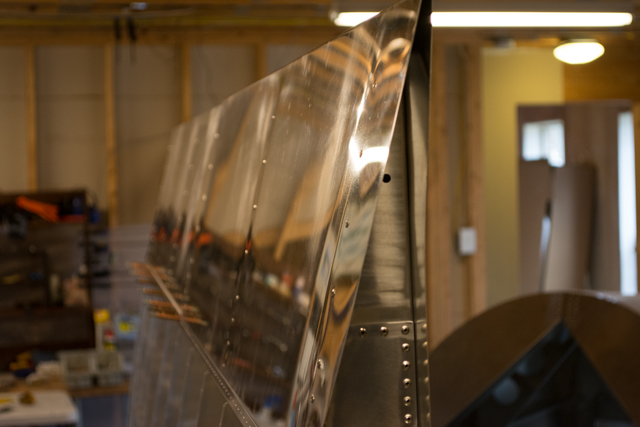
Completed flap and aileron pinned into position:


