Repair work: 7 hours.
On January 9, 2014 I was notified of some bad parts that were included in a very small batch of Sonex kits that were shipped in the fall of 2013 (affected owners were individually notified)… unfortunately I was included in this recall. It included several parts in the empennage and aft fuselage, all of which I had already installed in a permanent manner. The mix-up was apparently a mislabeling by an aluminum supplier, which led to an aluminum cutter to cut the parts for Sonex, which were then shipped in the kits. The alloy of aluminum is not the 6061-T6 used in the aircraft, therefore it must be replaced with the correct material. It’s good that quality control was able to track down and address this problem up and down the supply chain, and it’s bad that it falls on me to do the labor…Replacement (correct) parts were sent to me free of charge.
I had been waiting to finish the wings before addressing this repair work, since I want my aft fuselage and empennage to be at the completion stage needed to move on to the forward fuselage.
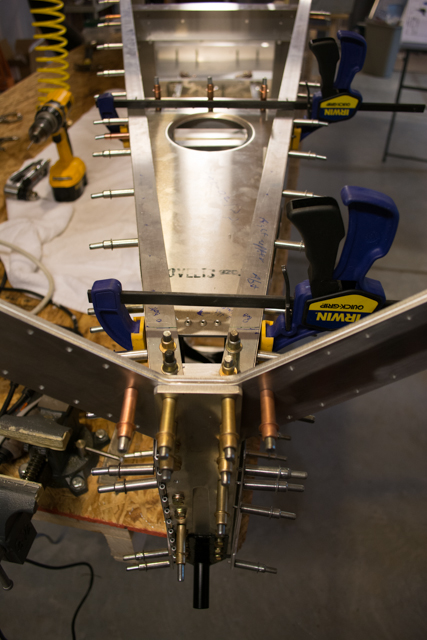
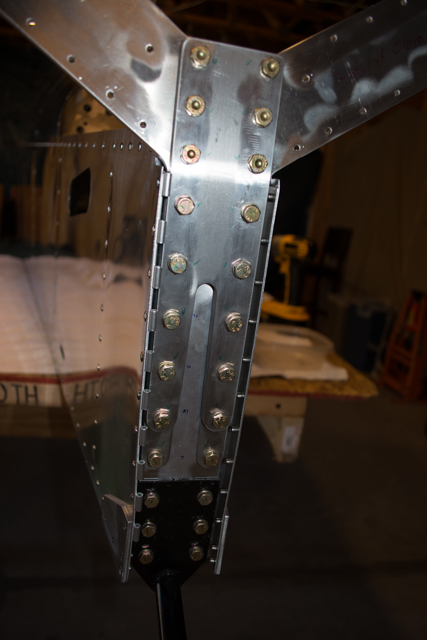
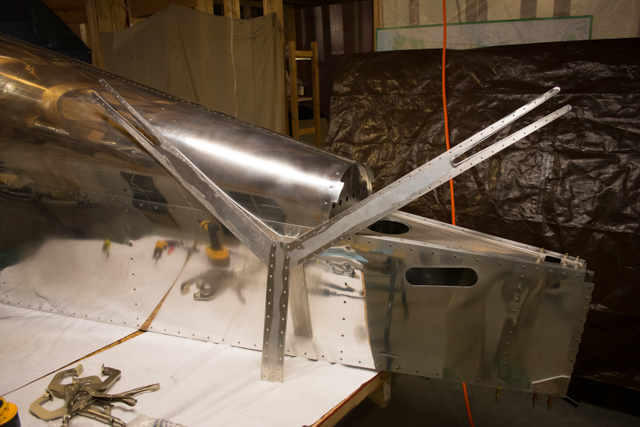
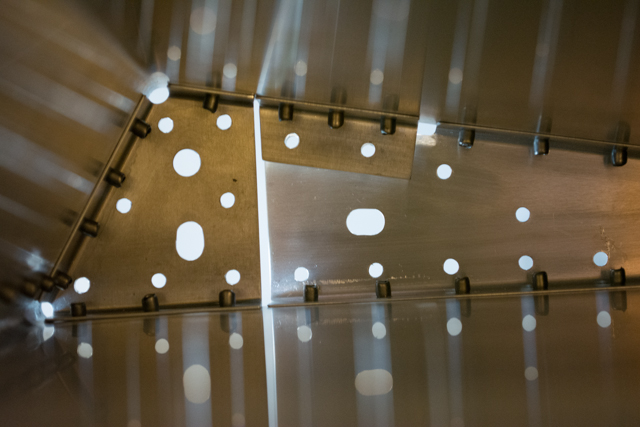
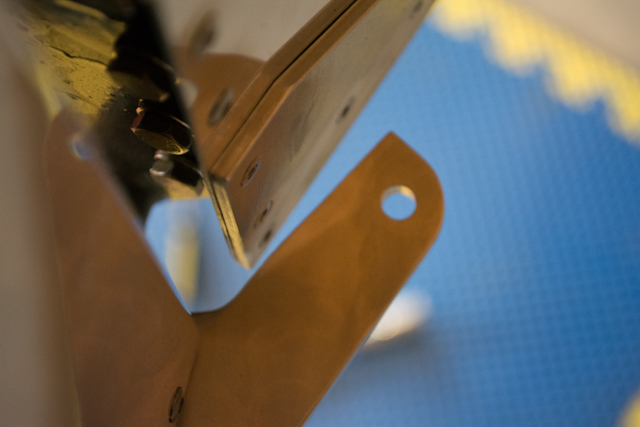
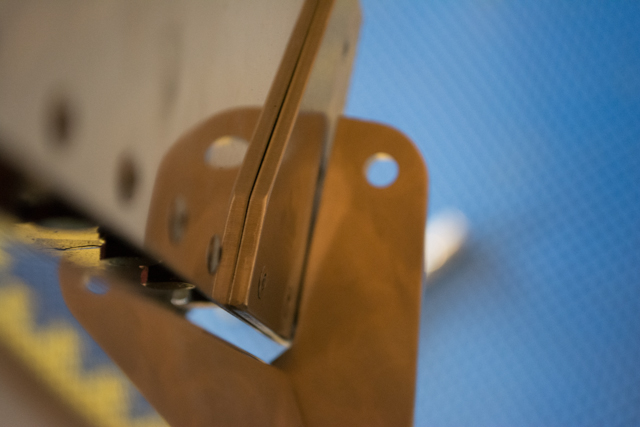
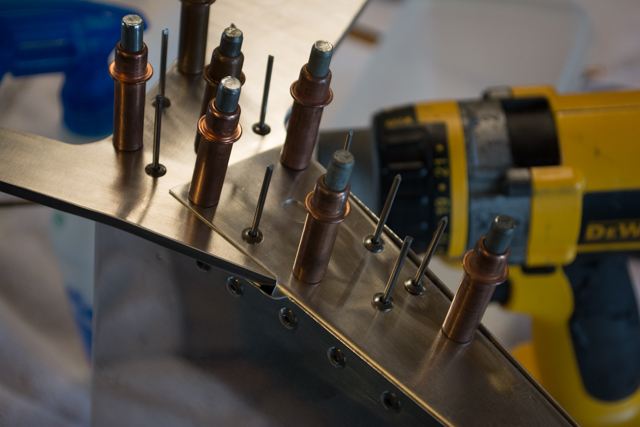
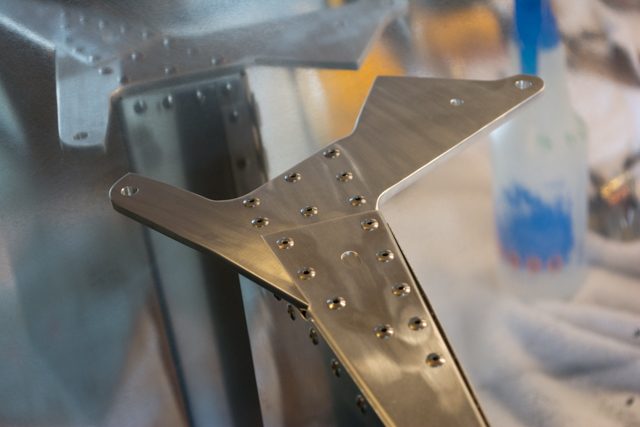
There are 2 parts in the empennage that needed to be removed and replaced. The first was the large Y-tail fitting that supports the rear spar of the stabilators. Here are pictures of me installing it back in December:
The large Y tail fitting, installed.
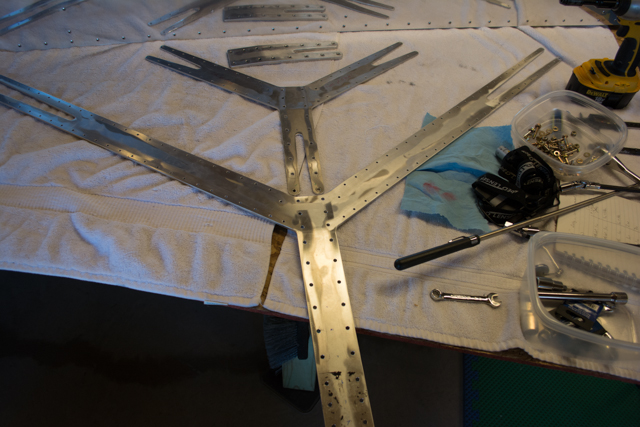
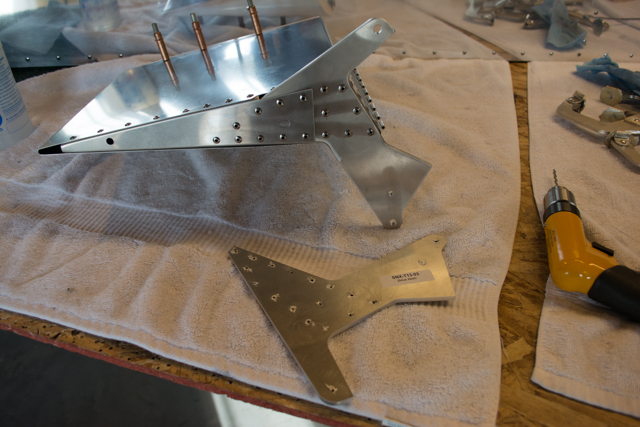
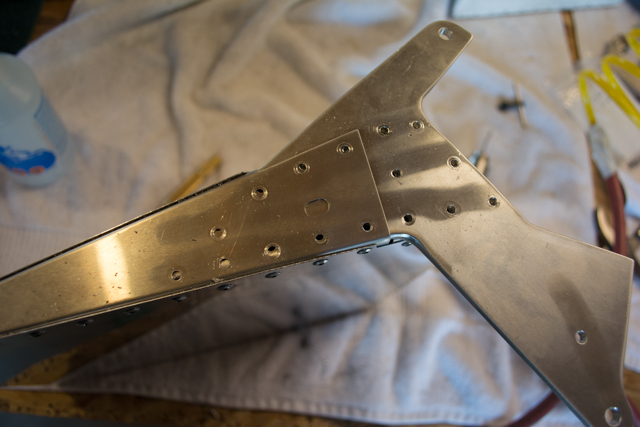
This Y tail fitting was already match-drilled to the rear spars of the stabilators… in doing this replacement, I had a LOT of holes to drill, and every one of them needed to match the old part exactly.
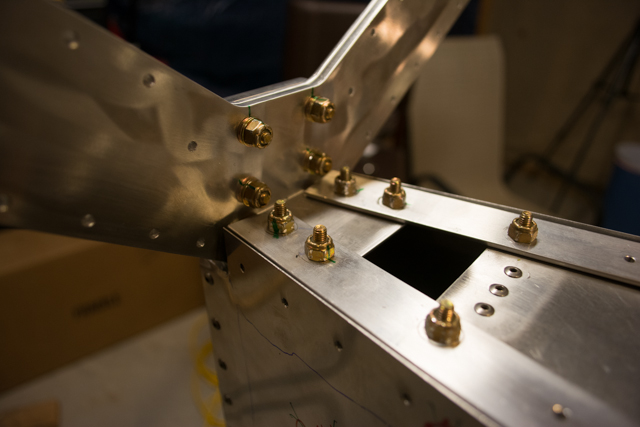
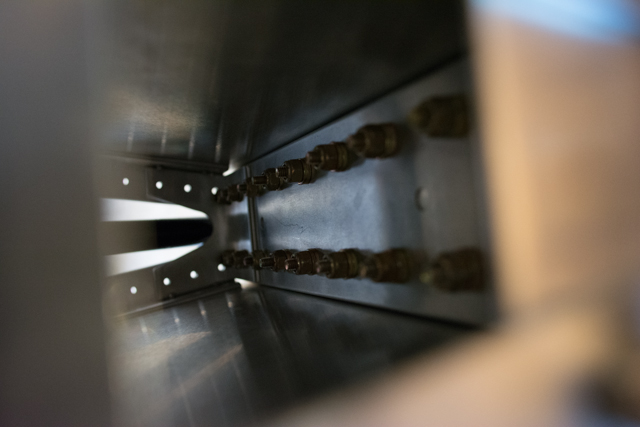
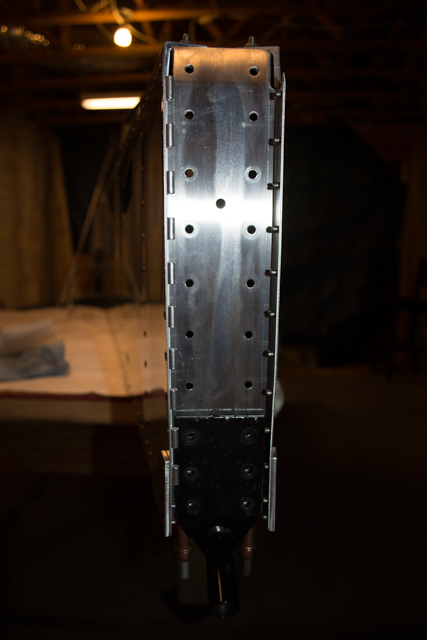
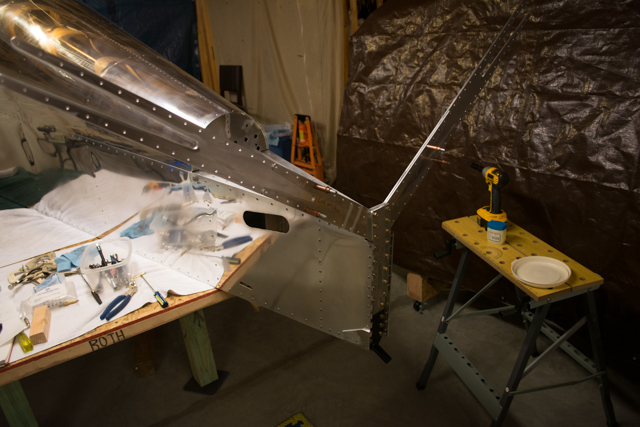
Work began by removing the 24 hard-to-reach bolts that hold the tail stack together. These were a lot easier to access back when the aft fuselage wasn’t all riveted closed.
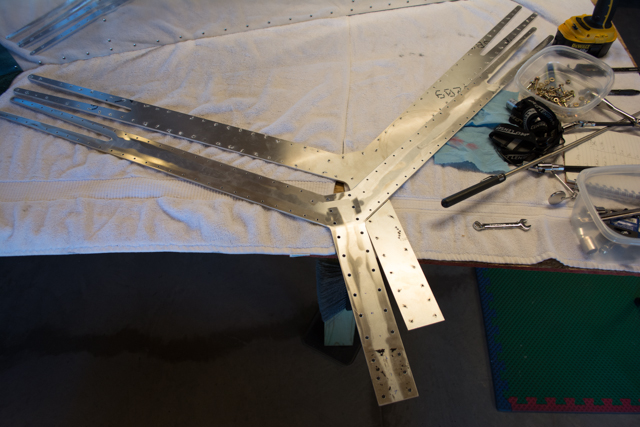
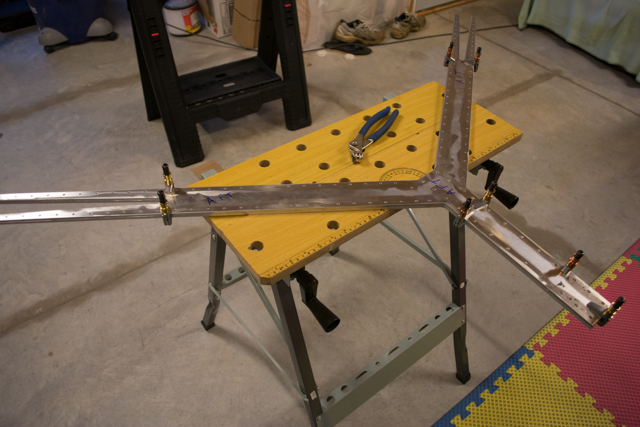
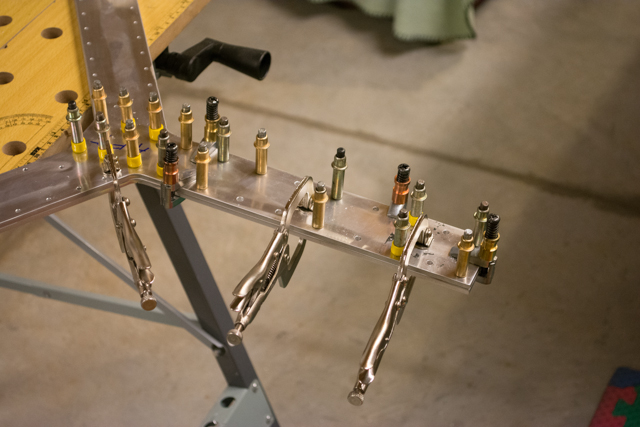
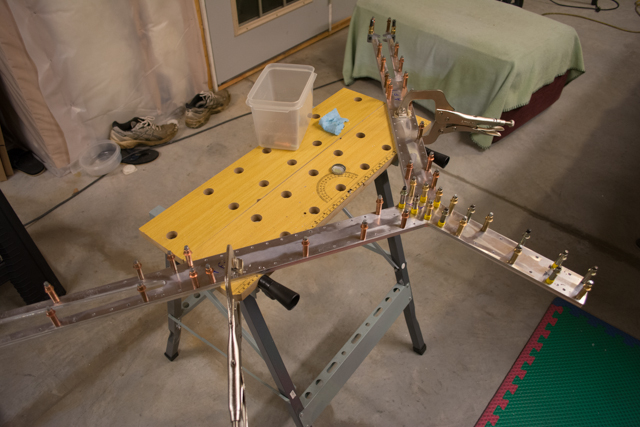
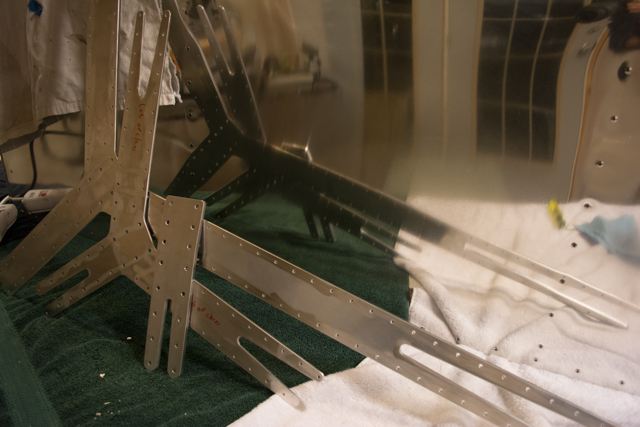
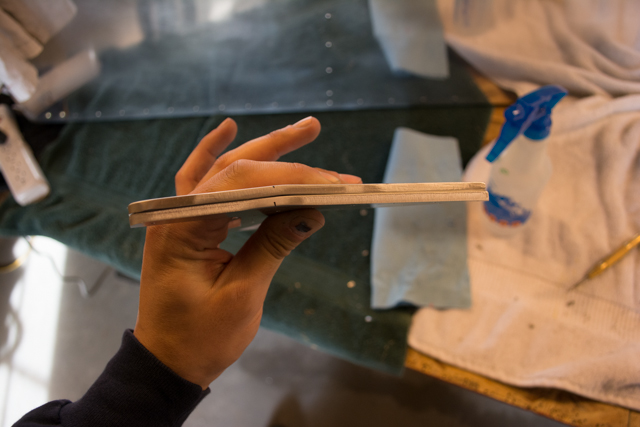
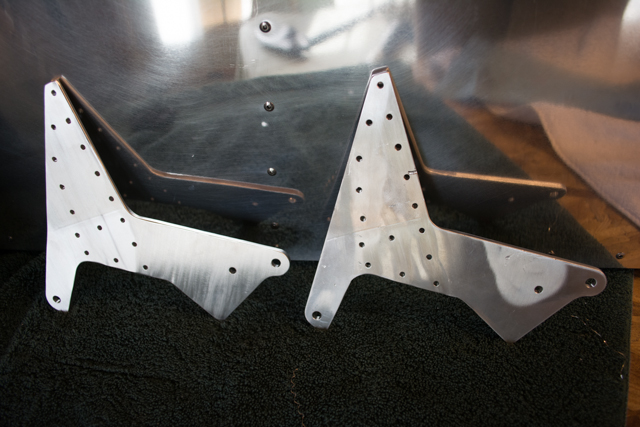
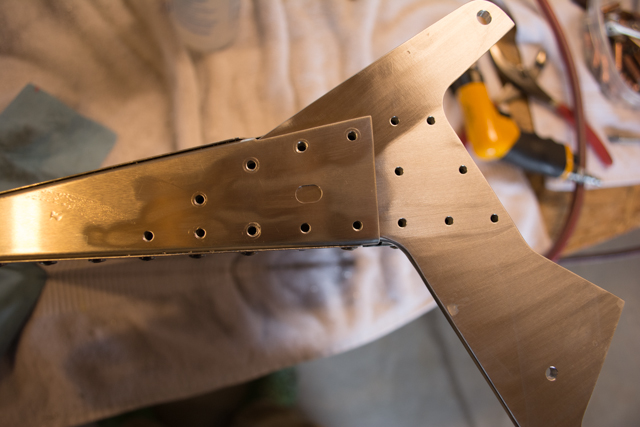
Next came bending and match-drilling the new Y fitting to the old one:
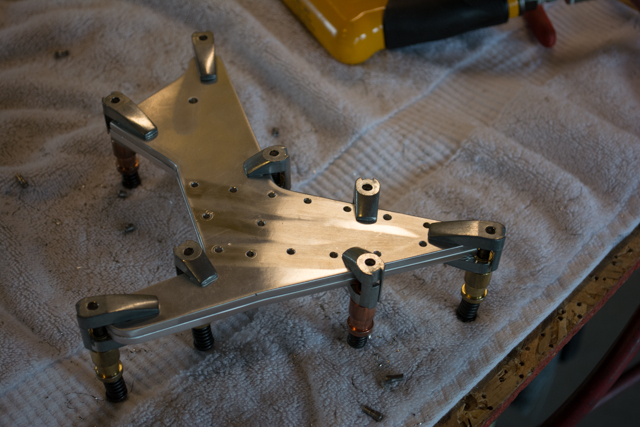
All the tail stack parts deburred and shined back up and ready for re-installation.
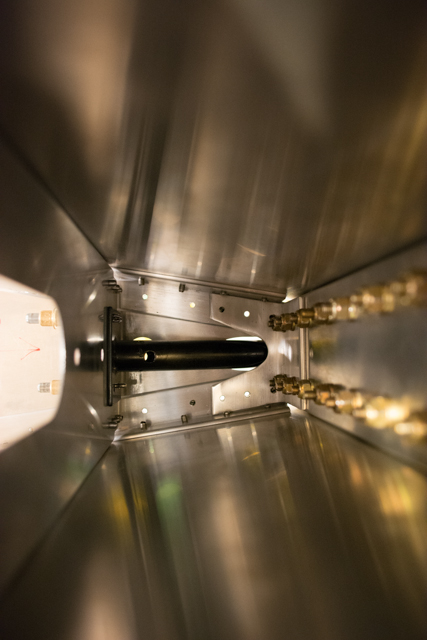
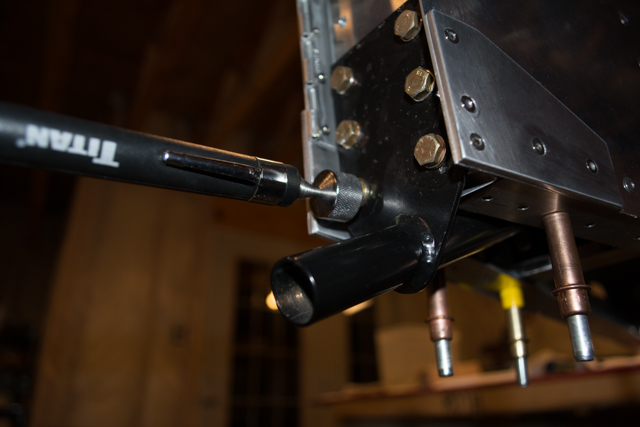
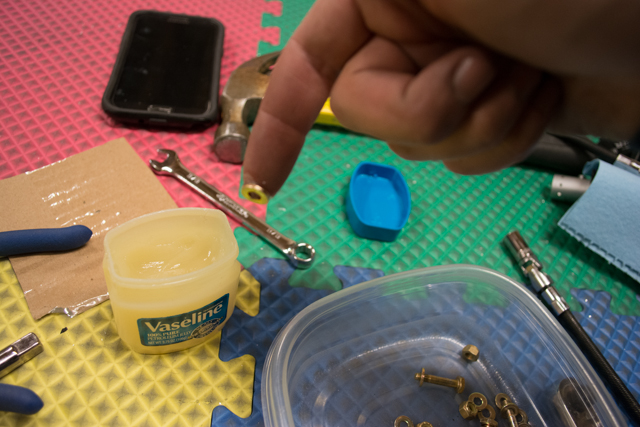
It turned out that reassembling was much more difficult than disassembling was. Some of these bolts were a real pain to get back into place. I used a couple of tricks in the tight access… one was to use a magnet to assist in getting the washers onto the bolts on the inside. Another was to use Vaseline (grease would have worked better since the Vaseline melts rather quickly, but I didn’t have any) to stick the washers to my finger, for insertion through the tight access onto the bolts.
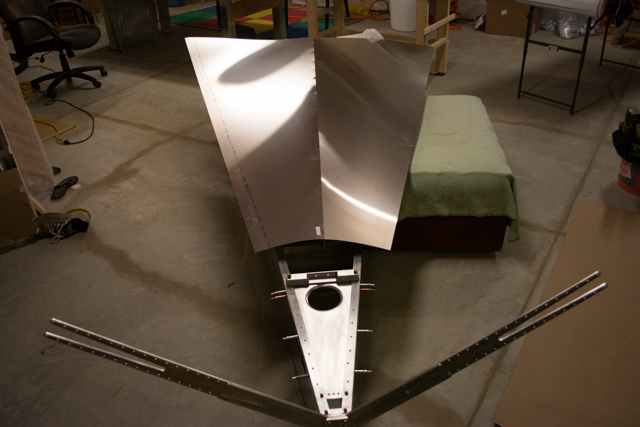
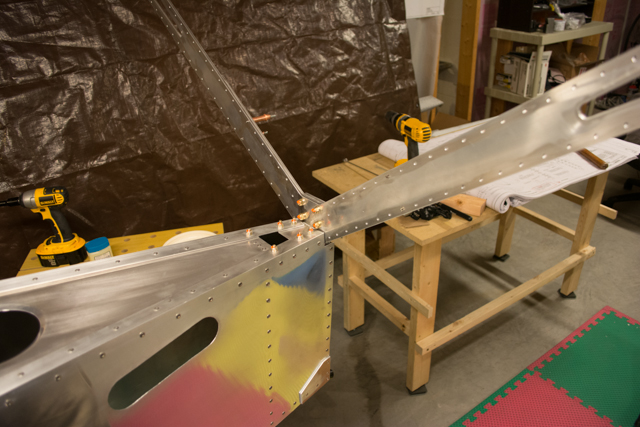
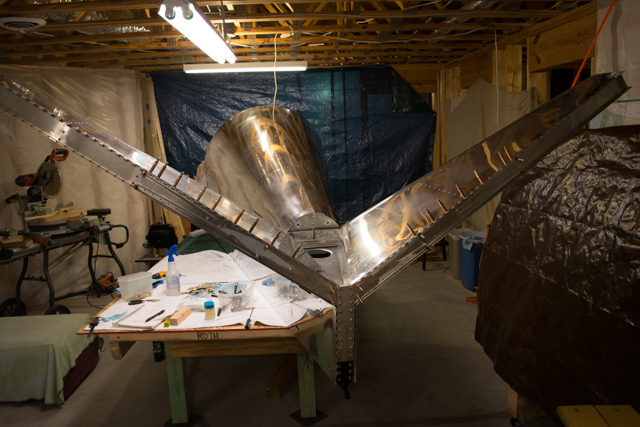
Finally, all 24 bolts are in place and tightened, so this part of the repair work is complete. I temporarily attached the stabilators to verify all of the rivet holes line up correctly on the rear spar. Success!
The second part requiring replacement on the Empennage is the rudder drive horn on the small stub rudder. This repair required the drilling out of 16 rivets.
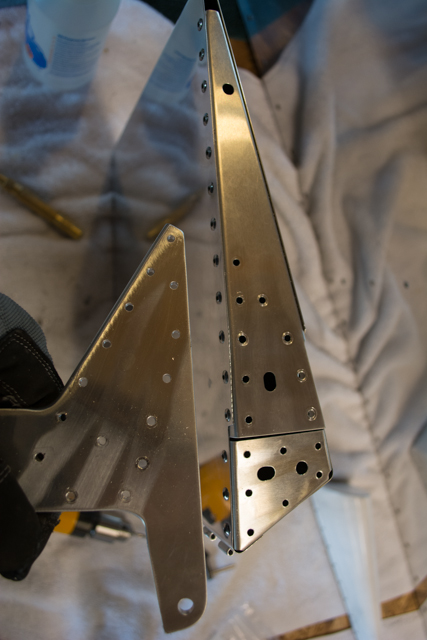
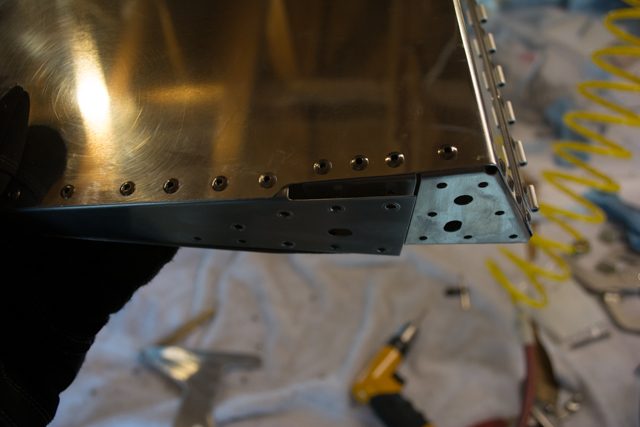
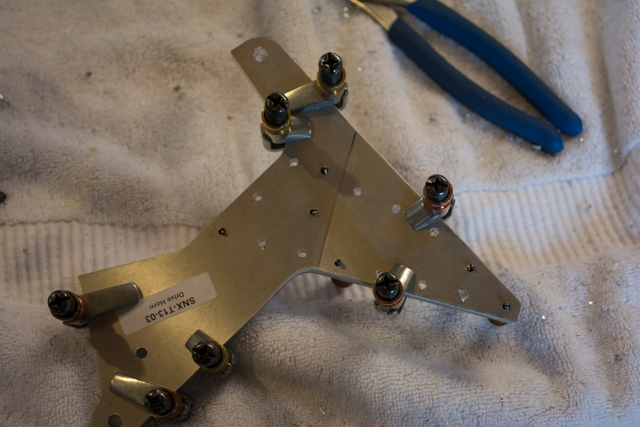
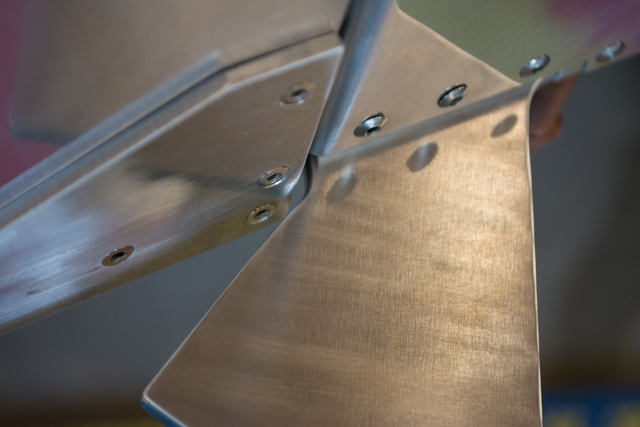
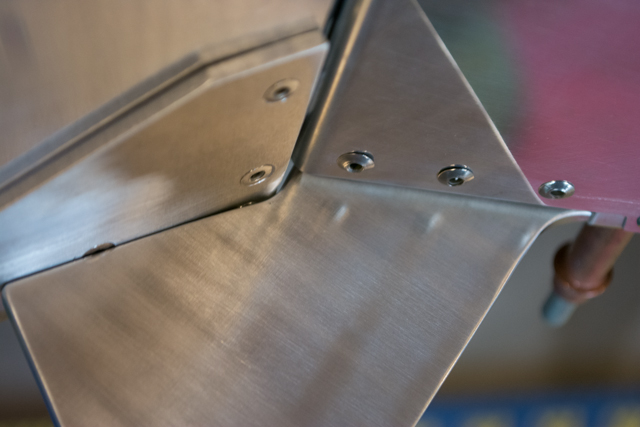
I then bent the new part to specs, and match drilled the rivet holes.
The new drive horn, holes matched and ready to rivet.
After I had completed the rudder the first time around, I remembered some slight rubbing contact at the rudder stop plates that made for a slightly less than ideal full-travel movement of the rudder. Having the new drive horn free and unriveted allowed me to remove a small amount of material to make the full motion of the rudder more smooth.
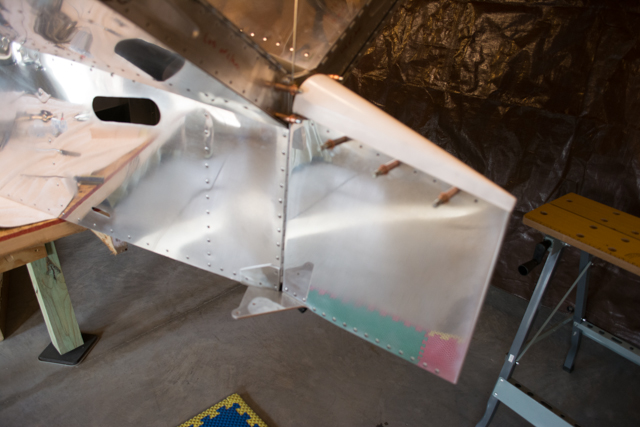
Finally, the rudder is riveted back together, and the empenneage portion of the repair work is complete. The aft fuselage however, still requires a lot more work.


