Total Build Time: 556 Hours
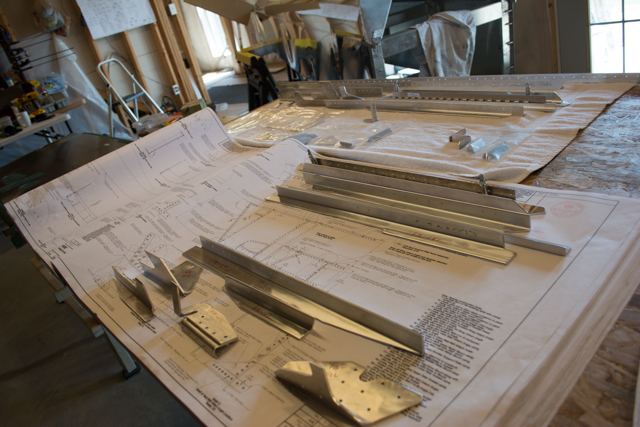
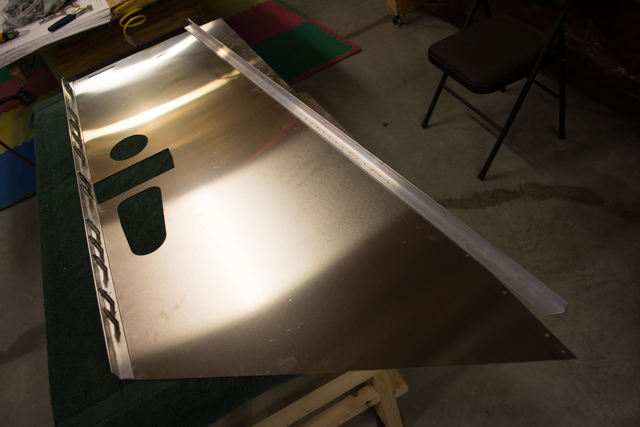
My angle component fabrication is complete for the forward fuselage side panels, so now comes the task of aligning the parts into the proper positions on the side panel skins.
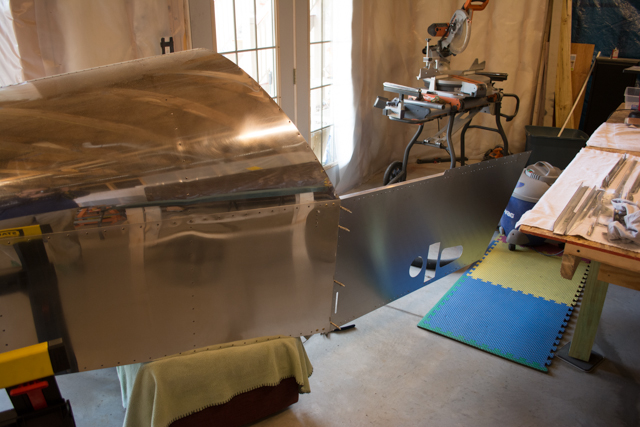
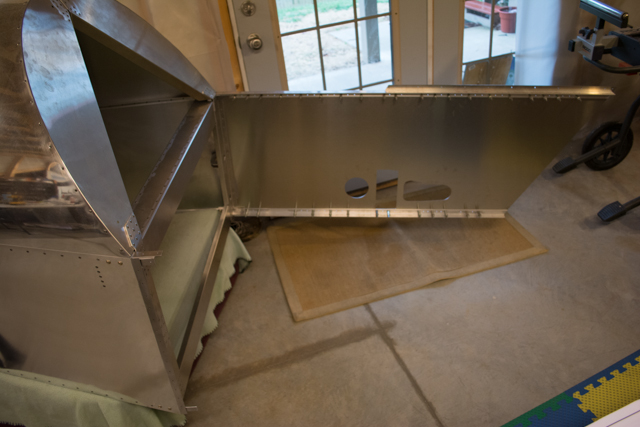
For fun, I put the skin into its position relative to the aft fuselage, to get an idea of the shape. It’s clear from this picture that my aircraft is getting ready to grow, a lot.
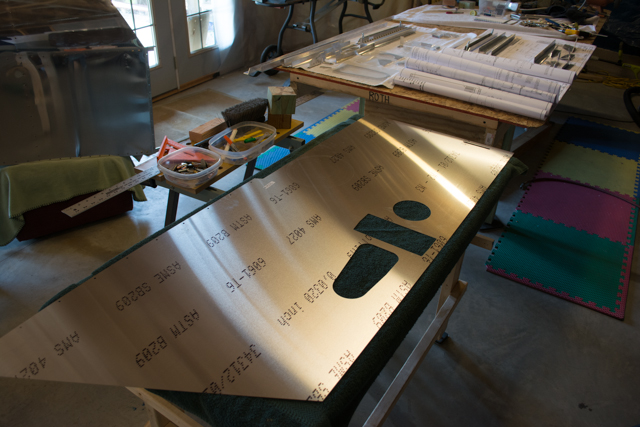
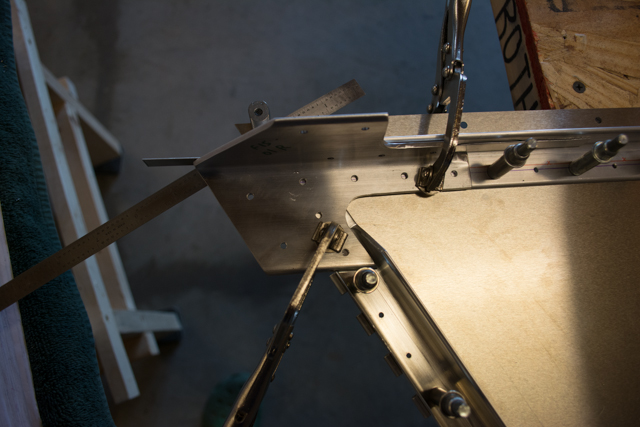
Unlike many other parts of the build when it comes to putting internal parts onto skins, there are no pre-cut laser-drilled holes in the skins to assist with the process. Everything on the side panels has to be custom fitted using the plans and accurate measuring and positioning.
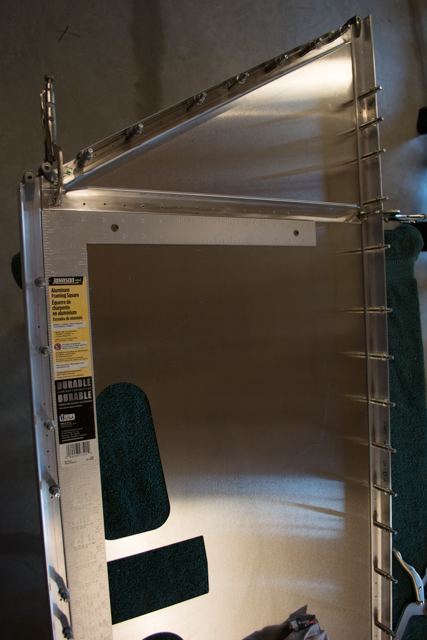
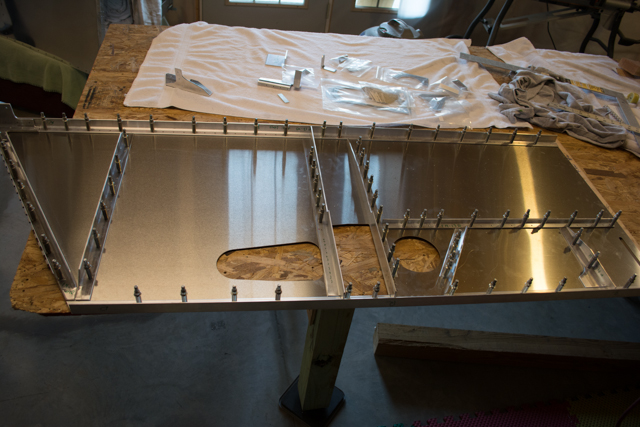
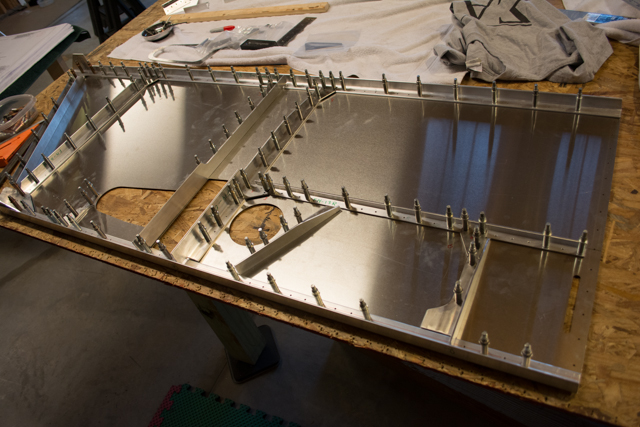
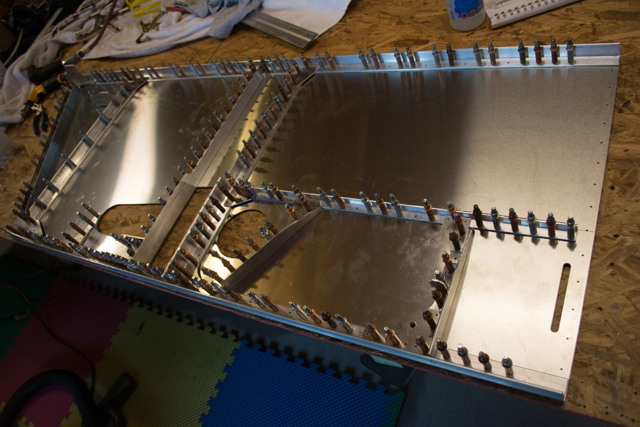
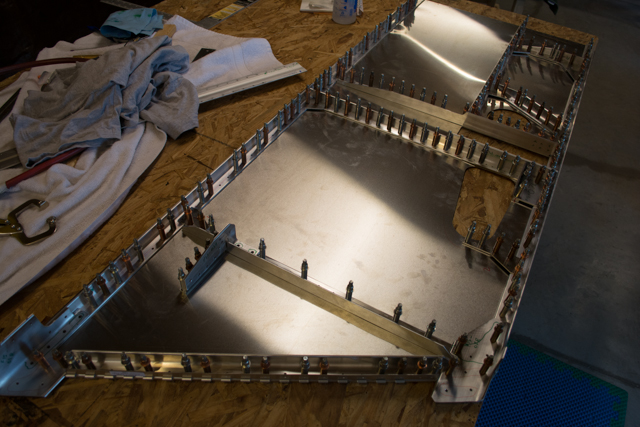
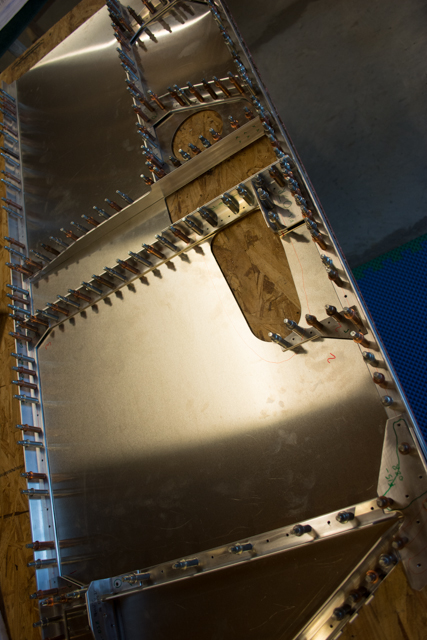
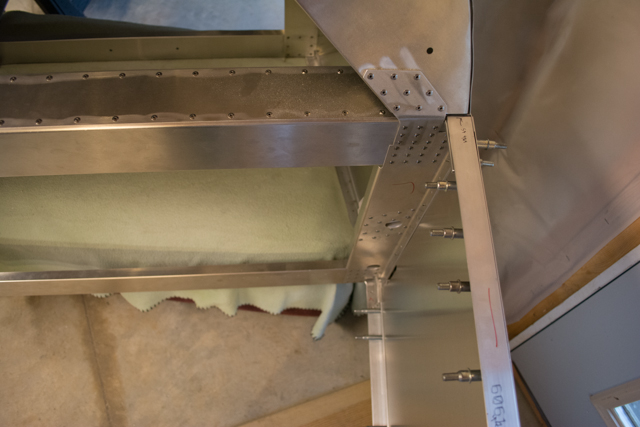
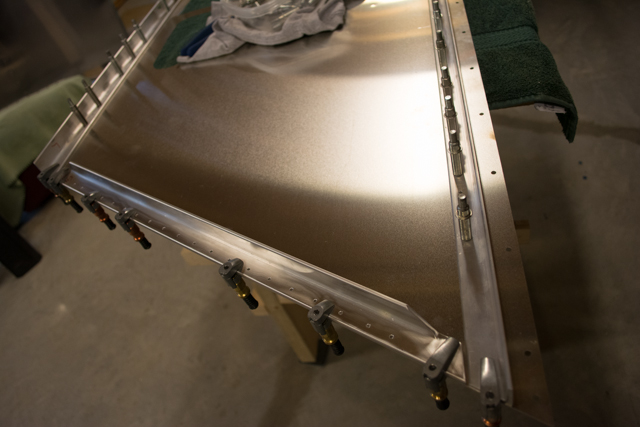
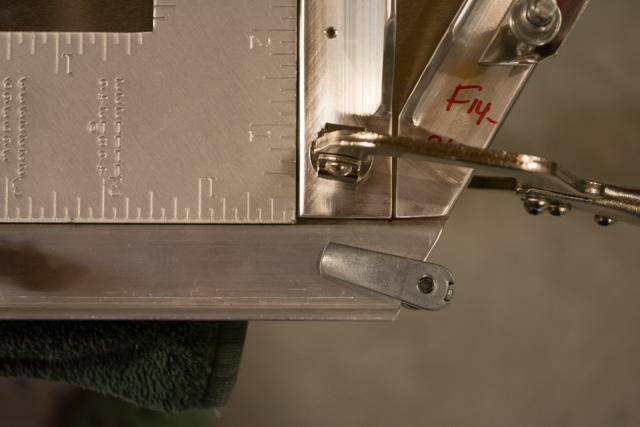
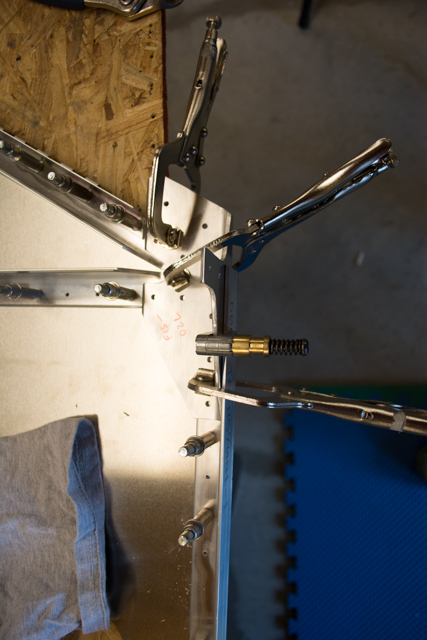
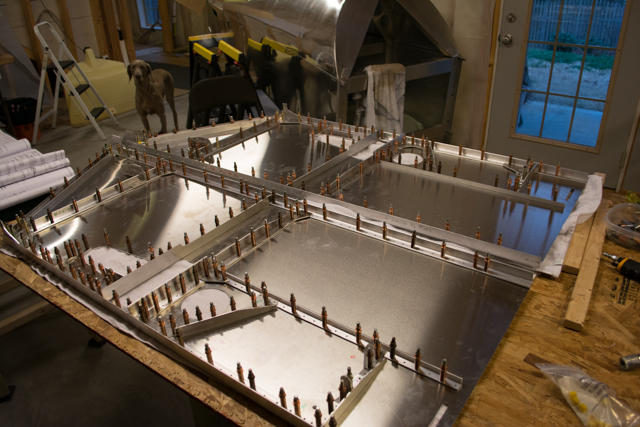
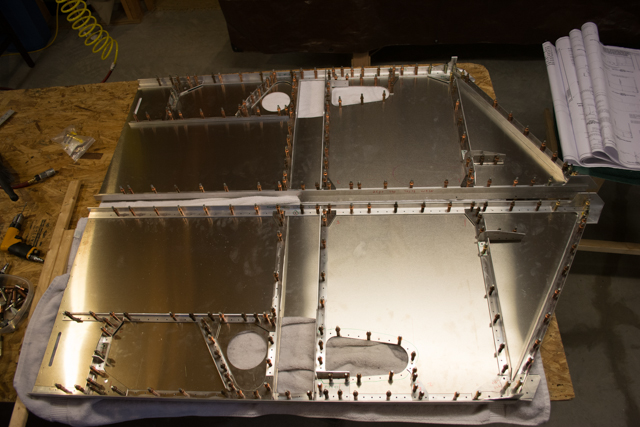
Here is a sequence of photos of the right side panel being progressively built. I followed the sequence given in the plans, and each part is measured, placed, drilled, clecoed, then up-drilled once everything is in position.
Once the right panel was fully drilled, I began work on the left side panel.
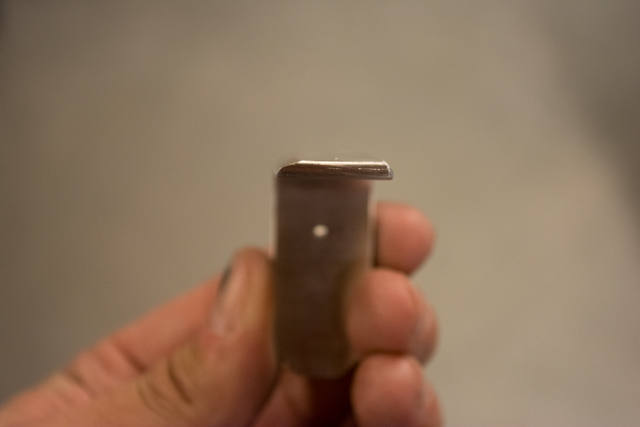
Several of the angle parts call for a radius along a certain outer edge, so they they will fit snugly and smoothly into the inside edge of another angle piece. The plans always call for this radius to be 1/8″, but many of the angle components have a larger radius on the inside. This requires the removal of more material than illustrated in the plans.
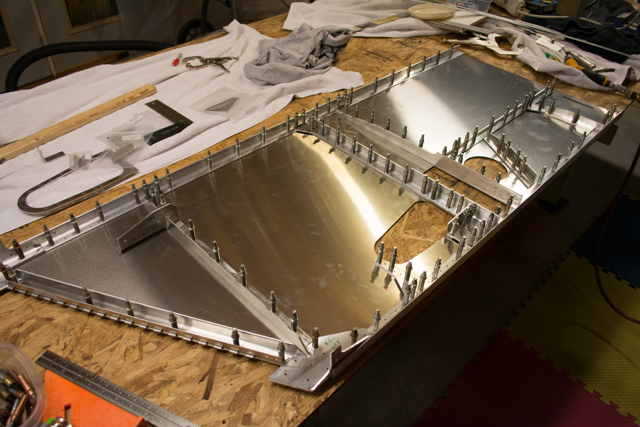
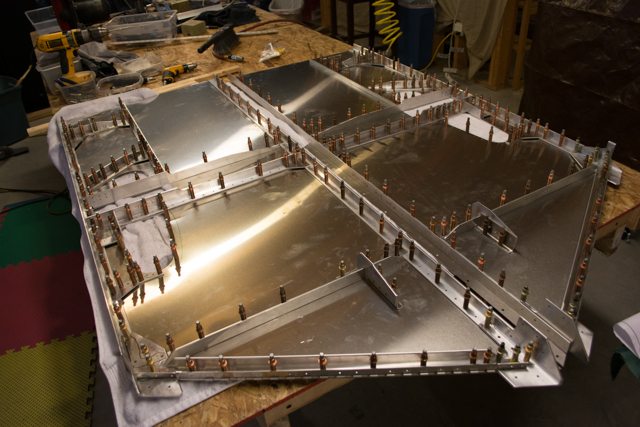
Here are both side panels fully up-drilled.
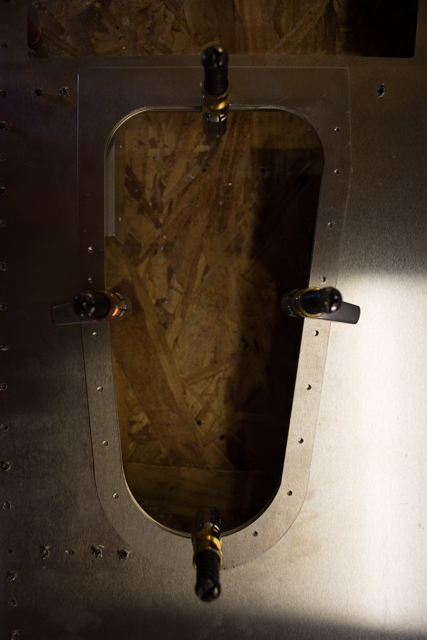
I have several more steps to go (besides deburring) to complete the side panels, including polish, cutting NACA vent holes for cockpit ventilation, and slots in the upper longerons for the canopy latches.


