Total Build Time: 612 Hours.
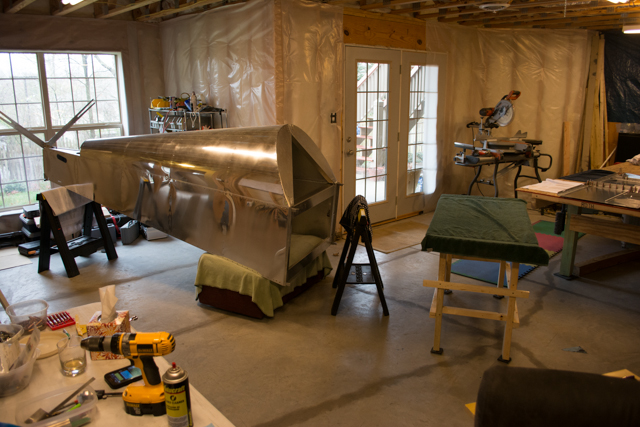
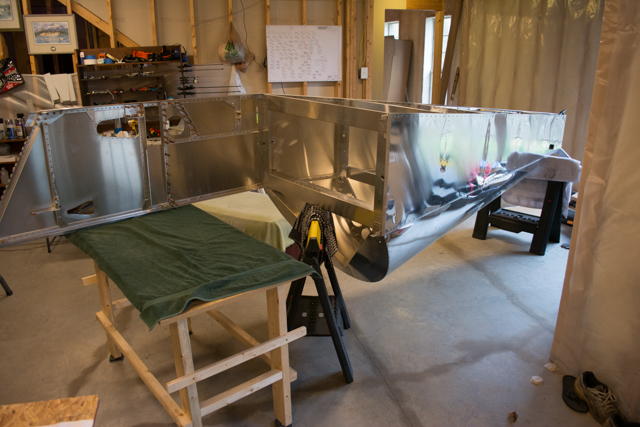
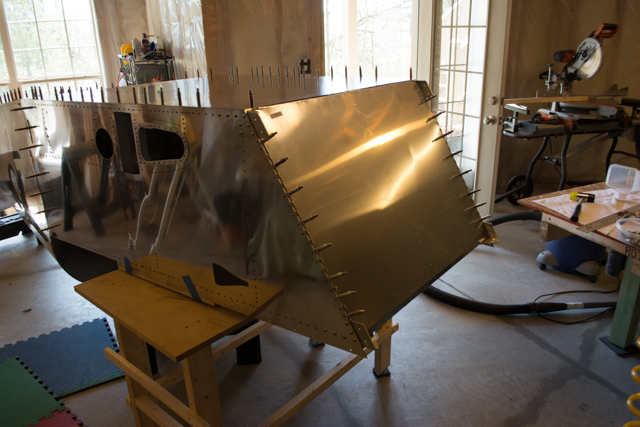
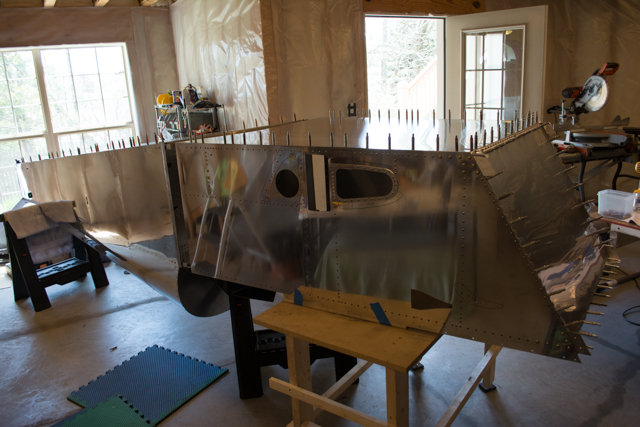
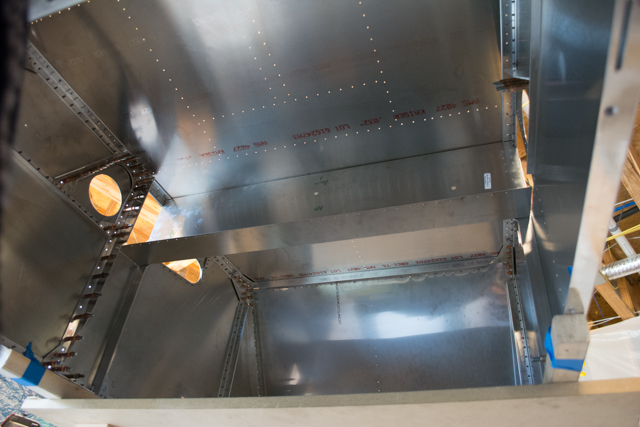
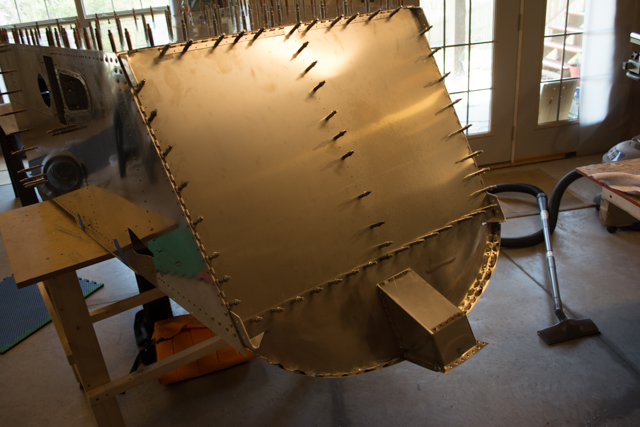
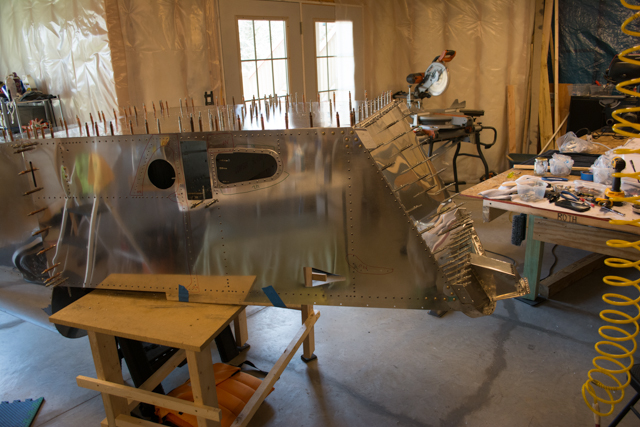
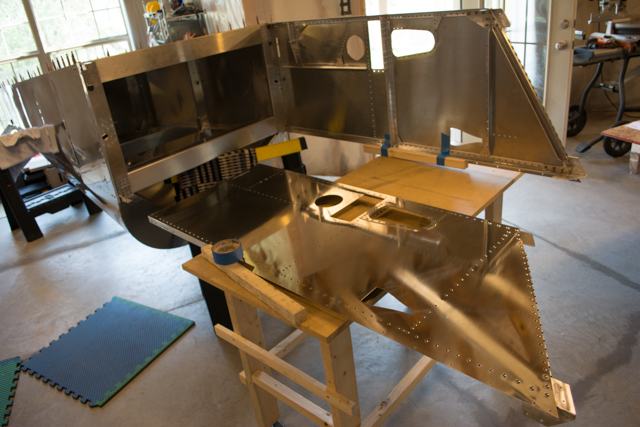
With the side panels complete, it’s time to start putting the forward fuselage together! I positioned the aft fuselage and flipped it upside down.
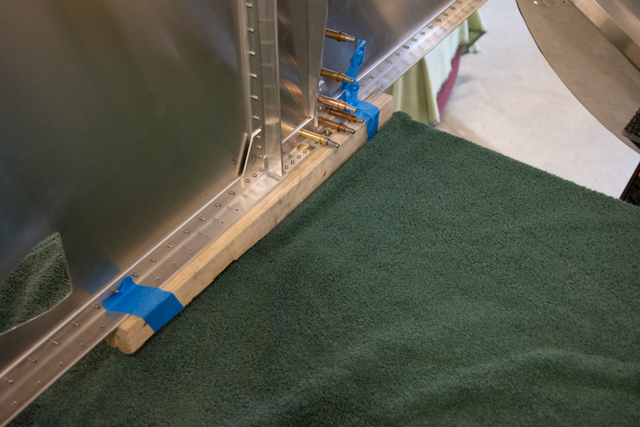
I shimmed the fuselage and placed a table to support the side panels. I taped some 2×2 wood to the upper longerons to protect the skins from the table.
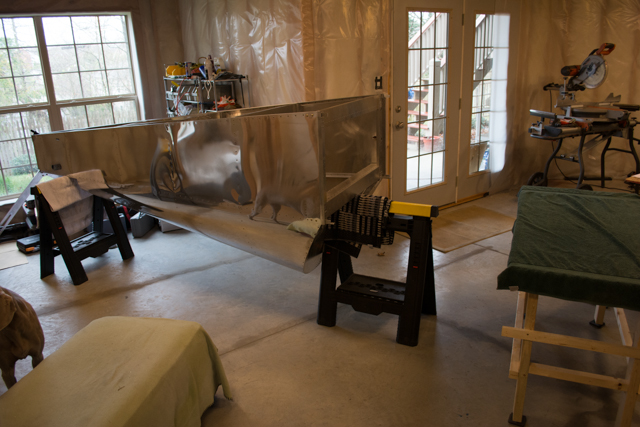
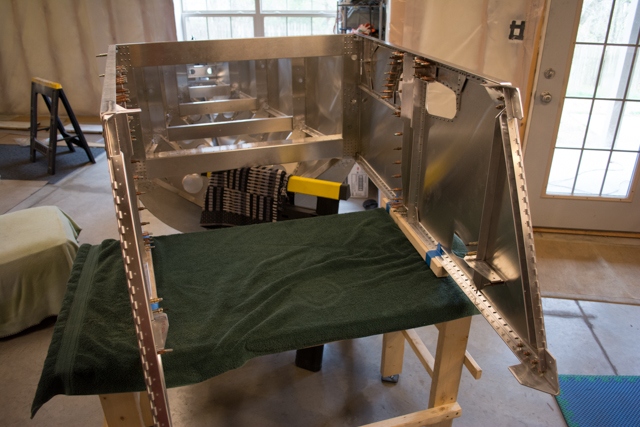
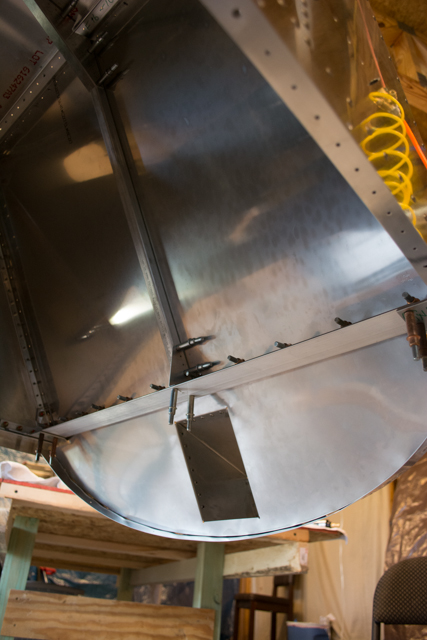
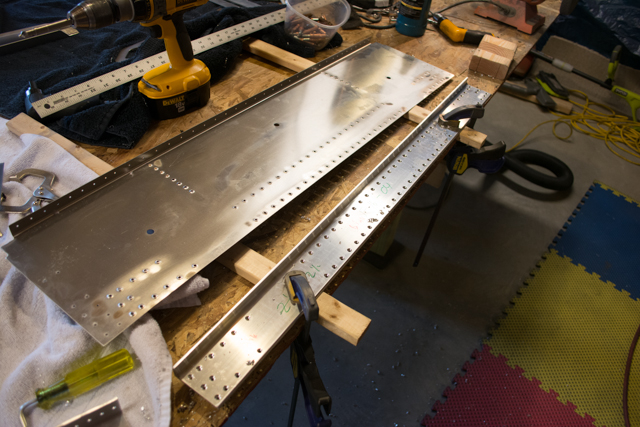
Then I positioned the fwd fuselage floor. Alignment per the plans is very important here, as the floor will square-up the shape of the entire forward fuselage.
Then I attached the upper and lower forward cross ties, which lock in the box shape, and placed the lower firewall into position.
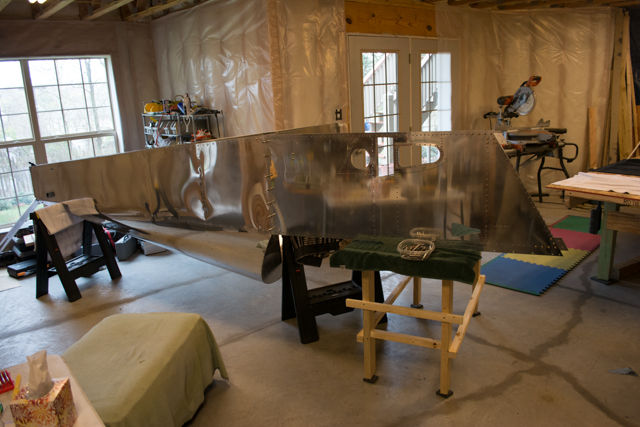
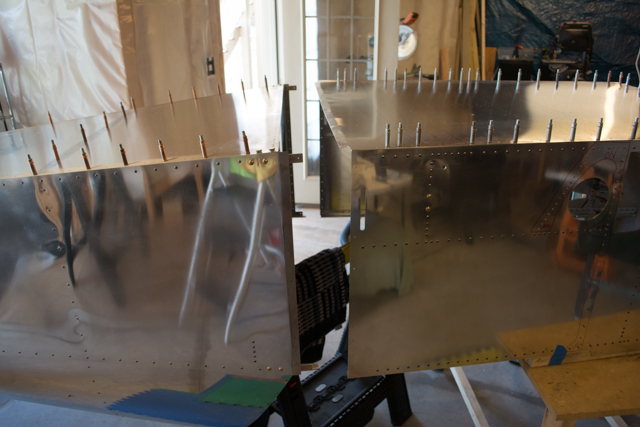
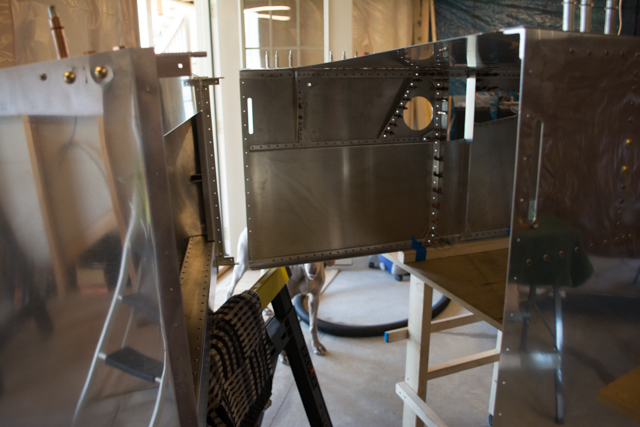
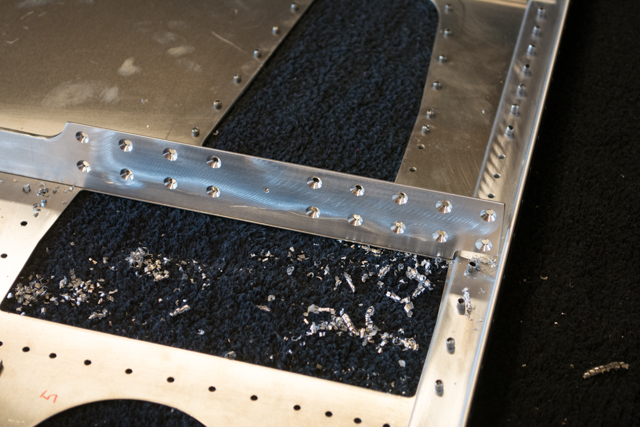
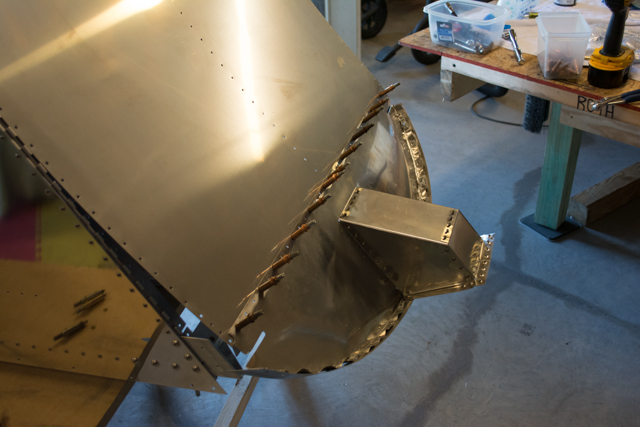
At this point I realized that I still needed to place the lower horizontal splice-plates into position. Rather than disassemble all of the forward fuselage I had just put together, I realized that I could just separate the 2 halves, giving me the access I needed to install splice-plates.
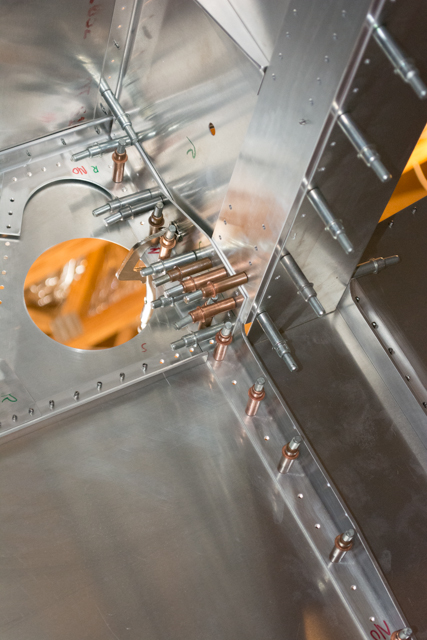
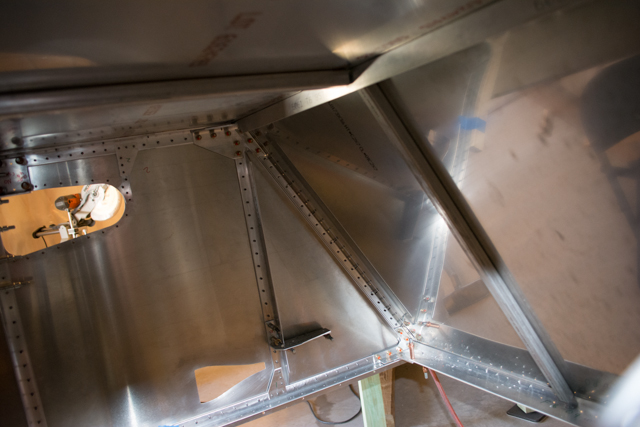
I then joined the 2 fuselage sections back together, drilled the fwd fuselage floor into position, and began working on the spar tunnel, from underneath the assembly.
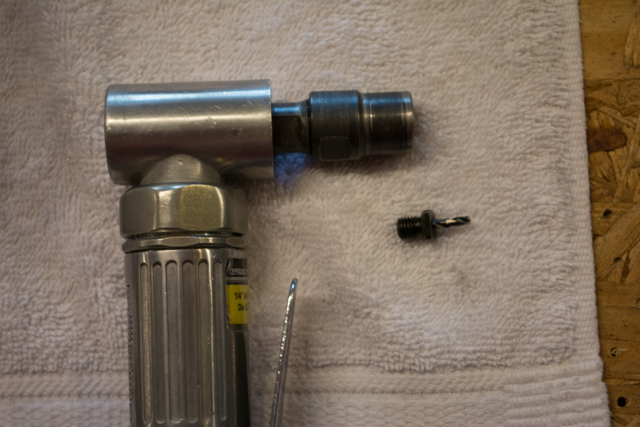
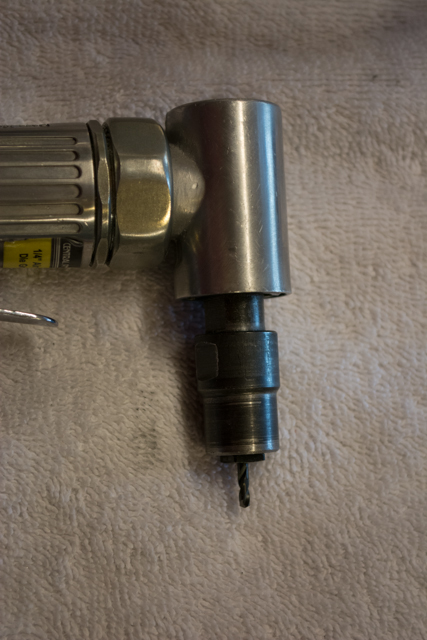
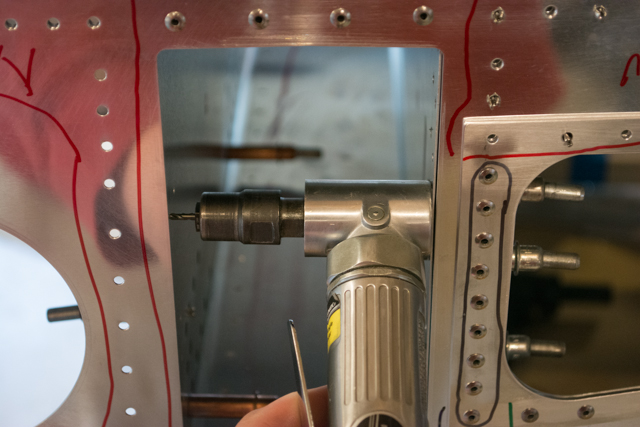
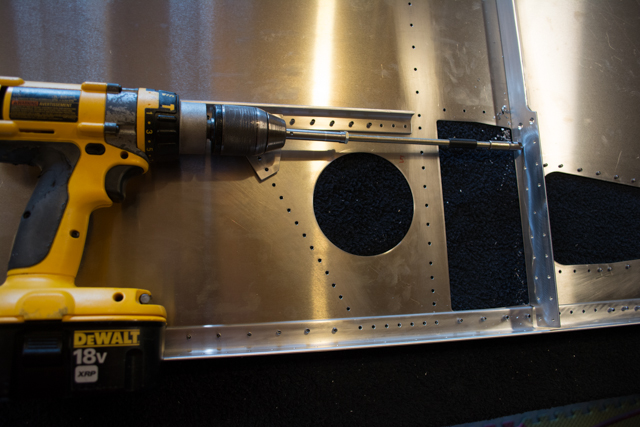
At first I thought that I would need a angle drill adapter in order to drill holes within the spar tunnel. Then I realized if I installed a stubby drill bit directly into my die grinder, it was short enough to fit.
Of course, immediately after coming up with this method, I discovered that it was totally unnecessary. By following the suggested assembly order in the plans, there is never a need to drill from within the spar tunnel like this. A 6″ long drill bit in my air drill was all I needed to drill all of the holes during this part of the assembly.
Once the spar tunnel was located and up-drilled, a lot of countersinking and dimpling is done. This is for flush rivets that are installed inside the spar tunnel, to keep from interfering with the wing spars as they pass through the tunnel.
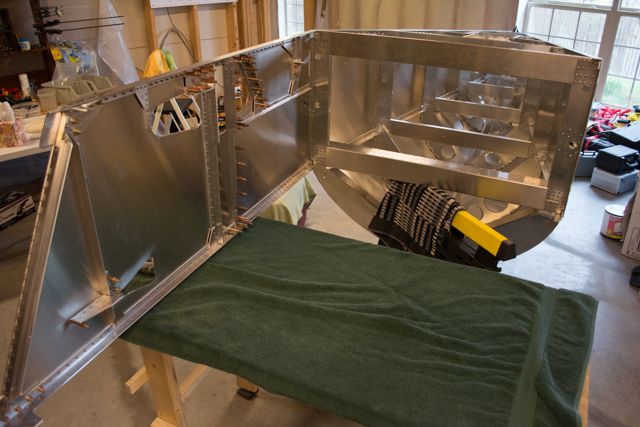
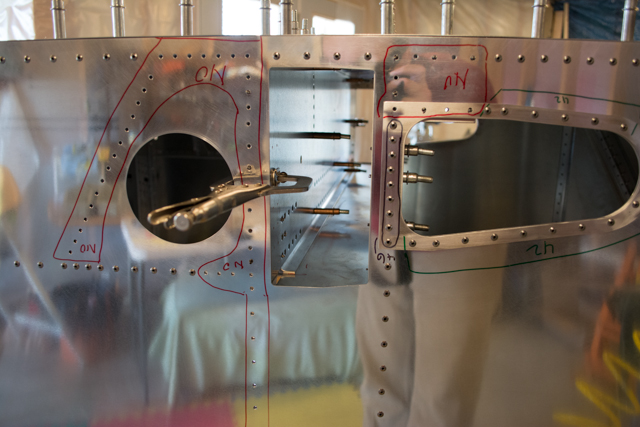
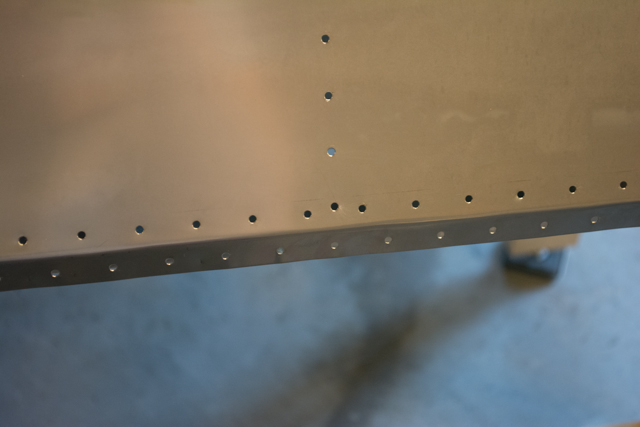
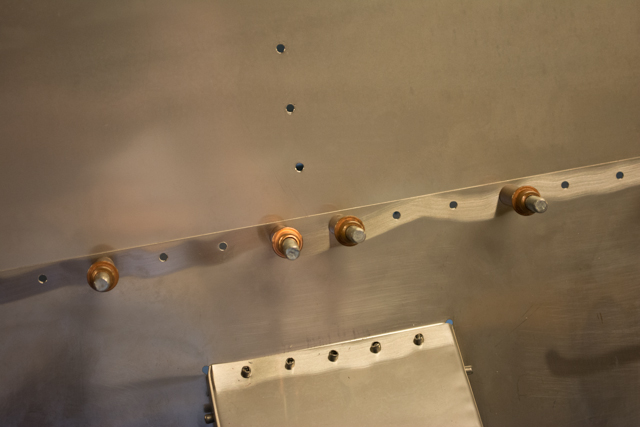
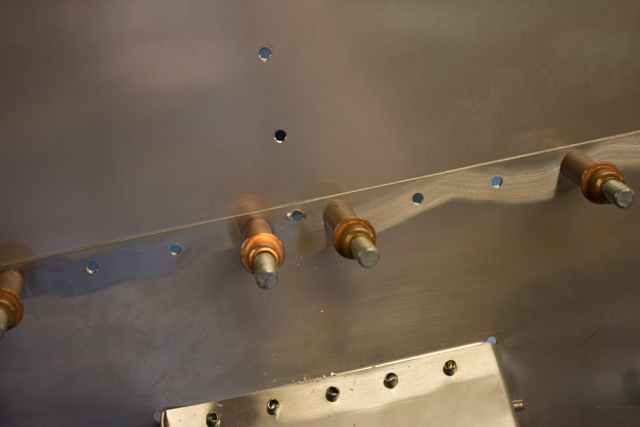
There is one extra hole in the upper firewall that I missed during the initial assembly but caught right before I was about to start riveting, here are some pictures of it. It’s the bottom hole in the center.
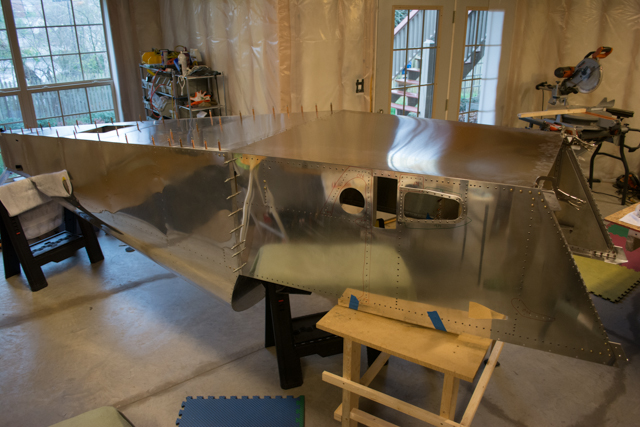
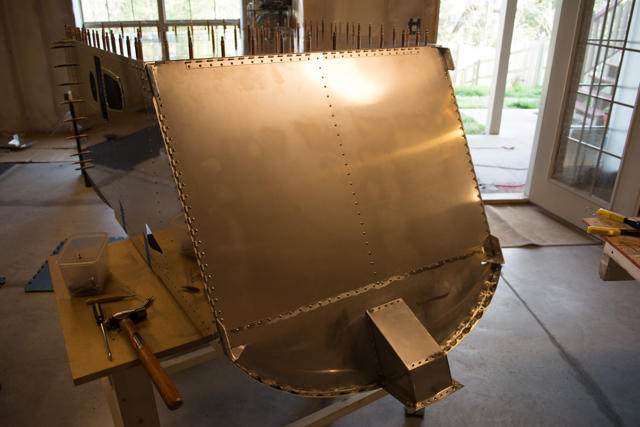
Finally, with everything deburred, the fuselage box is riveted together.
After consulting with some other builders, I decided to leave the floor un-riveted at this time. There should still be a lot I can complete on the project before the floor is required to be riveted, and having it un-riveted leaves me with extra options and access until that time comes. Particularly when it comes to installing the fuel tank and wiring behind the instrument panel. I also did not rivet the side panel skins to the aft fuselage side skins. This leaves me the additional option of separating the fuselage halves in the future as well, if necessary. I’ve marked reminders for myself to clean up this unfinished work later, but for now it’s nice to have options.


