Total Build Time: 661 Hours.
Finally, the seat installation… a fabrication and assembly process that I’ve both been dreading and looking forward to, for quite some time. Dreading because it involves large accurate bends in aluminum sheet metal that I have not performed before (and is typically done on a proper bending brake, which I do not have), yet fun because it will mark the first time I’ll get to sit in my airplane (and make the requisite airplane flying noises.)
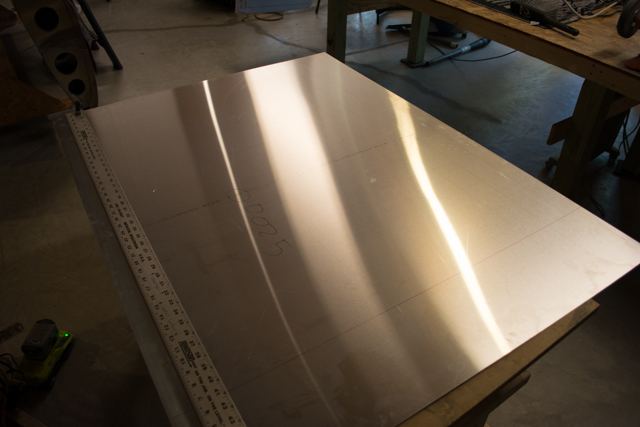
Here is how the seat begins it’s life. As a simple sheet of 0.025″ thick aluminum.
First step is to mark and cut the outer rectangle shape of the seat.
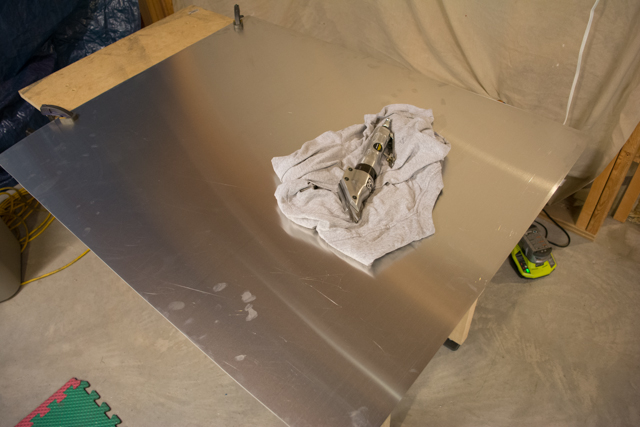
I made the first cut using a 4″ cutoff wheel, but it was very noisy and tricky to make a long, straight controlled cut. I made the second cut using pneumatic shears, which was easier, straighter, and made for a cleaner edge. The edges were then filed and finished.
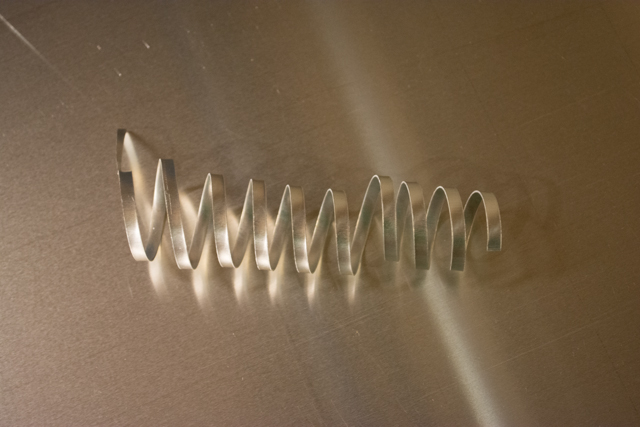
The shears do waste about a 1/4″ of material in the middle of it’s cutting path, but it makes for a nice decoration!
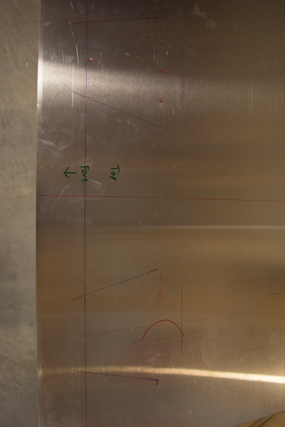
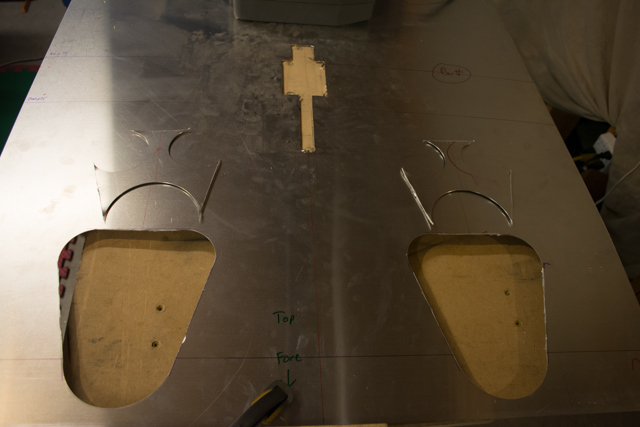
I then measured for the dual-control stick cutouts in the seat.
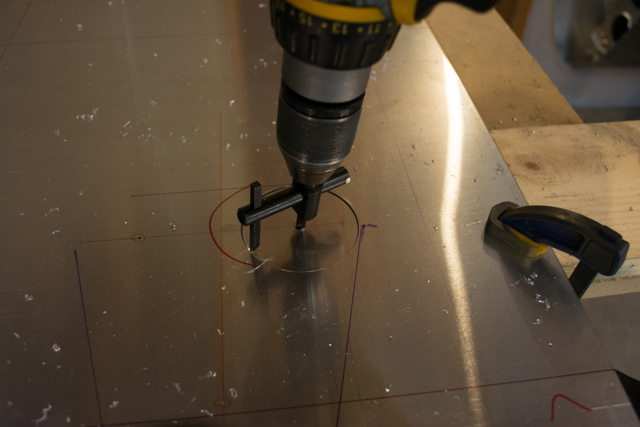
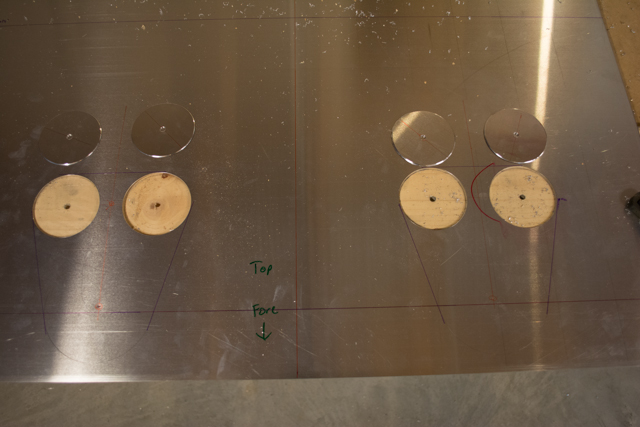
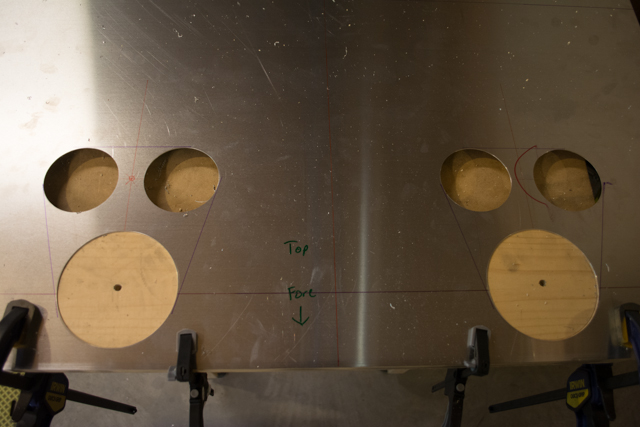
For this step I used a fly-cutter in my hand-held drill. I’ve read plenty on forums and whatnot about how dangerous this can be if done incorrectly. I clamped my work firmly to my table, and my electric drill also has an adjustable clutch that limits the torque that the head of the drill can put out. This clutch will prevent excess twisting force in the event that the fly cutter head gets caught in the metal (which can easily happen.) The fly cutter made short/quick work of these large circular cuts.
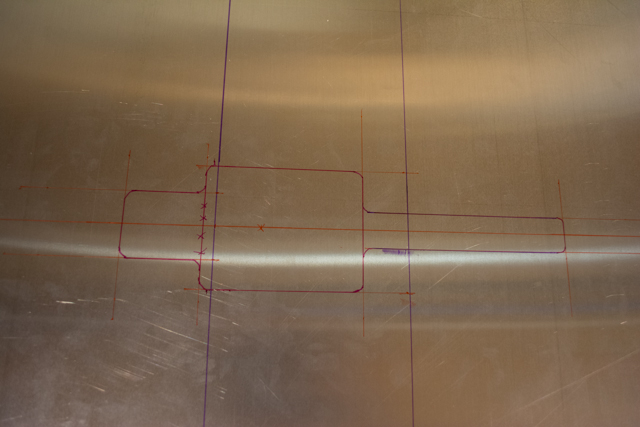
Here are the cutouts to clear the pushrod cover that I installed in my previous blog post. All straight-line cuts were using a dremel with a cutoff wheel.
I used a rasp bit in my die grinder to do most of the rough cleanup of the edges, then used progressively finer files, and finally several grades of scotch-brite pads to clean everything up.
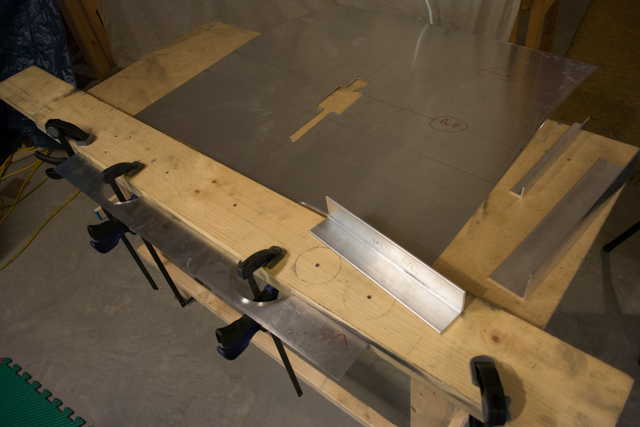
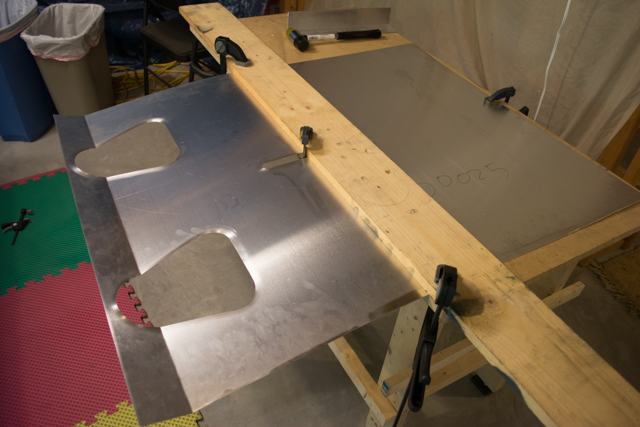
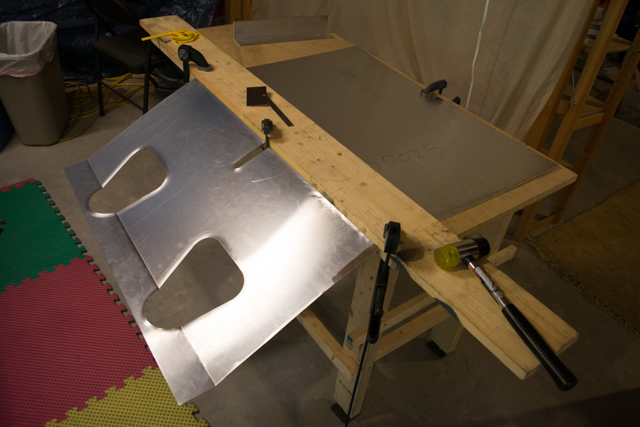
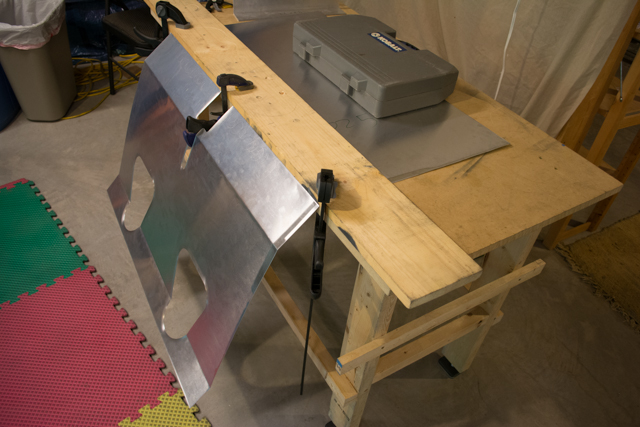
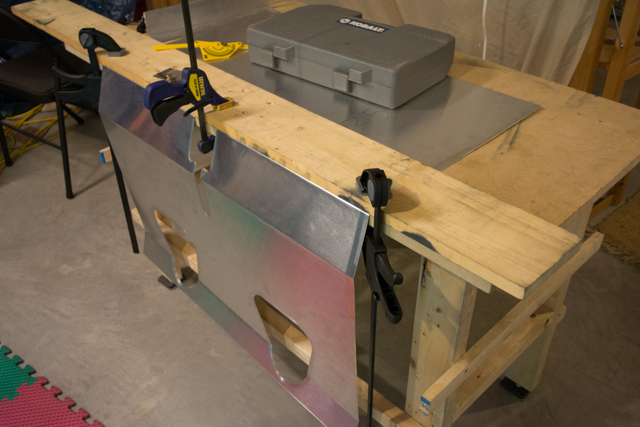
Next came the part I was dreading. The 3 big bends in the seat. Since I don’t have a bending brake, I decided to use the method that worked very well for me when I was making bends in the stainless steel firewall (a material that bends easier and is more forgiving than the aluminum.)
I carefully aligned my marks, and clamped the seat firmly to the table along the edge.
I then carefully and progressively coaxed the bend into the metal by banging it in a controlled manner with a plastic mallet. This method actually worked quite well, as you can see in these pictures.
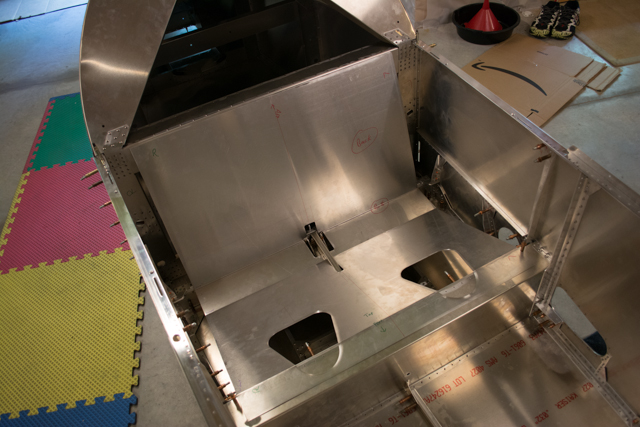
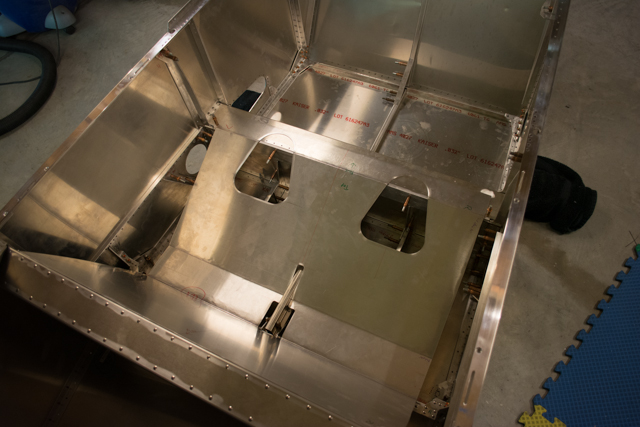
It looks like a seat! But where to put it?
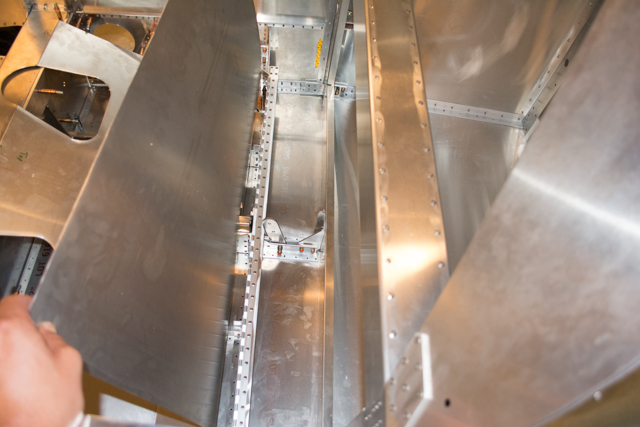
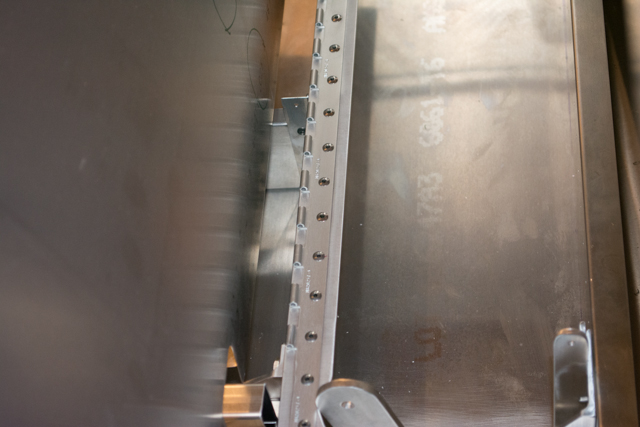
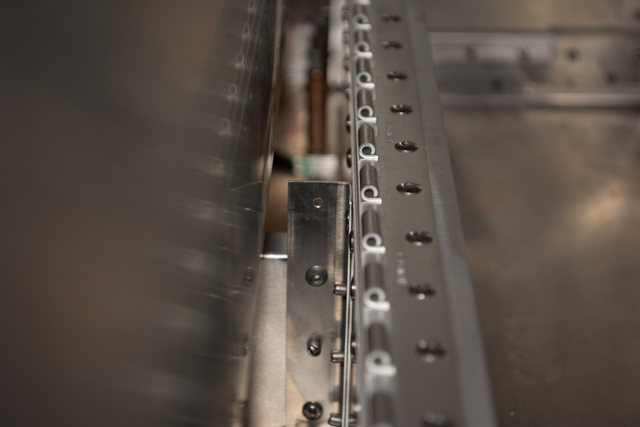
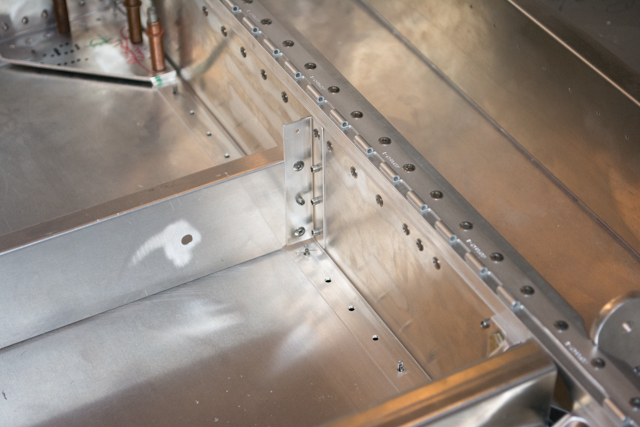
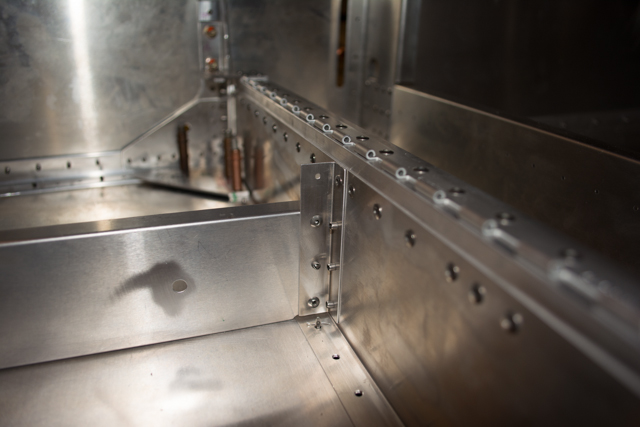
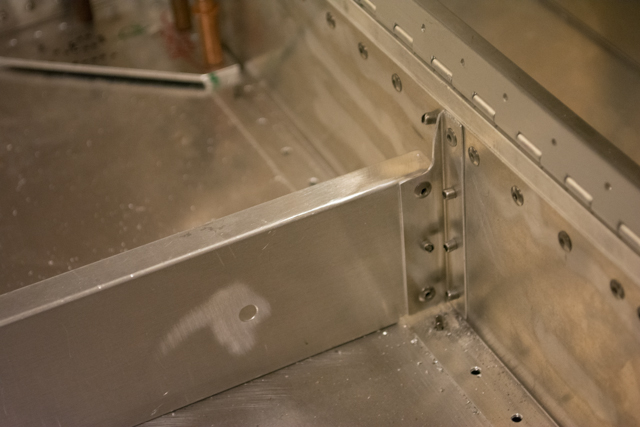
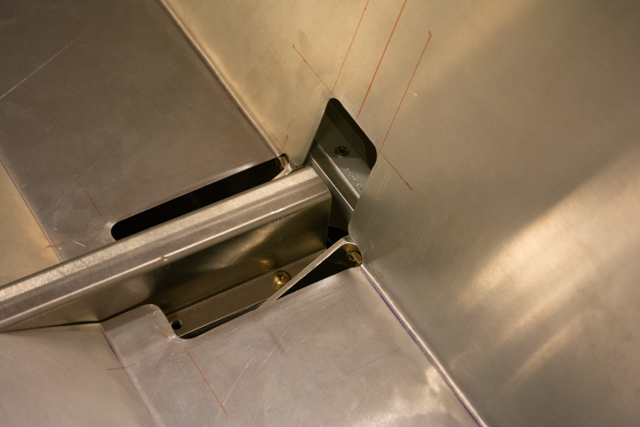
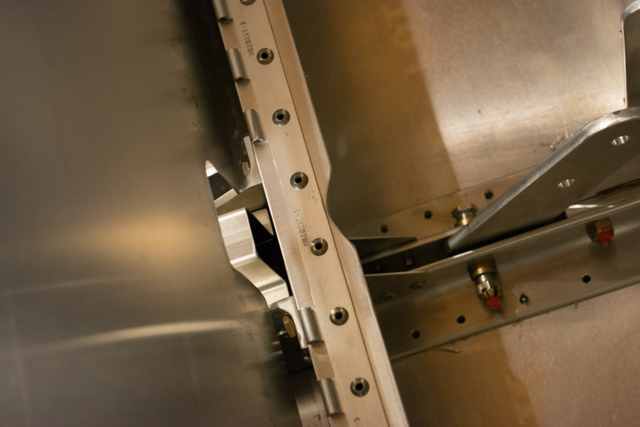
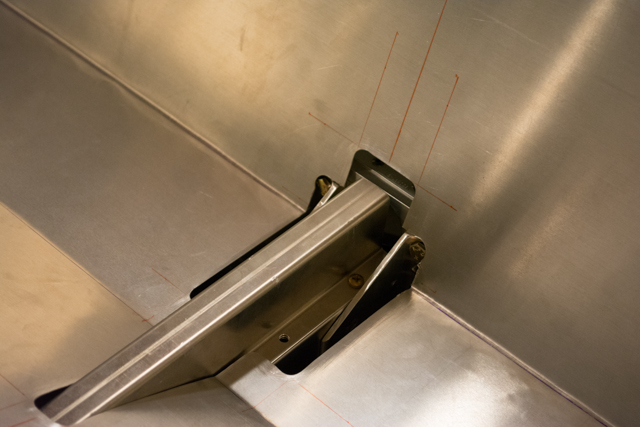
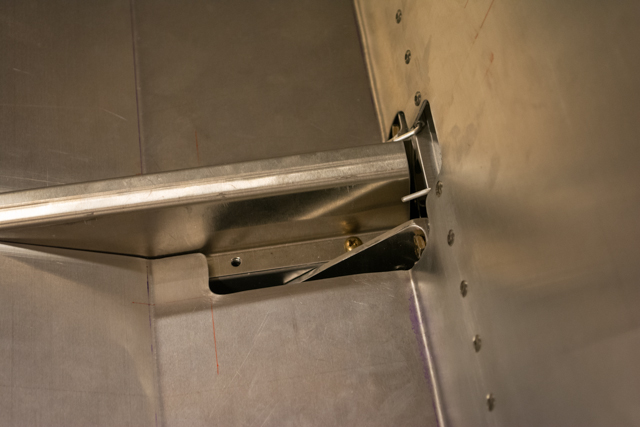
Bingo! But right away I noticed a problem. By default, the Waiex plans include something that’s an option in the Sonex plans… a lowered seat modification (which comes in handy for tall folks like myself.) However it was clear that the seat was not settling down to the proper height due to interference from below. Here are pictures of the clips that the seat was resting on.
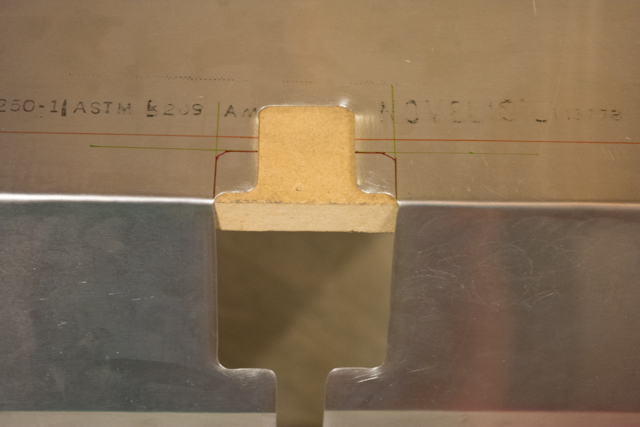
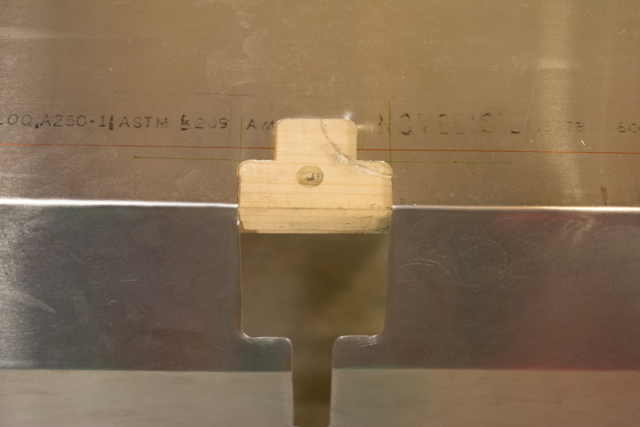
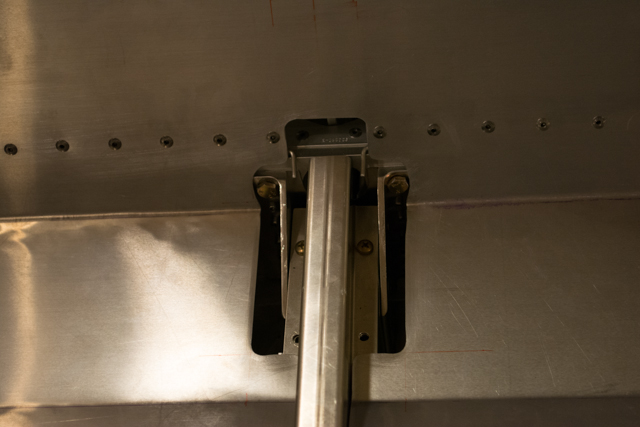
I contacted Sonex and they confirmed that it is indeed an issue, and the solution is to trip down the unneeded portion of those clips. Like so.
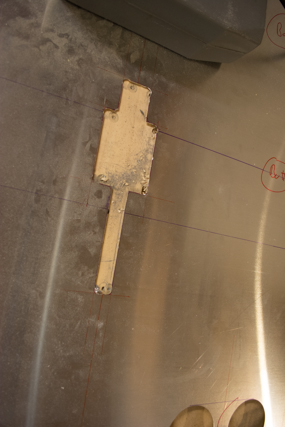
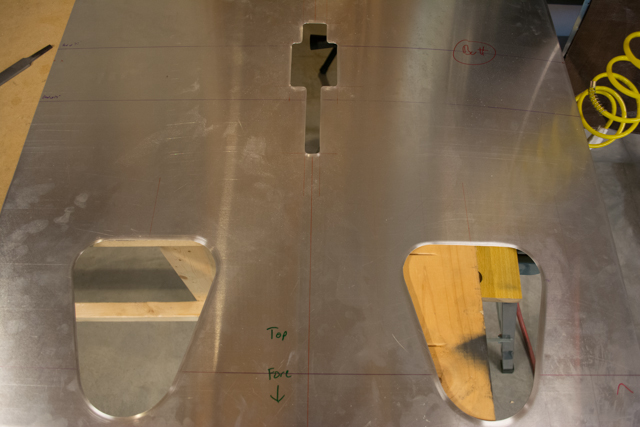
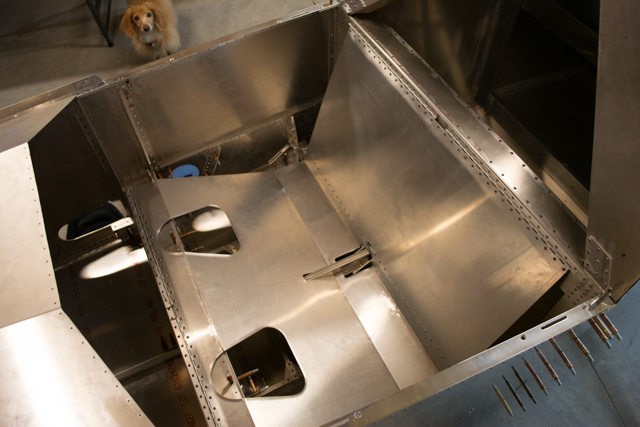
However, with these clips now cleared out of the way, a new issue became apparent… the center cut in the seat was not tall enough to clear the seat belt attach brackets.
The solution here was to simply enlarge the hole upwards. I ended up adding about 3/4″ to the height of the widest portion of the cutout.
Voila!
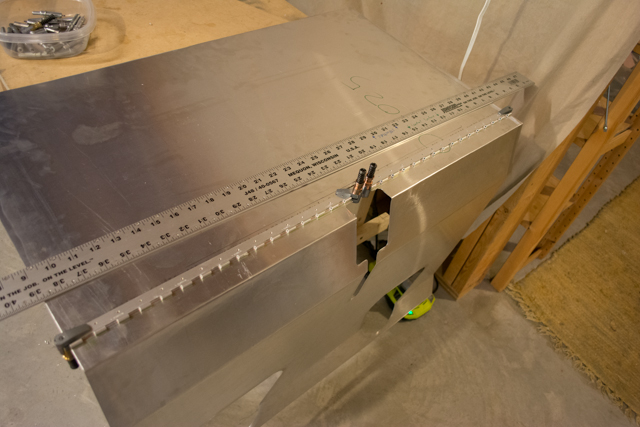
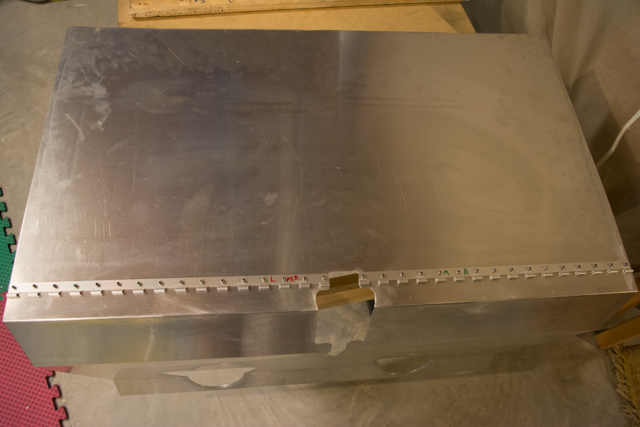
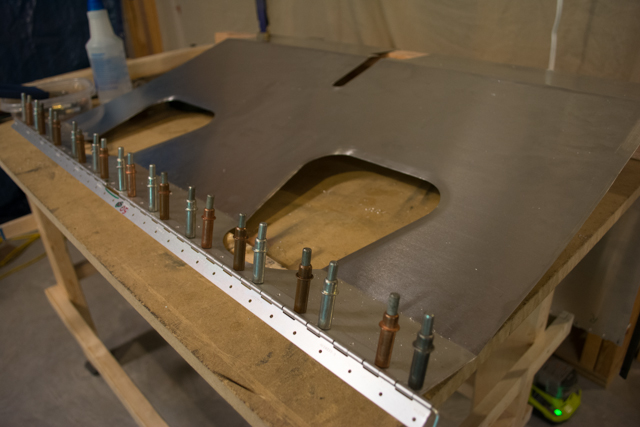
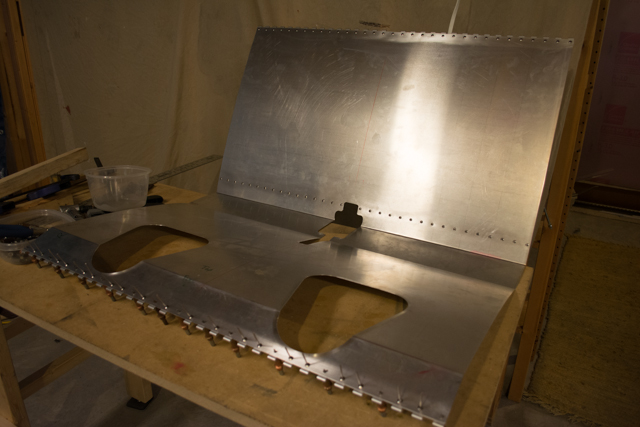
Next comes attaching the piano hinges that will hold the seat sling in position, and bear the weight of pilot and passenger. There are 3 total hinges, and I start with the one in the center. I ended up positioning this hinge about 1/8″ lower on the seat back (therefore raising the seat 1/8″) to help keep the seat bottom from resting on the channels that run beneath the seat.
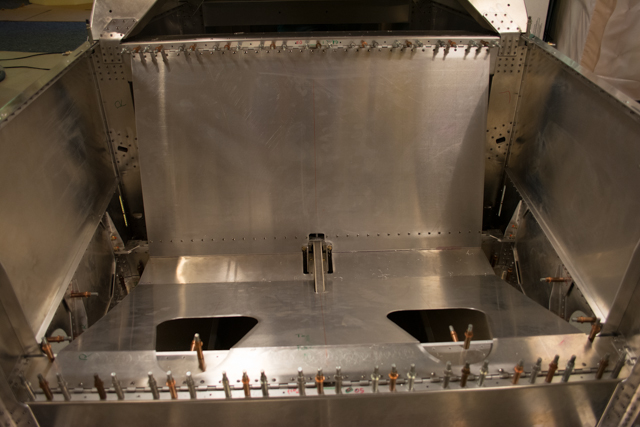
With the center position of the seat now fixed, I positioned and attached the top and bottom hinges.
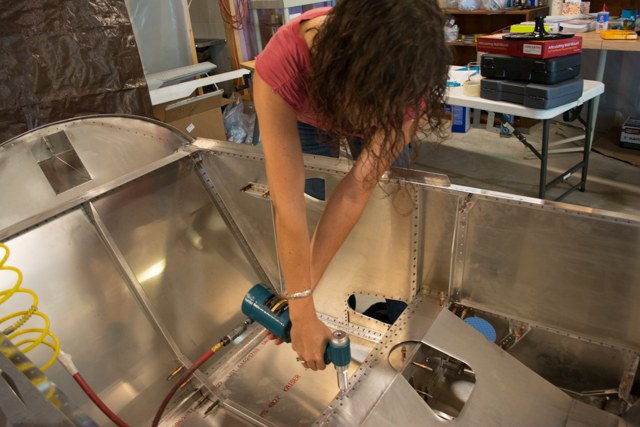
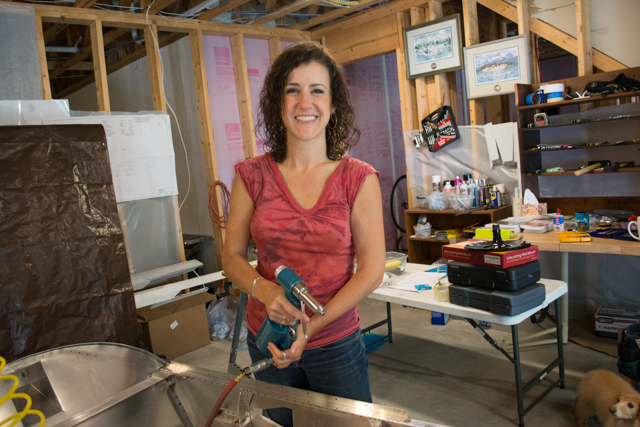
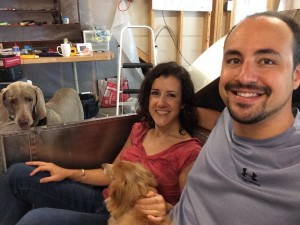
Almost done, just a few more rivets! In a rare display of me including someone else in the construction of my project, I had my lovely assistant Jessie install the last half dozen rivets… her first ever!
Nice technique!
Nice supervision Indiana, as always…
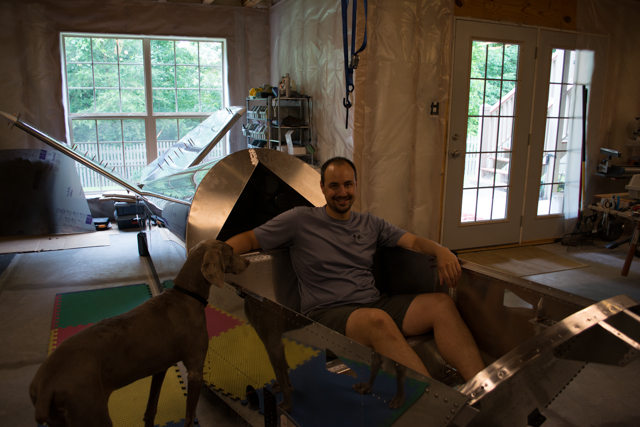
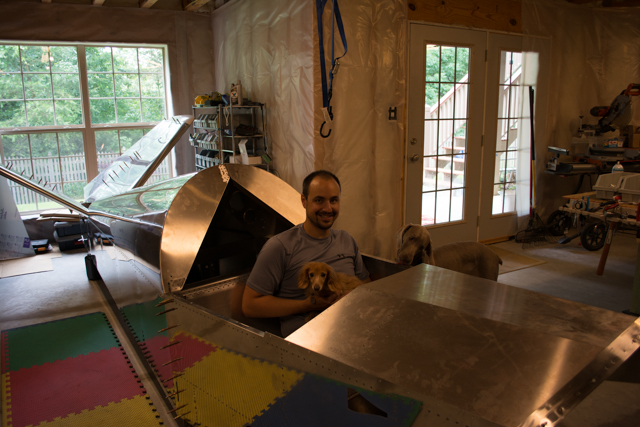
Of course, asking Jessie to help drive rivets was just a ploy… to get her to take pictures of me sitting in my airplane for the very first time!
The cockpit looks, and is, small, but it’s surprisingly comfortable and roomer than it looks. At 6″2″ tall, I have plenty of legroom, and even when future seat cushions are installed, it looks like I will have adequate headroom as well. Plus, it seats 2!
A great milestone in the project, and highly motivating.



3 Responses to Forward Fuselage #9 (Seat Installation)