Total Build Time: 670 Hours
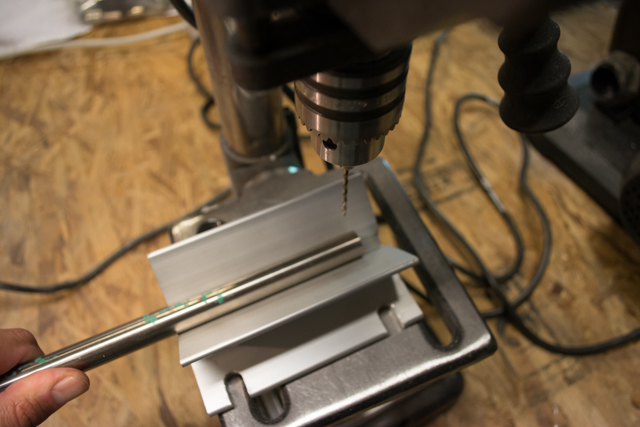
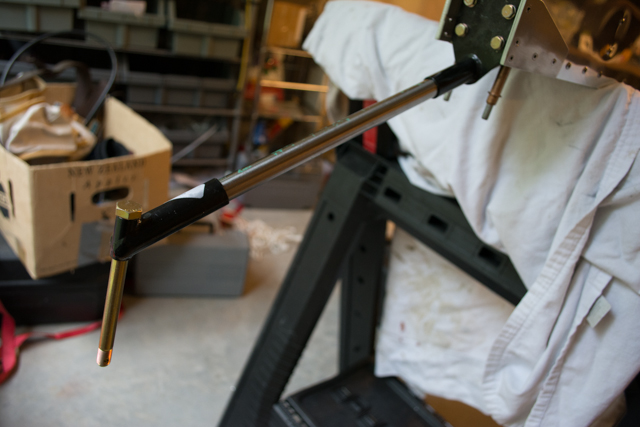
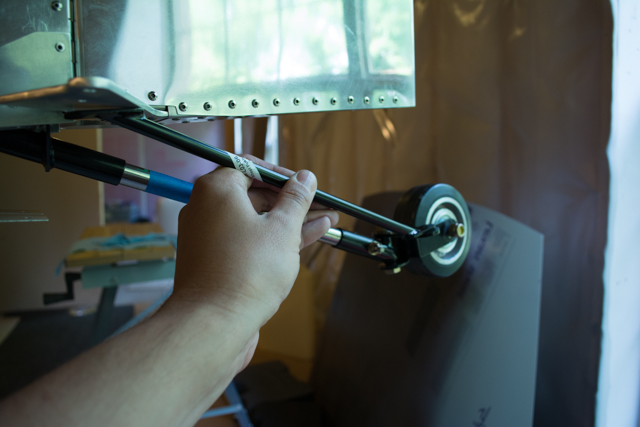
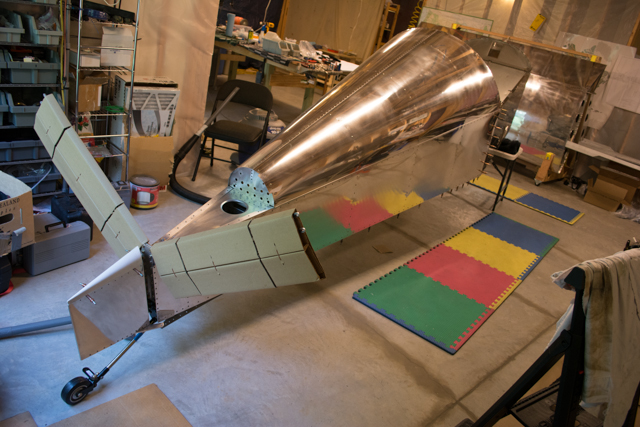
The tailwheel consists of a titanium spring, welded steel pivot points and a wheel. Drilling through the titanium proved to be the most difficult part of this process. Basically it took a LOT of cutting fluid and a LOT of patience, along with the best drill bits I could get my hands on.
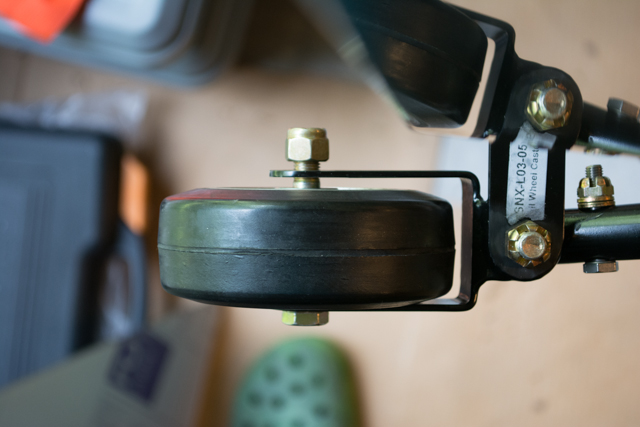
Once I had the first hole drilled, I did my best to align the second hole, which would determine the camber of the tailwheel.
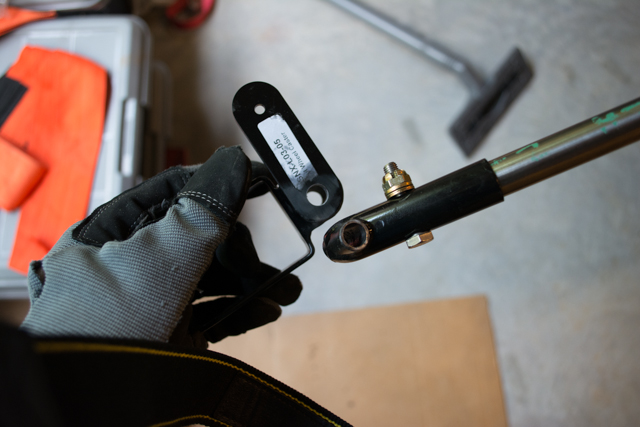
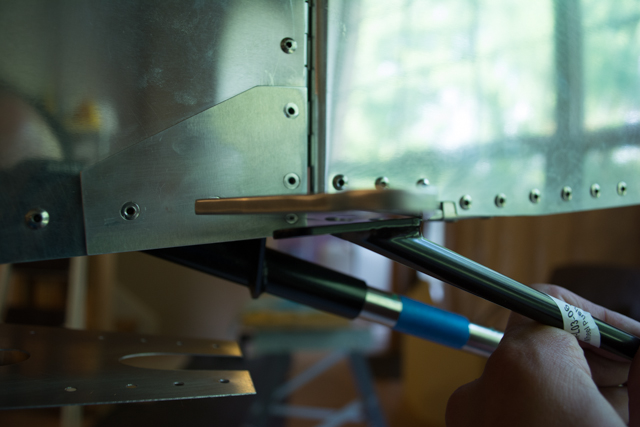
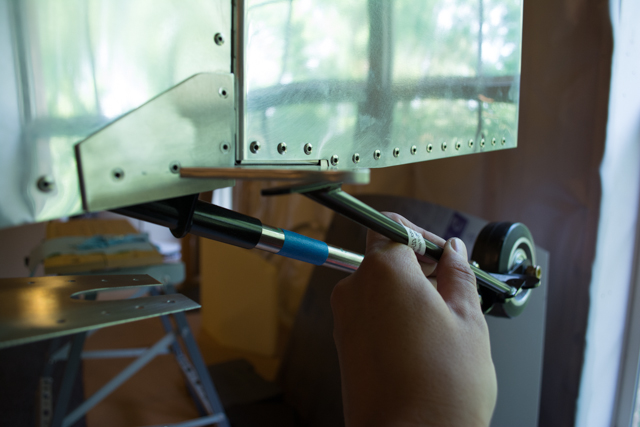
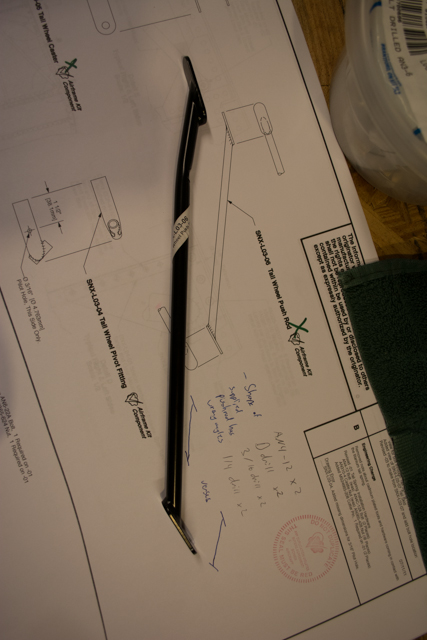
Once I had the tailwheel camber set, my next task was to attach the tailwheel push-rod. I found out, like many Sonex builders I’ve talked to, that the dimensions of the provided push-rod do not fit the assembly very well.
My solution to this problem was to put a bend in this push-rod, such that it will rest flush with the plates that move it.
This slight bend gave me a good fitment and a satisfactory tailwheel setup.
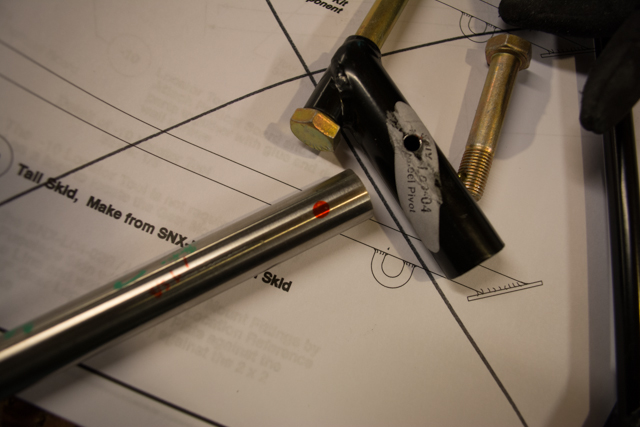
I did not get the tailwheel camber correct on my first try. I did end up needing to re-order the tail wheel pivot fitting and re-drill it to give a flat camber to my tailwheel.
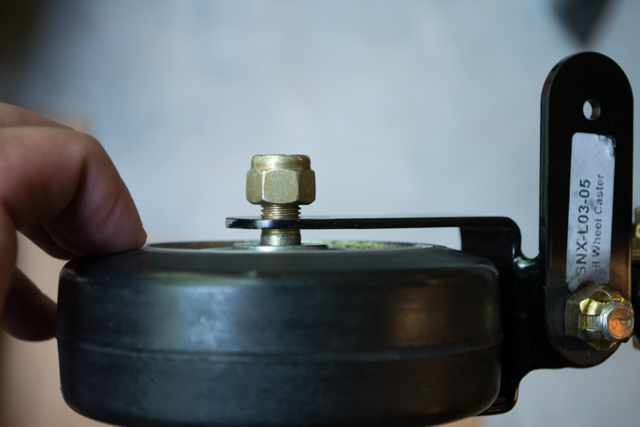
The width of the welded tailwheel fitting that came with my kit was a bit too wide for the tailwheel that was called for in the hardware lists.
I added several AN6 washers to fill the gap.


