Total Build Time: 806 hours.
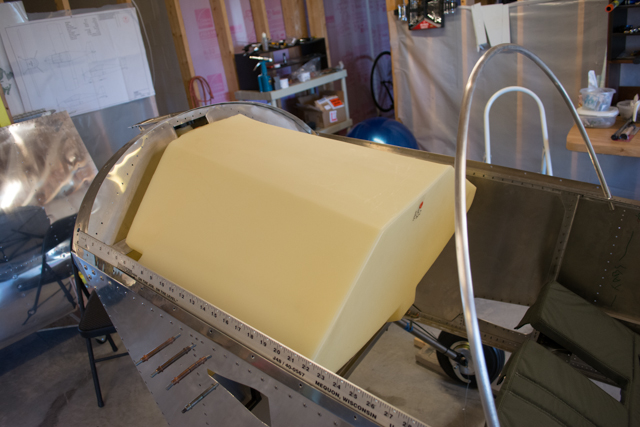
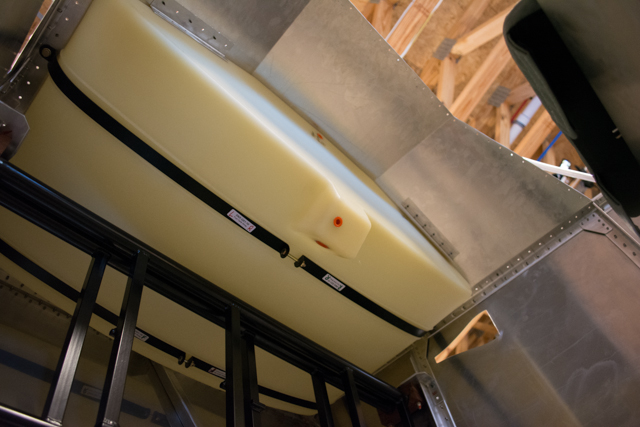
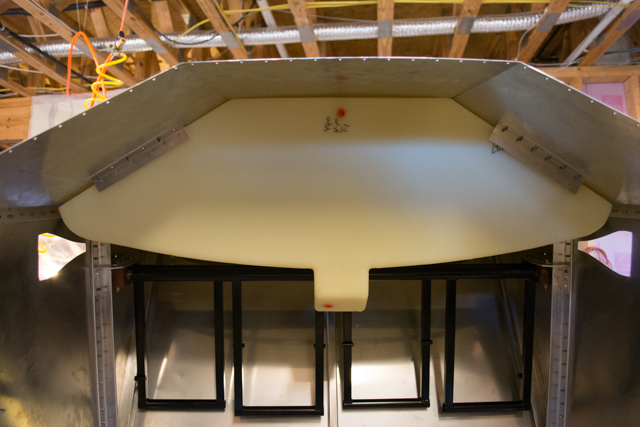
With my Aerovee engine build on hold due to cylinder head issues, I turned my attention back to the airframe. I moved forward with the initial fitting of the fuel tank. The very durable rotationally molded polyethelyne fuel tank sits beneith the glareshield (and in front of the pilot). It is held in place by straps that secure it from underneath and hold it against the glare-shield above.
This was one job made much easier by the fact that I had not yet riveted the forward fuselage floor in place. I was able to sit on the floor underneath the airframe and work on the straps that hold the fuel tank in place.
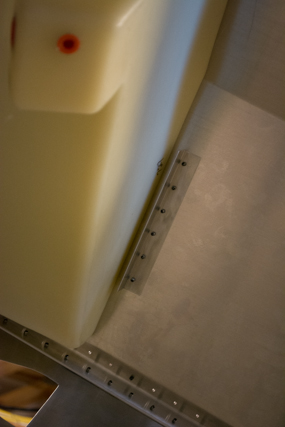
Once I had the fuel tank in place, I noticed about a 1/4″ gap between the stop angles riveted to the glareshield and the fuel tank itself.
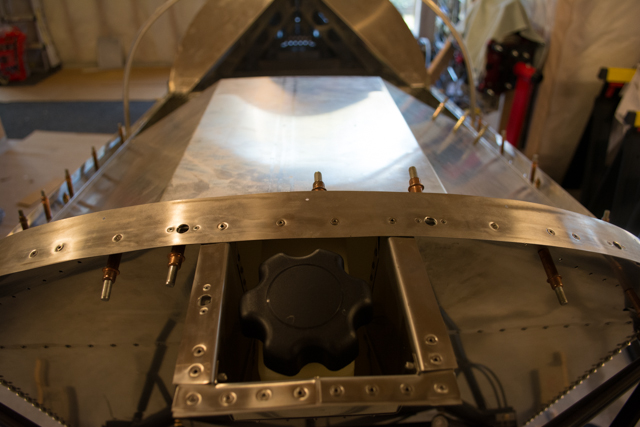
The plans say to push the tank back against the stops, however doing so would make the filler cap sit under the forward windshield strap and be unaccessable. The pic below shows the cap with the tank pushed forward (rather than back against the stops.)
The rear fuel tank stops, per the plans, are located relative to the AFT edge of the glare-shield (rather than the firewall end.) I decided that the solution was to remake the stops and place them closer to the fuel tank in its ideal position. After I relocated the stops, I was able to push the tank aft against them and still have the filler cap in an accessible location. My suggestion to other builders would be to wait to fit/install the fuel tank stops onto the glare-shield until the tank is in position.


