Total Build Time: 832 Hours.
I received my 2nd replacement cylinder head from Sonex, cleaned it up and installed it. I purchased a compression tester while waiting for the new head so I could more accurately check and record the leakage in each cylinder.
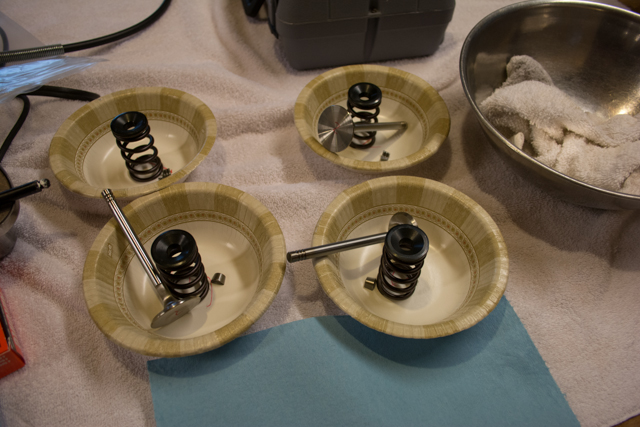
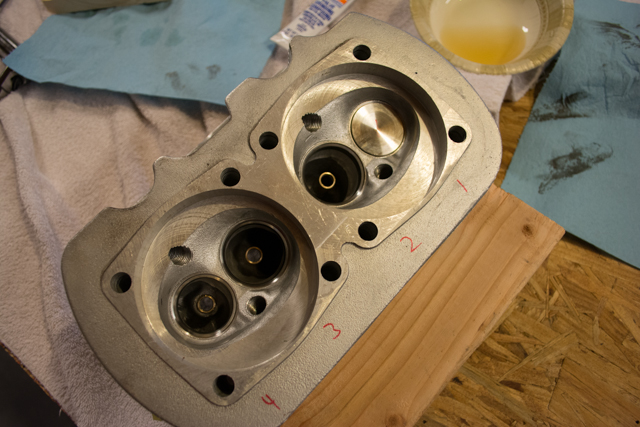
My compression test results on the new cylinder head without any modifications were as follows (cyl #1 and #2): 80/64, 80/48. The valves in the new head were sealing MUCH better than the previous one. I then removed the head and valves and lapped them.
Compression test after lapping was: 80/76, 80/69, a marked improvement. On the other side, with lapped valves, compression for #3 and #4 were: 80/77, 80/76. I was happy with these results and proceeded to finish up the engine.
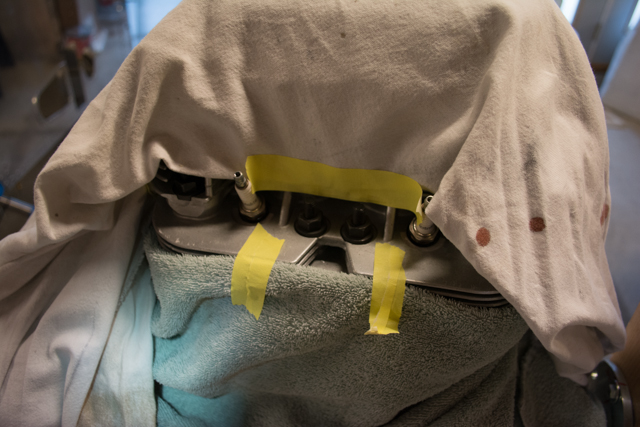
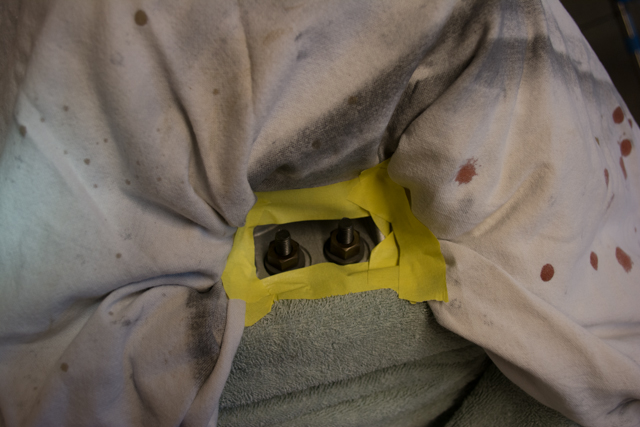
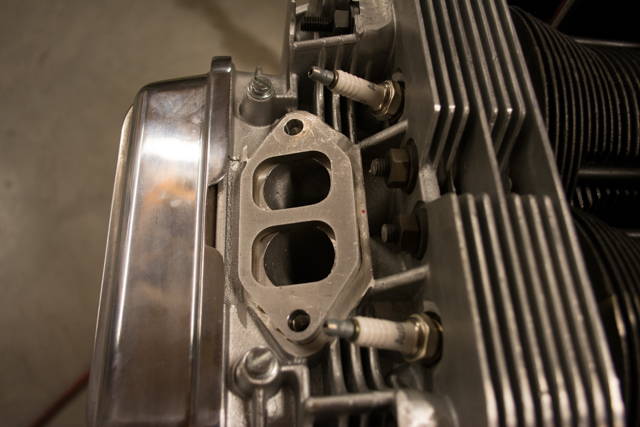
The intake manifold required 2 cylinder studs per side to be trimmed for clearance.
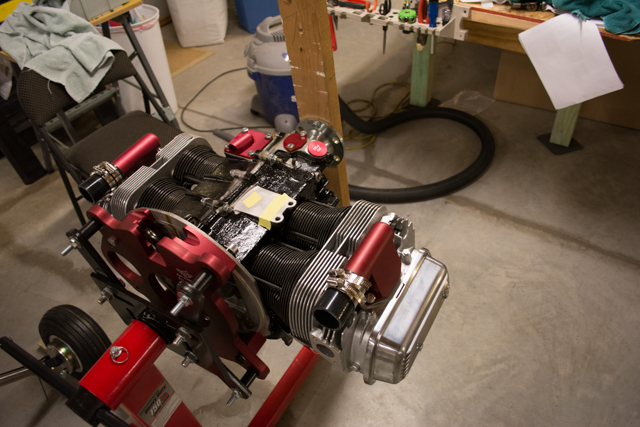
Here are some pictures of the intake manifold elbows in position.
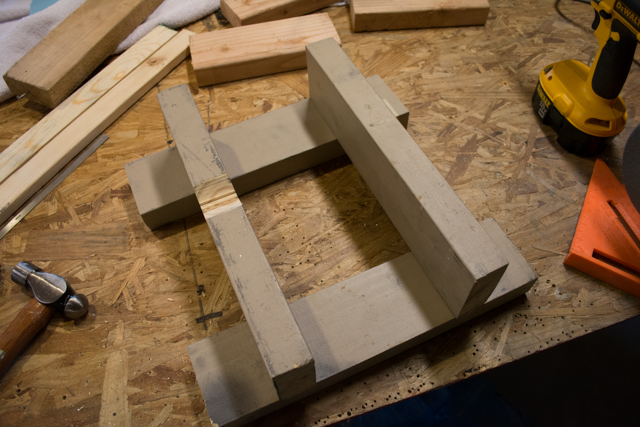
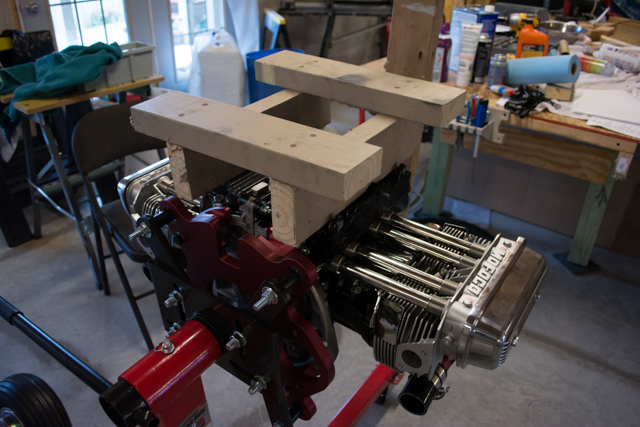
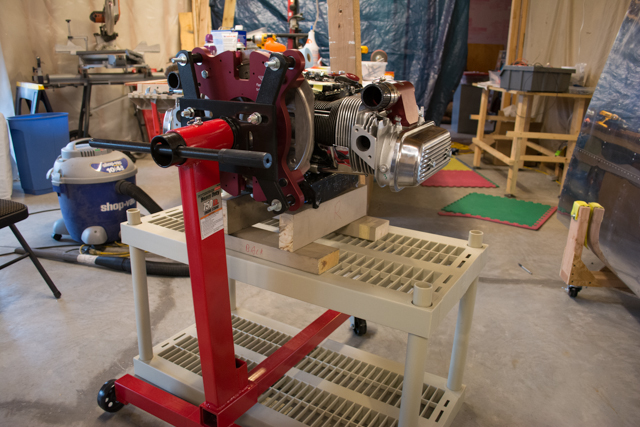
To move forward at this point, I needed to remove the engine from the engine stand. Many builders use a VW engine “rebuild stand” that would give better clearance to the back side of the engine than what I had. I built a wooden rack to support the engine off the stand, since the oil filter protrudes from the bottom.
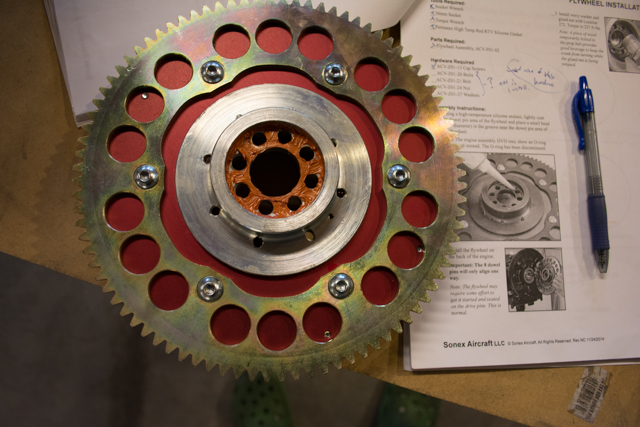
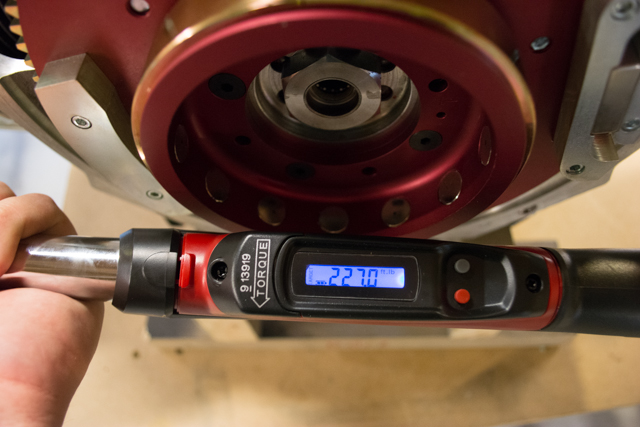
Flywheel installation, including the 227 ftlb torquing of the gland nut.
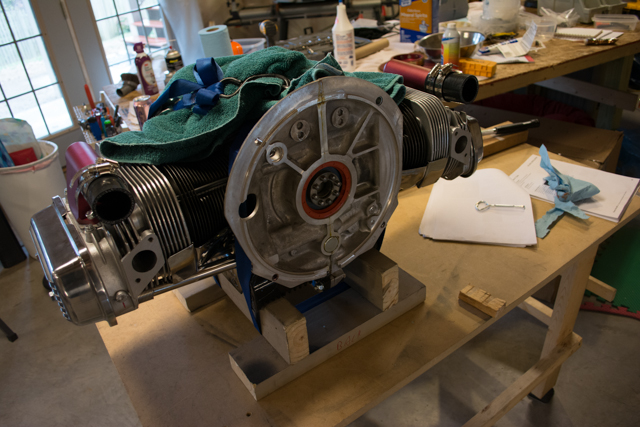
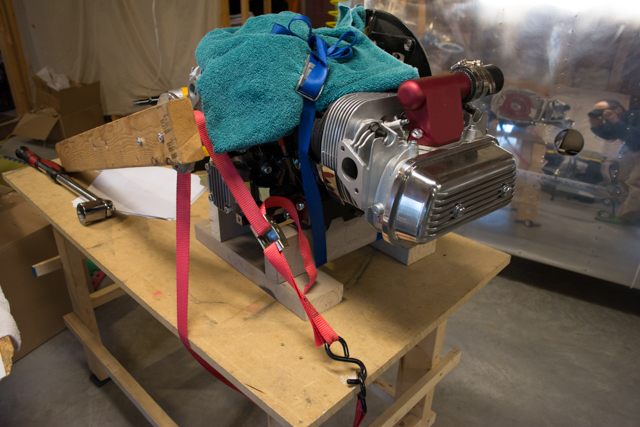
I strapped the engine to the table and used that 2×4 bolted to the prop hub as opposite leverage to torque the gland nut.
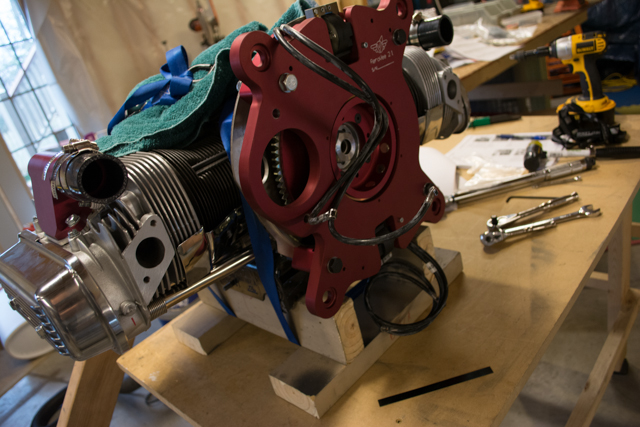
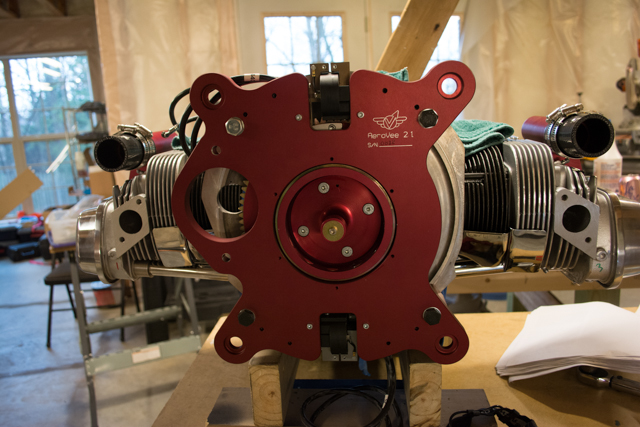
Mounting the accessory plate and magnetos.
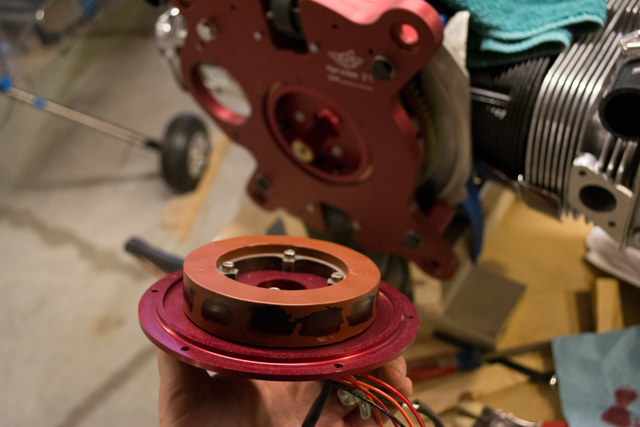
Alternator stator.
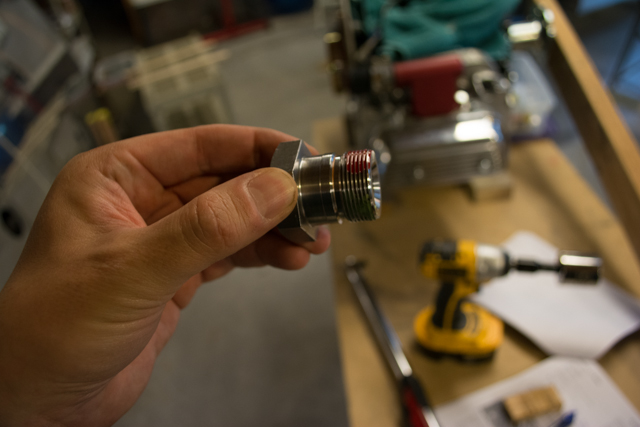
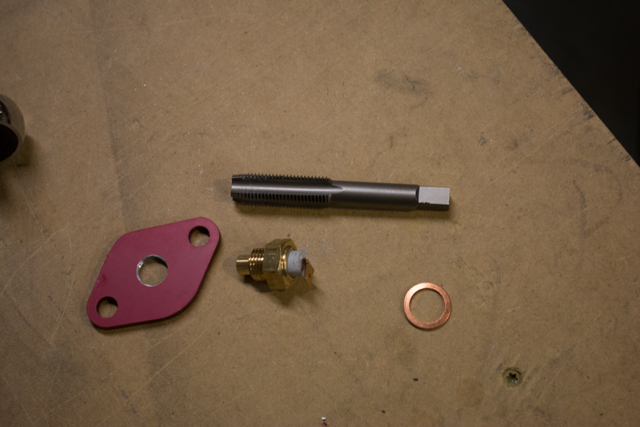
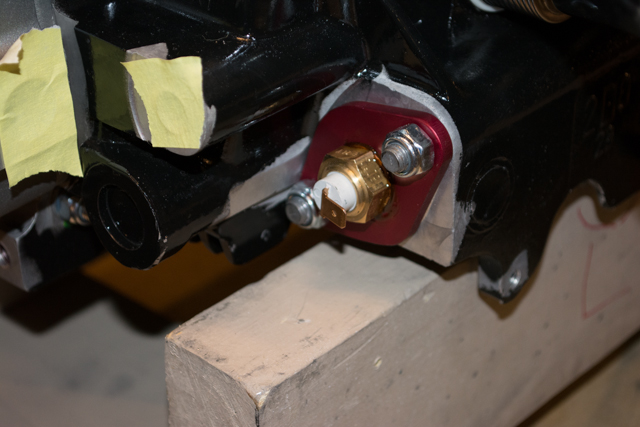
Tapping and inserting the oil temperature probe.
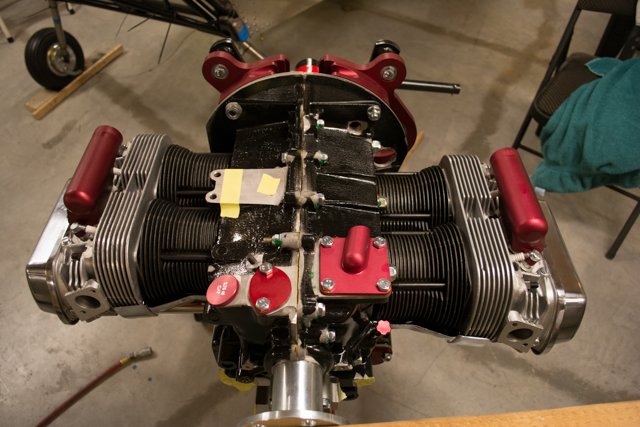
This is as far as assembly goes until the engine is on the airframe. It’s ready to mount!


