Total Build Time: 1060 Hours.
Continuing from my previous post on the cowling, I had to find a solution to the over-sized cowling provided in my airframe kit.
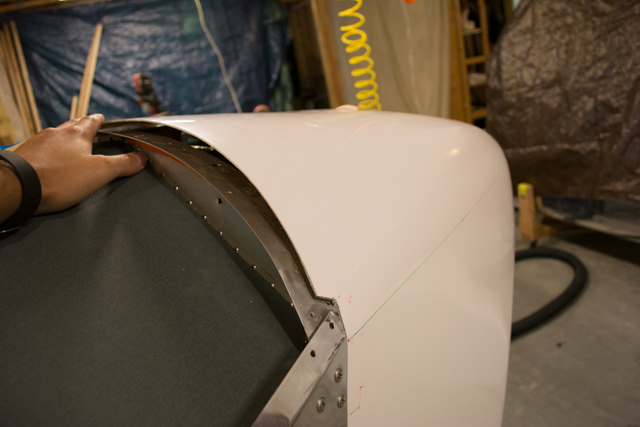
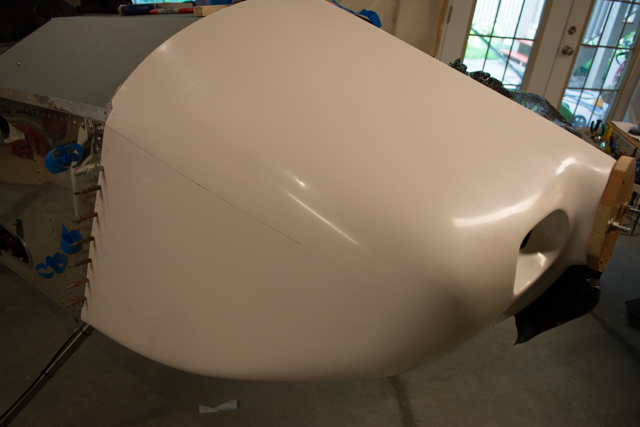
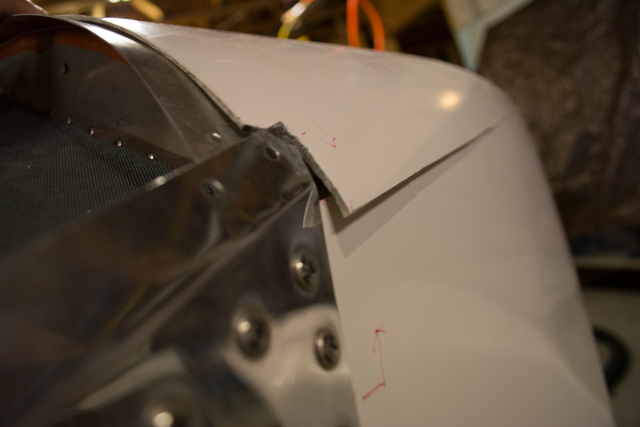
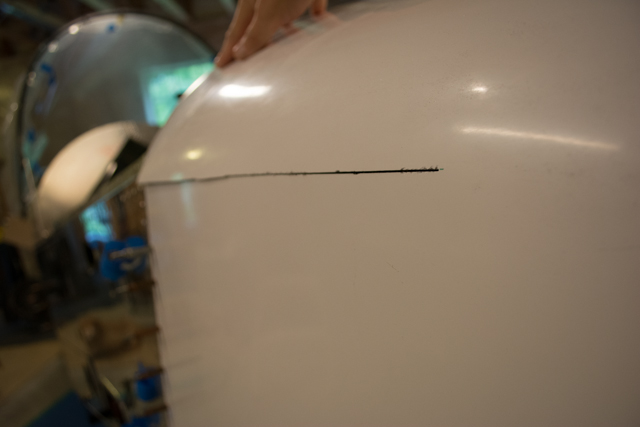
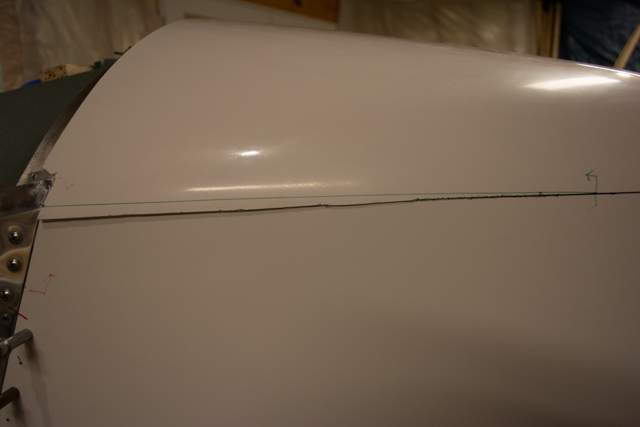
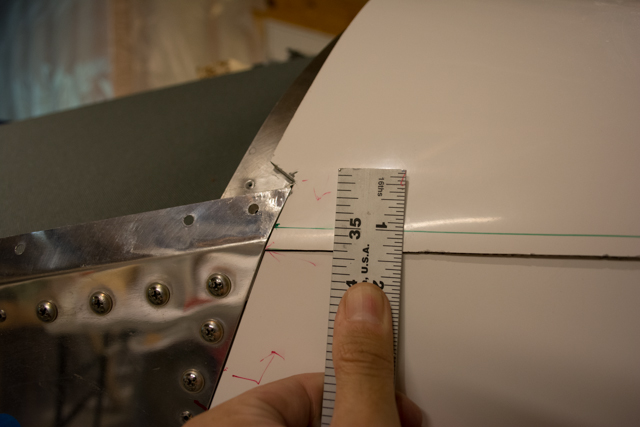
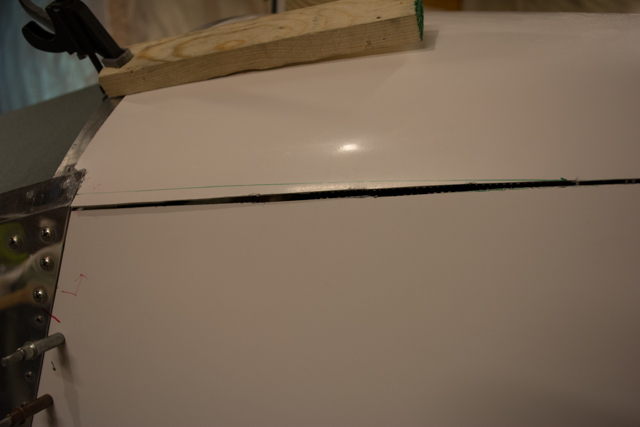
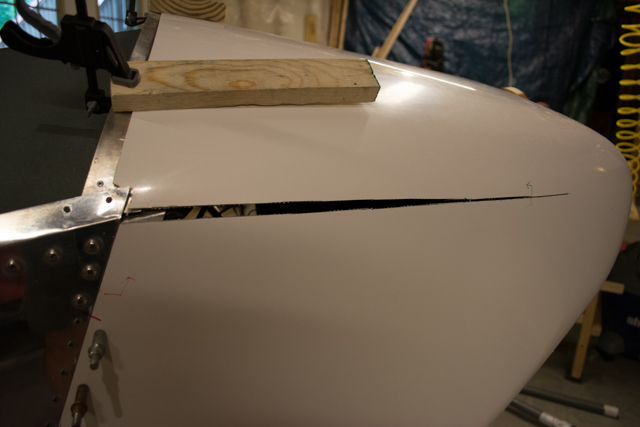
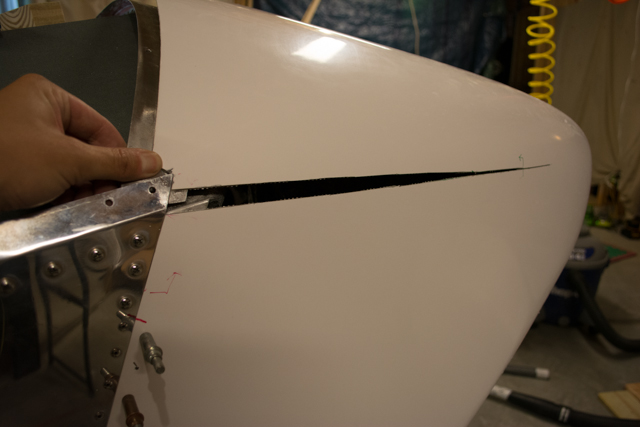
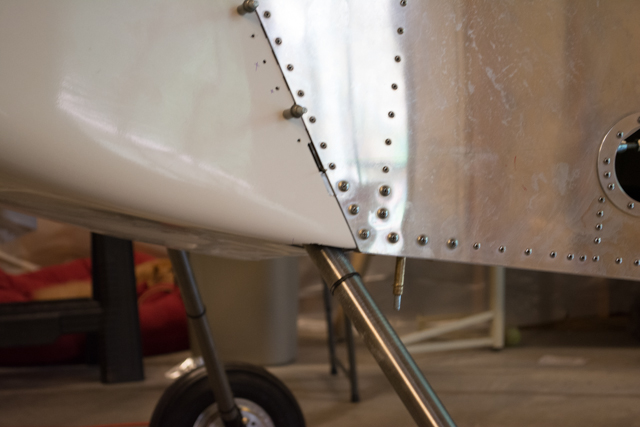
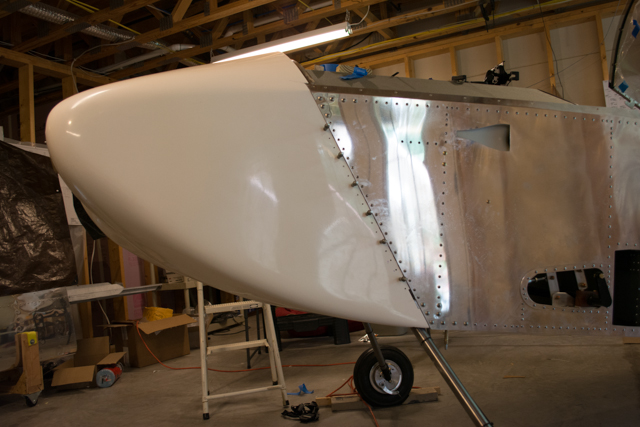
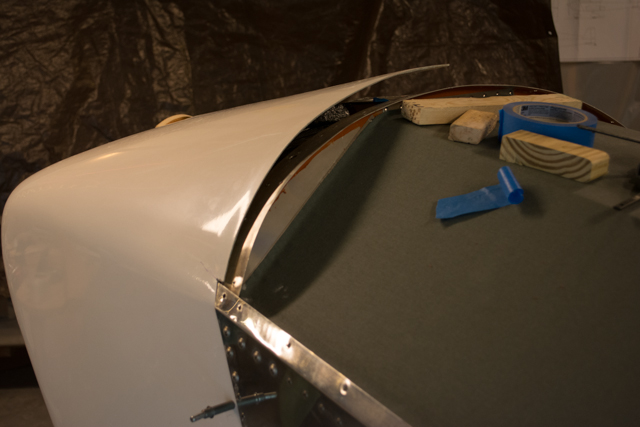
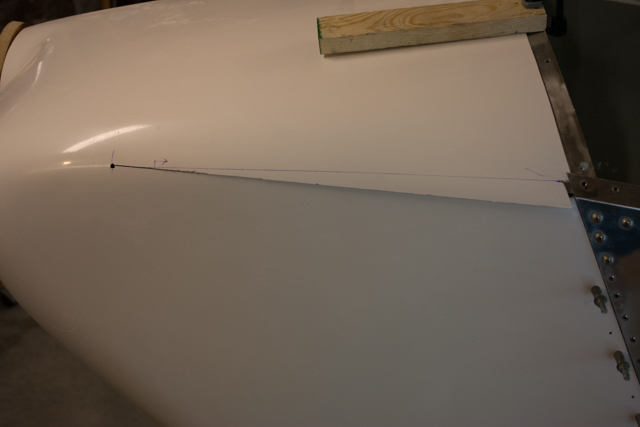
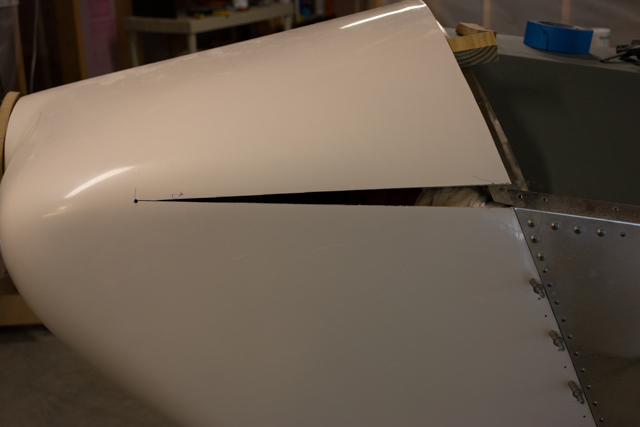
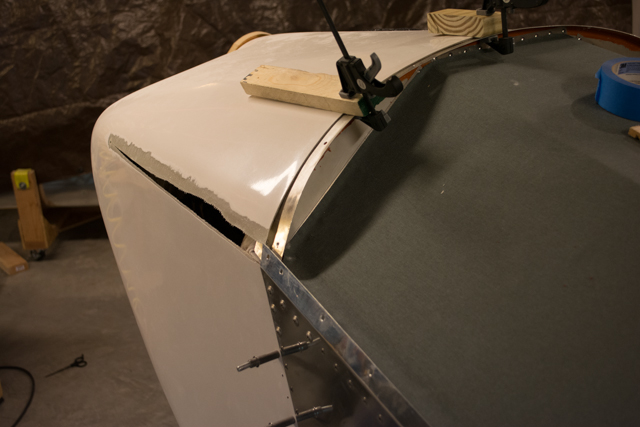
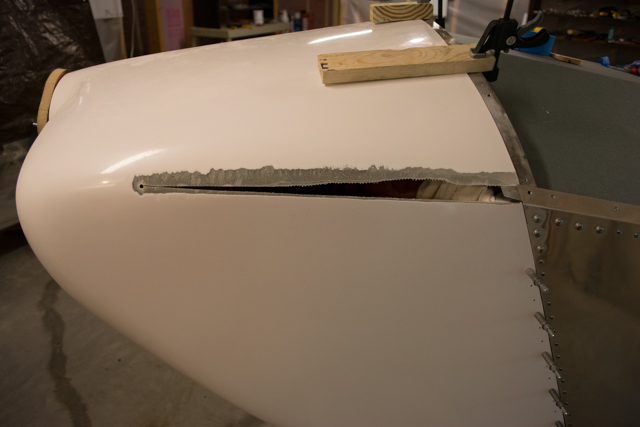
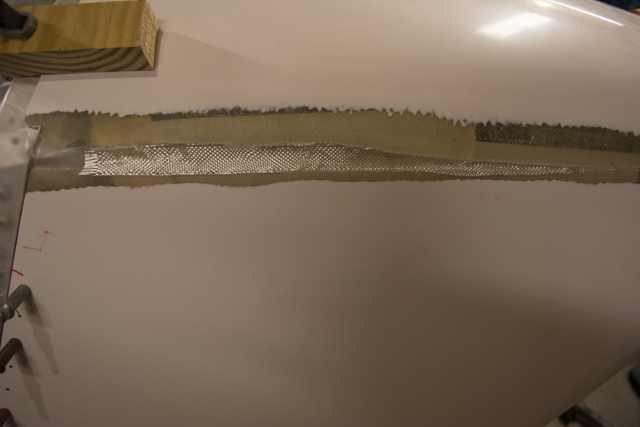
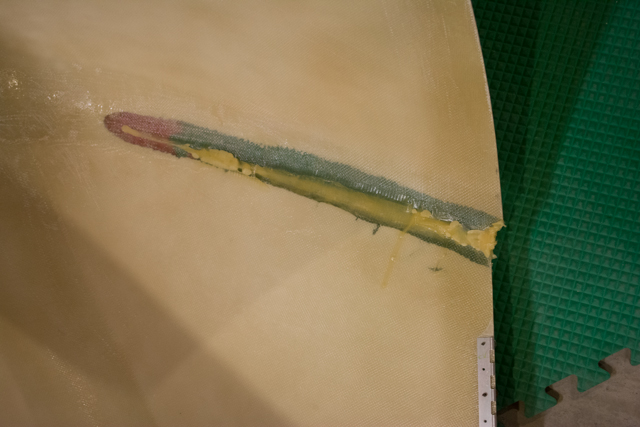
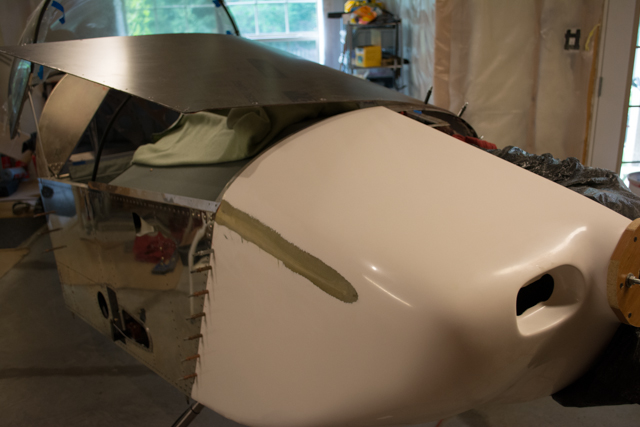
The following sequence of pictures show how I marked a cut line on the side of the cowling, and proceeded to cut a relief line in the cowling itself.
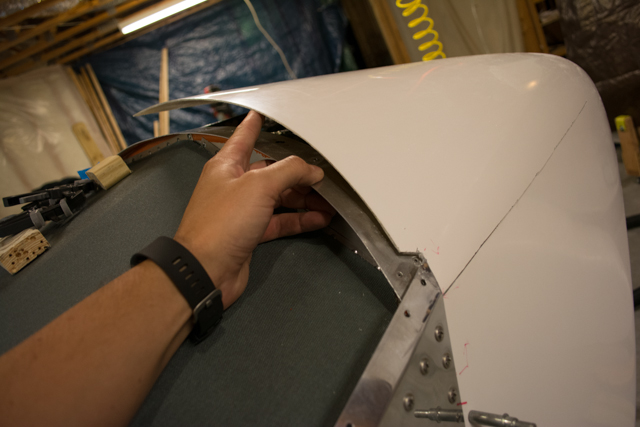
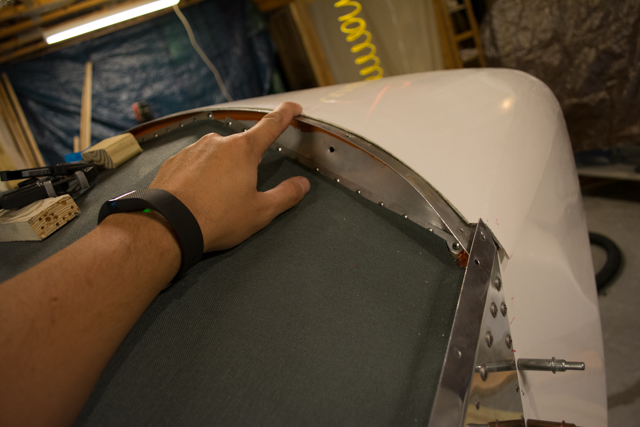
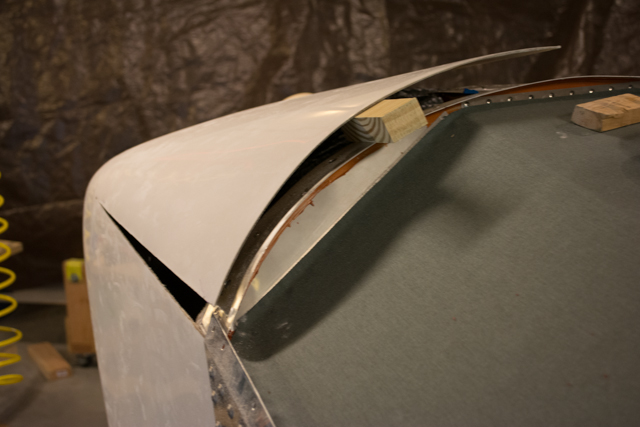
The picture below shows just how much extra material there was.
After the initial cut, it was clear that more material would need to be removed.
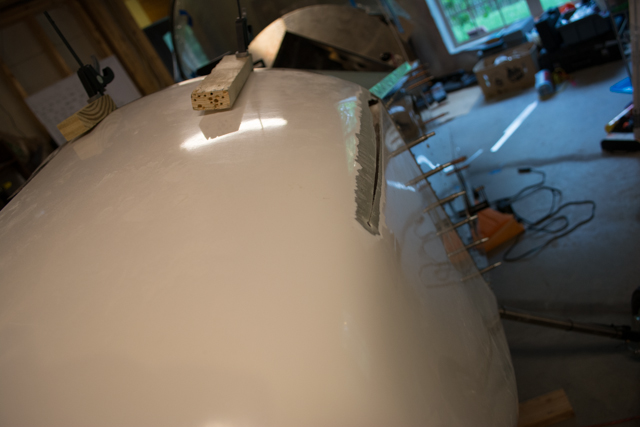
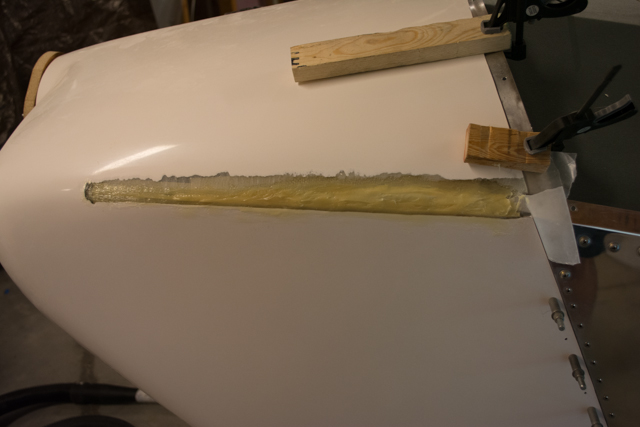
Before I show pictures/details of what steps I took next, I’ll go ahead and post pictures of the left side of the cowling that had to undergo the same procedure.
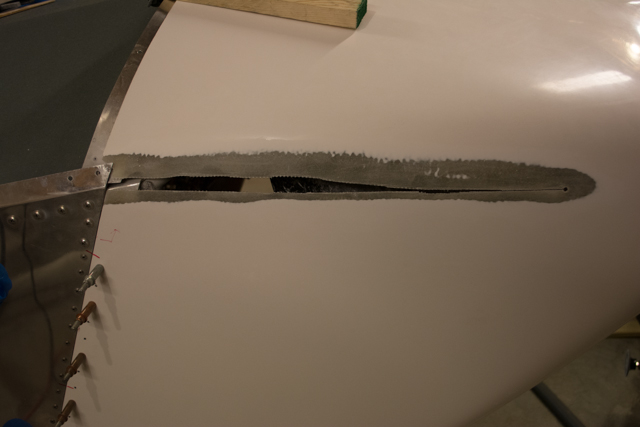
Once I had the relief lines cut, I followed some basic fiberglass repair instructions that I learned about from a combination of sources, including the internet, a knowledgeable associate at West Marine, and the West Systems fiberglass instruction manual. Primarily, to repair a “crack” in fiberglass, you clean up the line of the crack, then sand it down to a sharp “wedge” at a 12:1 radio to allow the addition of material to repair the “crack.” I also needed to sand enough away so that I could fill in a clean rounded edge after the line was repaired.
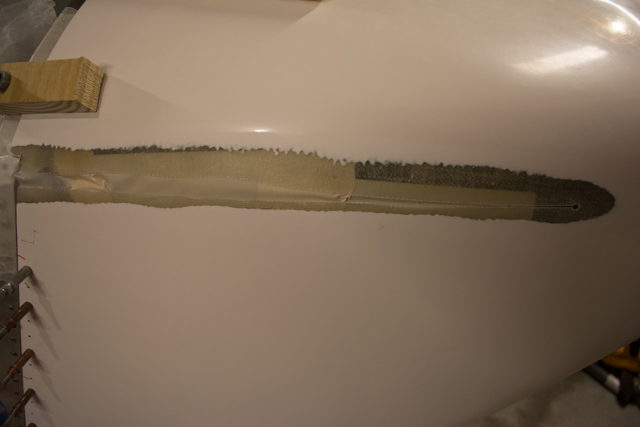
Below are pictures of the sanding process.
Normally when making this type of repair, it’s advised to lay the fiberglass and resin on the back-side of the workpiece first, such that you can finish the outside to a smooth finish. However I did not have this luxury, since the shape of the cowling was only fixed while it was attached to the fuselage, and the internal components did not give me access to the inside of the cowling. Therefore, I would first have to “glue” the cowling into position on the fuselage prior to repairing the seam from the back side.
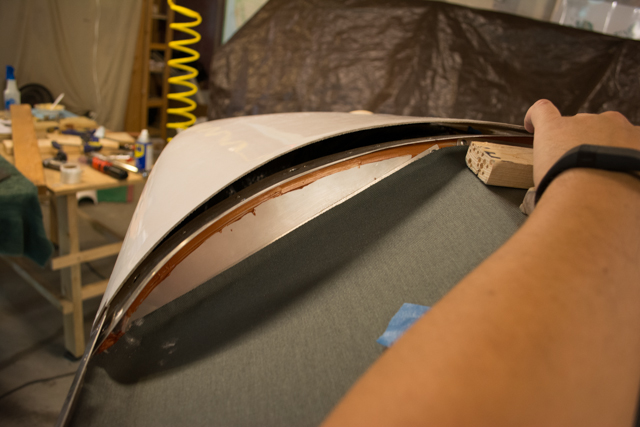
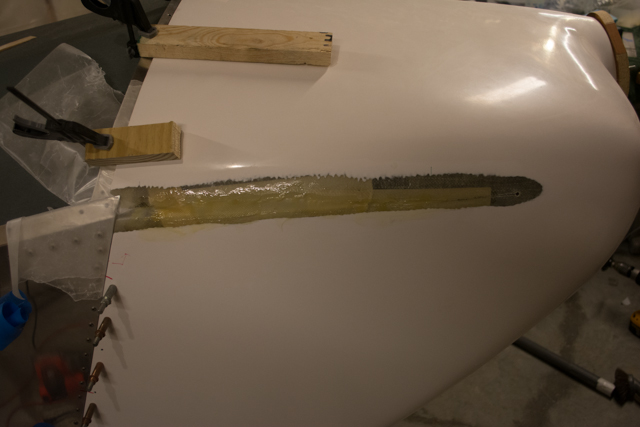
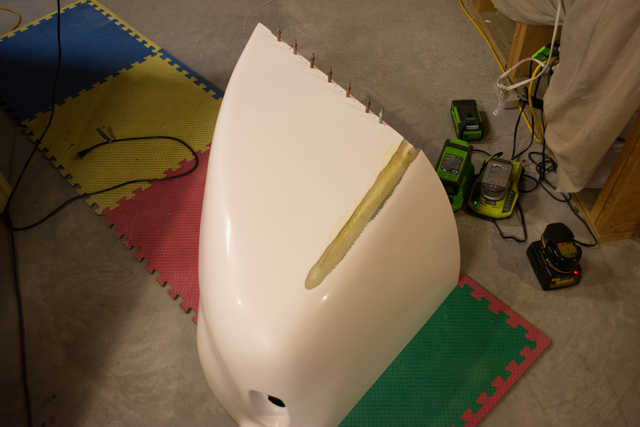
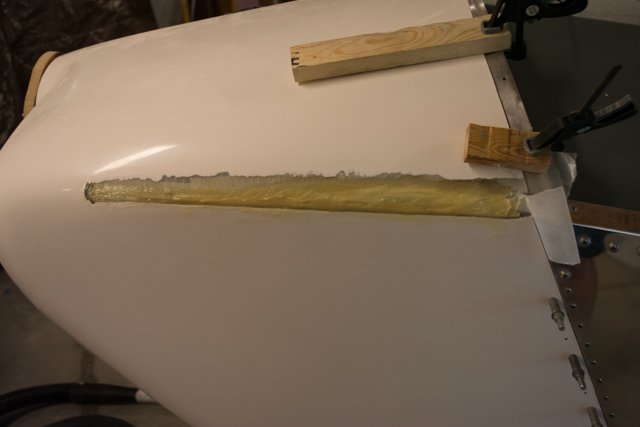
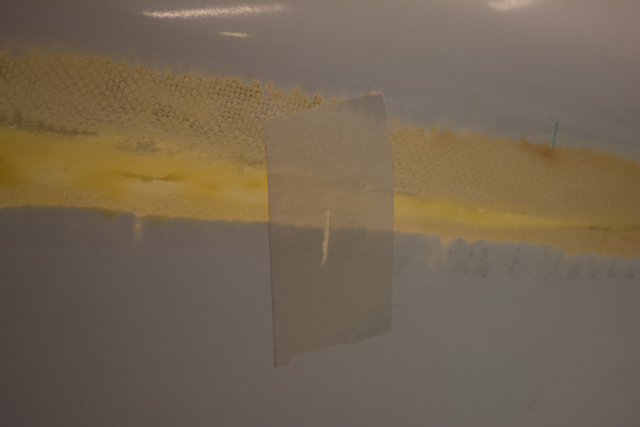
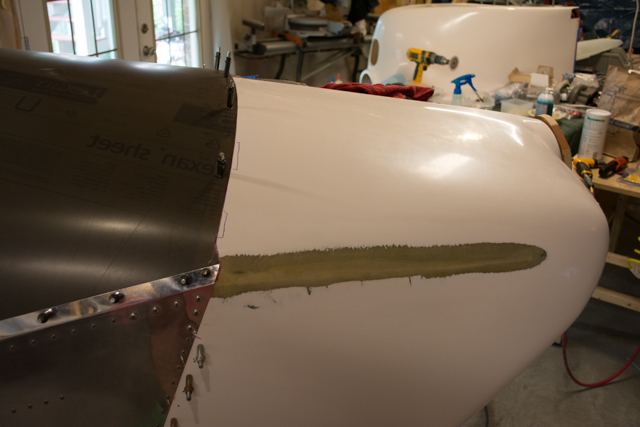
Below are pictures I took of each side of the the cowling, glassing a “temporary” fix into the cowling while it was attached and clamped to the fuselage. Duct tape worked well on the inside of the cowling to prevent drips… it released easily from the resin after it hardened.
Most of the resin that I’m applying at this stage will be sanded away before making the actual repair from the inside. This step was just to “glue” the cowling into the proper position. I clamped everything down and filled the cut.
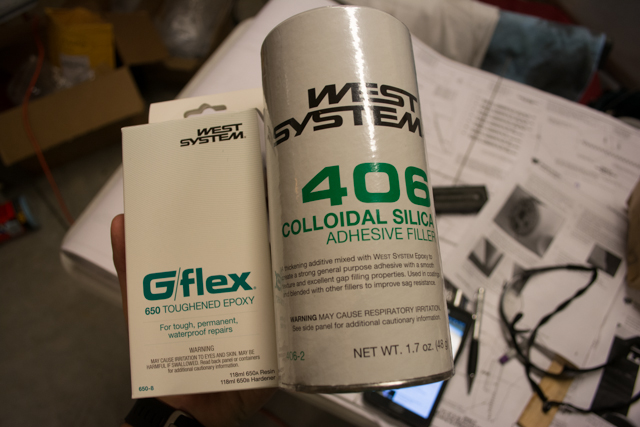
The fiberglass system I used for this was West Systems 650 Gflex , a 1:1 epoxy:hardener that is highly vibration resistant. As a thickener/filler I used West Systems 406 Colloidal Silica additive when laying fiberglass cloth wasn’t appropriate.
I did find that this resin takes a full 24 hours before it can be worked as if it was fully cured.
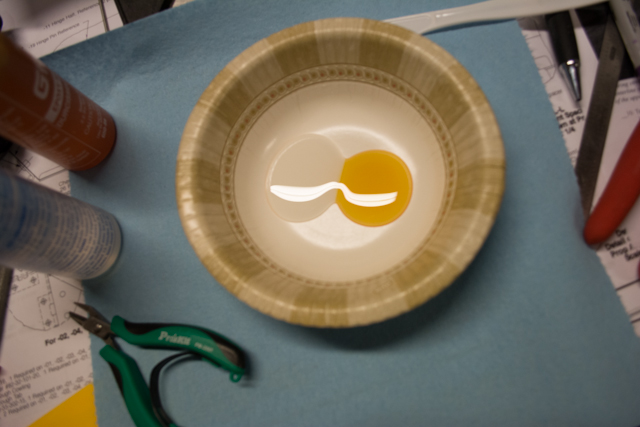
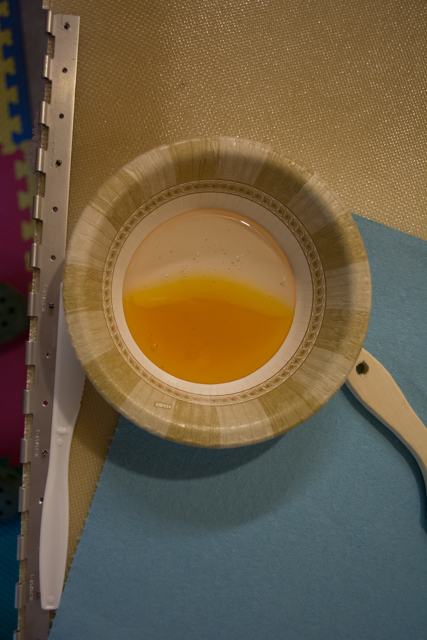
A picture of the resin prior to mixing.
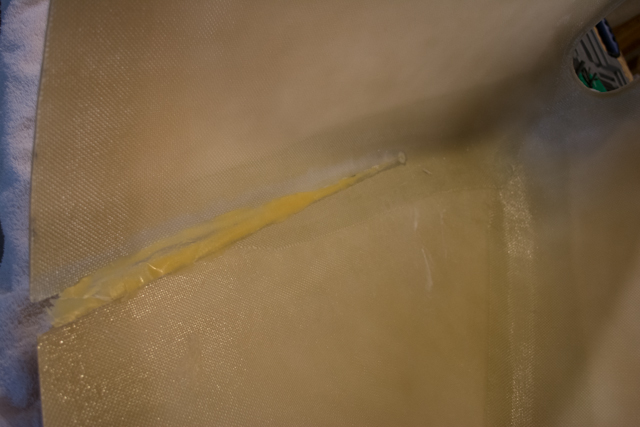
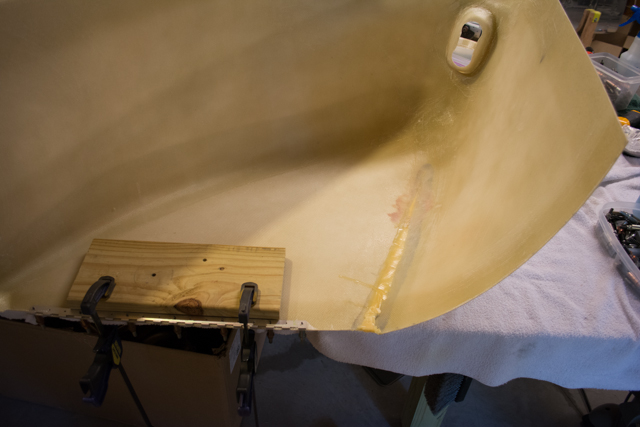
Below are pictures of each half of the cowling once the resin had cured, removed from the fuselage.
I then sanded and cleaned up the inside of each cowling half in preperation for the ACTUAL repair of the cut in the fiberglass. 80 grit sandpaper is a godsend when working with fiberglass… all I had on hand initially was 120 grit and above, but once I bought some 80 grit the removal went much faster.
That said, this whole process was a huge mess in terms of the dust produced and the skin itch/eye irritation that resulted. Wear protective equipment and be prepared for the very large mess. Thankfully, the West Systems Gflex resin was relatively odor-free when mixing and applying.
I’ll note here that I got overzealous when sanding the inside with an angle grinder and actually cut a line in the fiberglass. One nice thing about fiberglass is, given time and materials, pretty much any repair is possible.
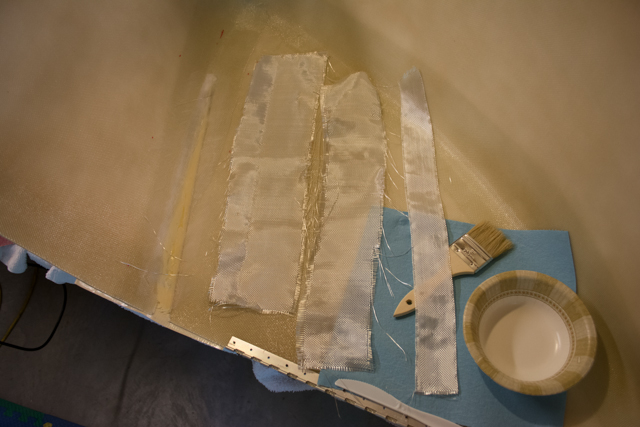
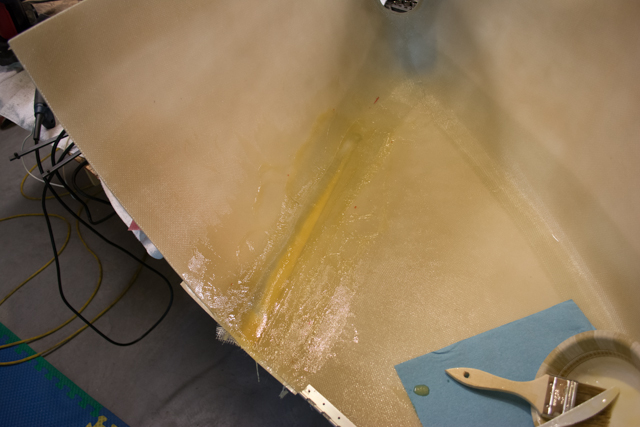
Next I made the repairs using 3 layers of fiberglass cloth and the West Systems Gflex resin.
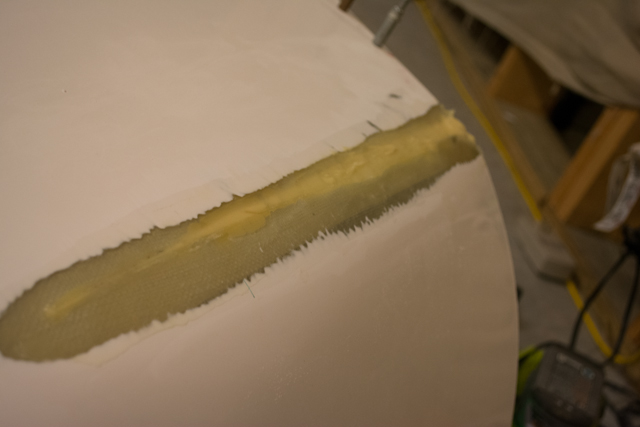
The cured and sanded result.
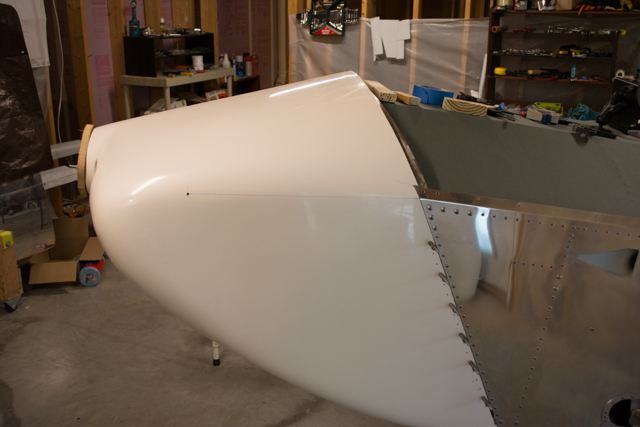
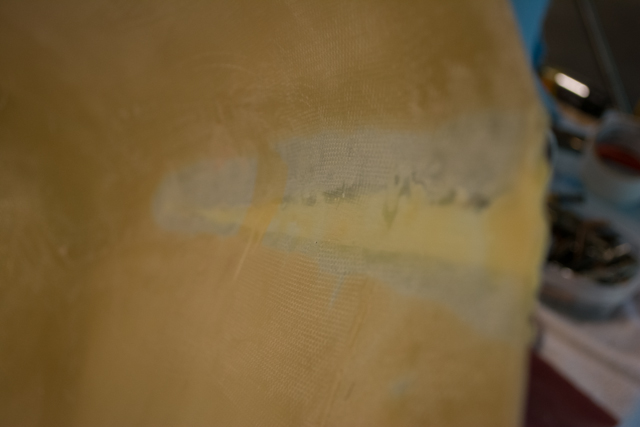
Once the inside repair was complete, I made 2 more passes on the outside of the cowling using the Gflex resin and the 406 filler with sanding in between. The result was a nicely finished repair and a properly shaped cowling.
Next comes the remainder of cowling fitment and installation…


