Total Build Time: 1180 Hours
I’ll start this post by just saying that as the aircraft build reaches its final stages, there are a plethora of details that have to be addressed. Some issues I’ve solved recently:
-Both of the magnetrons provided in my engine kit were faulty, in the sense that they could not be turned off (they were always hot/active.) Aeroconversions provided me with a new set of mags that are now working perfectly.
-My secondary ignition system was not working for my initial engine startups because I had reversed a pair of wires going to the ignition coils. I fixed the problem and they now work fine.
-I made adjustments to my mixture needle / aeroinjector setup (engine was running very rich) that are working well and I am now ready to fine tune my carb for optimal engine performance.
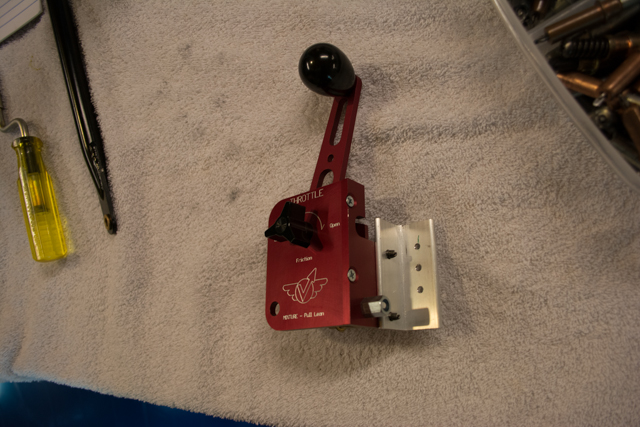
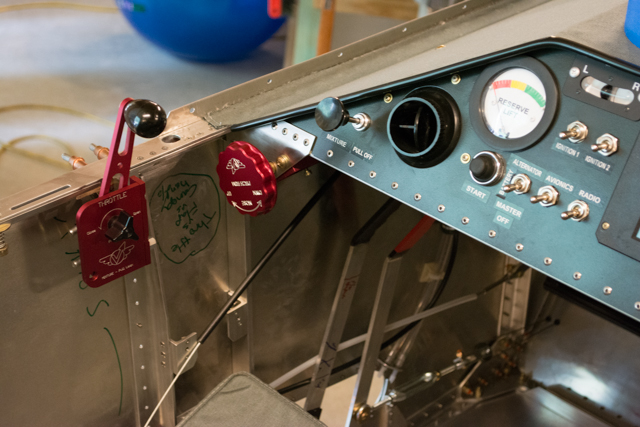
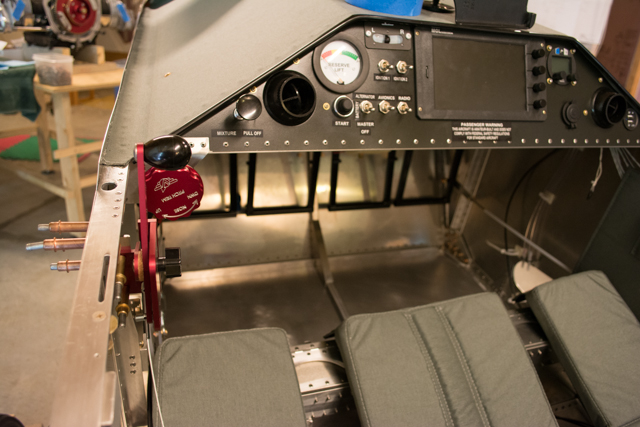
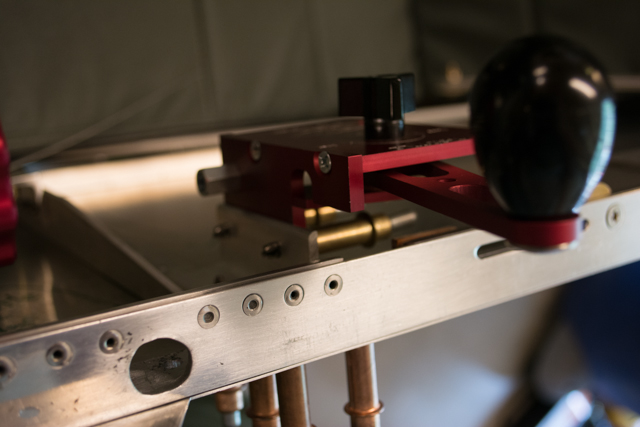
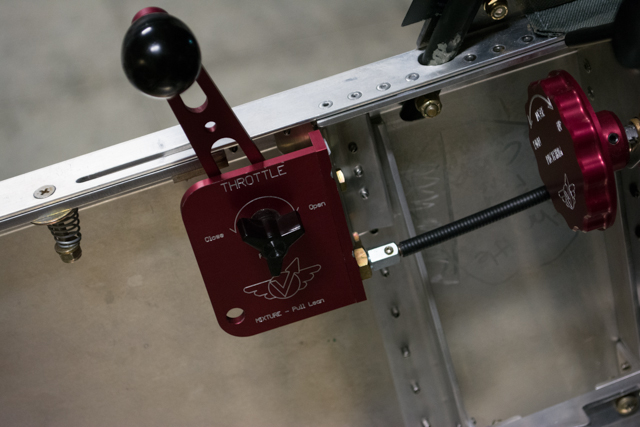
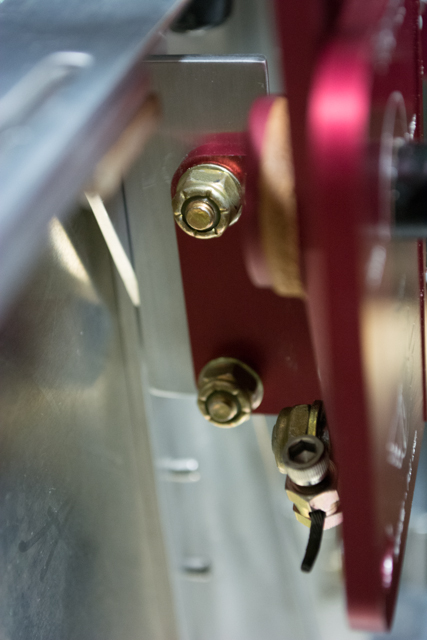
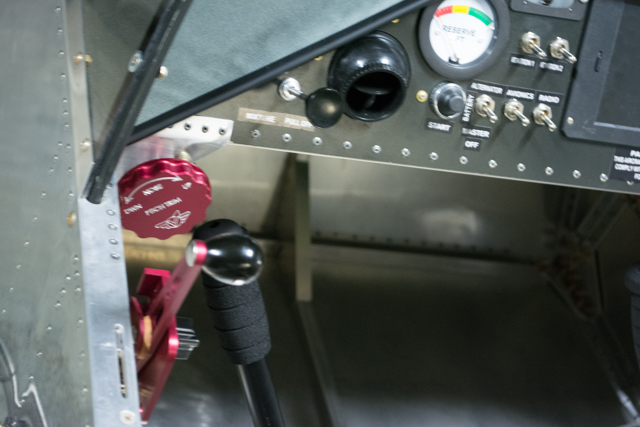
My throttle is mounted near the top left longeron in the cockpit. To do this I fabricated an angle that is riveted to the aft wing attachment angle on the left side of the fwd fuselage.
The throttle and mixture cables are secured together and run together into the Aeroinjector.
Here are pictures of the throttle riveted and bolted in place.
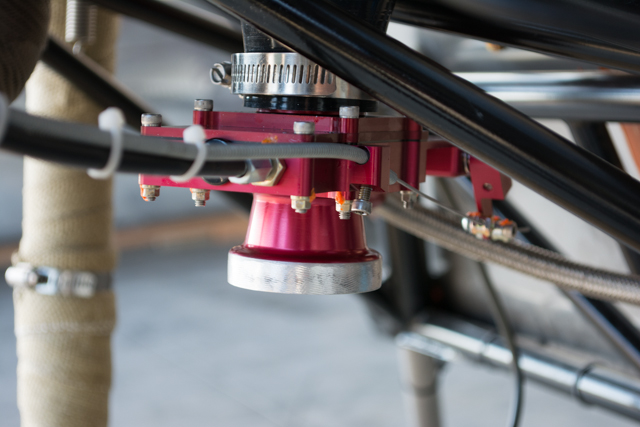
The air filter provided by Aeroconversions was not a perfect fit with the Aeroinjector (too tight.) I started by sanding down the bell of the Aeroinjector.
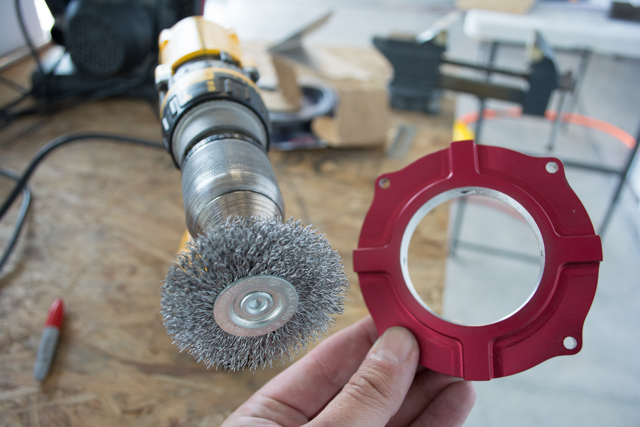
However this did not provide enough relief to fit the filter onto the intake bell. I started small with sandpaper and scotch-brite but it wasn’t enough, so next I used a wire wheel in my drill to essentially ream out the inside of the air filter attachment.
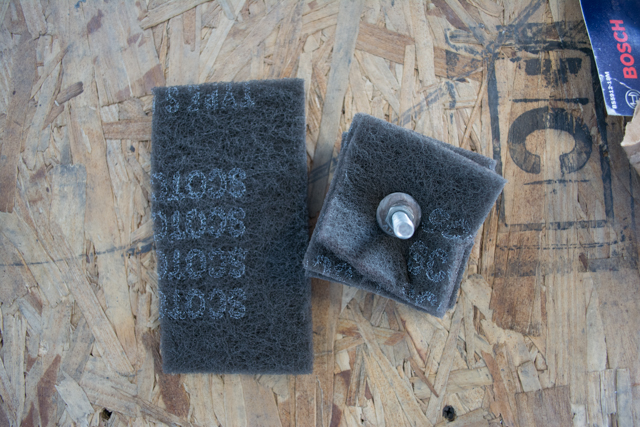
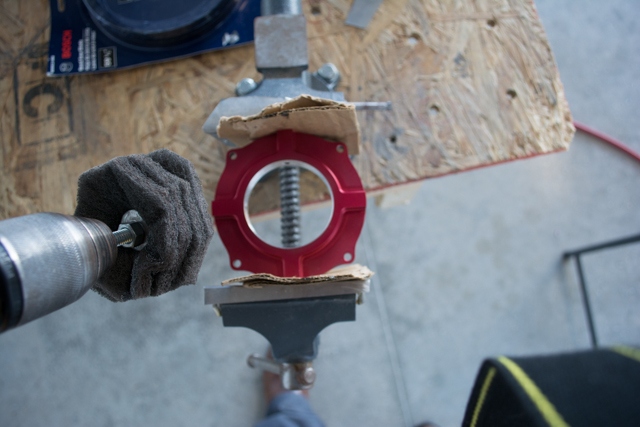
Once I was near a good fit, I created a new apparatus from several layers of cut-out scotch brite pads with a through bolt to create a spinning disk to smooth out the inside of the air filter attachment.
Once done, the air filter fit snugly onto the Aeroinjector and I was able to complete the installation.


