Total Build Time: 730 Hours.
With my wings still attached, I decided to do as much as I could before removing them once again. Space in my basement is limited, so eventually I will need to remove the wings both to continue working, and to get the plane out of the basement at the end of the project.
I pinned the flaps and ailerons to the wings, and inserted the push-rods to connect everything together. One thing that surprised me at first was that the right-side flap push-rod ends up needing to be a bit longer than the left-side flap push-rod. This is because the right wing actually sits slightly behind the left wing (due to the overlapping main spars), and is normal.
Here is a video showing the operation of my flap and aileron controls. Ruddervator and rudder controls will be done at a later time, since I’m not yet ready to rivet the stabilators into position, and they do not require the wings to be attached.
I did run into an issue when fitting the stick-to-idler push-rod on the control stick assembly.
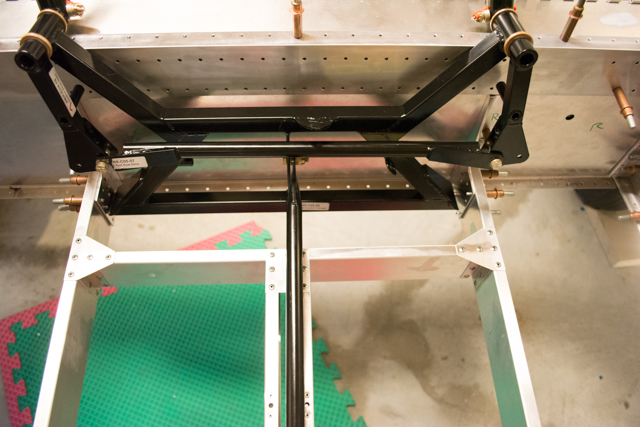
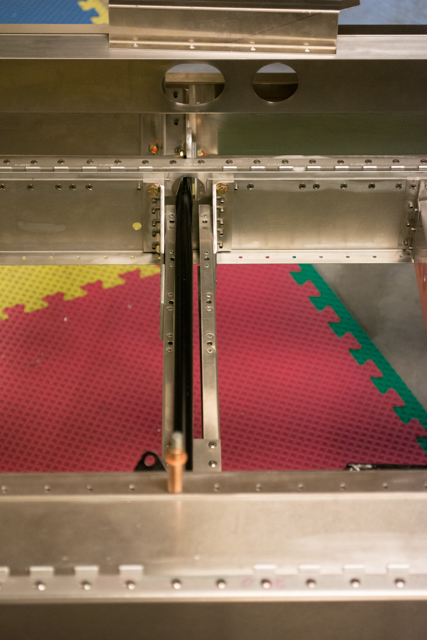
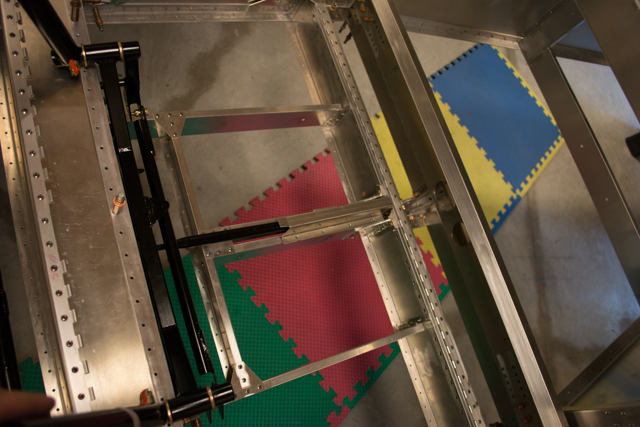
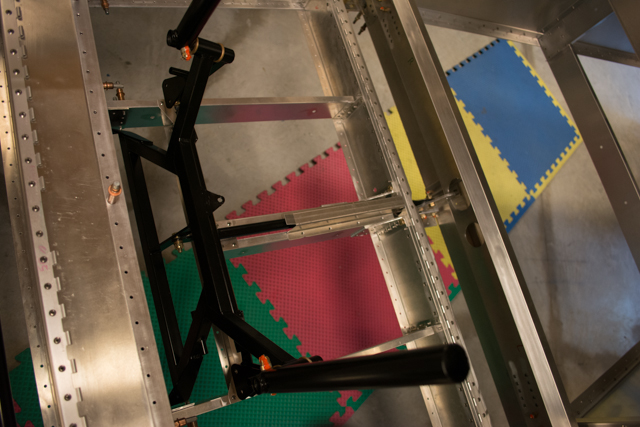
I noticed right away that if I put the stick-to-idler pushrod on the co-pilots side of the control stick assembly (as the plans show), it did not align correctly. It would have been impossible to put into place the “hat” that covers the pushrod when the seat is in place.
However this was solved by connecting the pushrod to the pilots side. It seems fairly obvious that this is the only way it will fit, so I’m not sure why the plans indicate otherwise. These pictures show the pushrod and the “hat” in place.
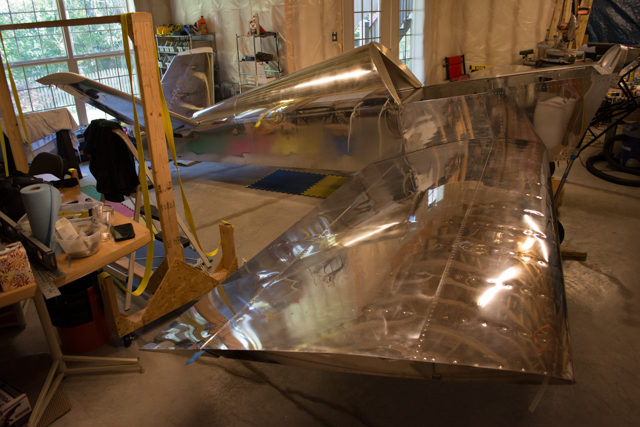
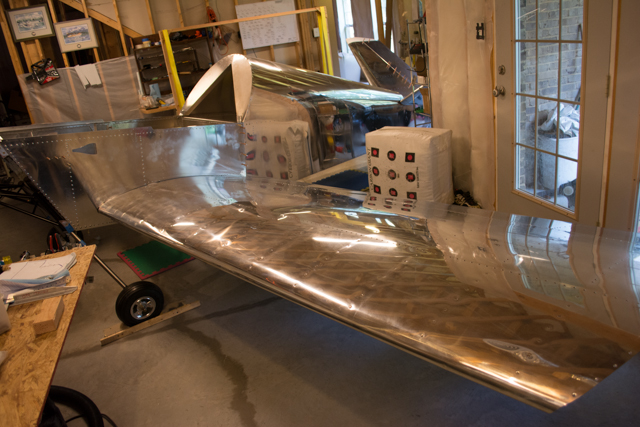
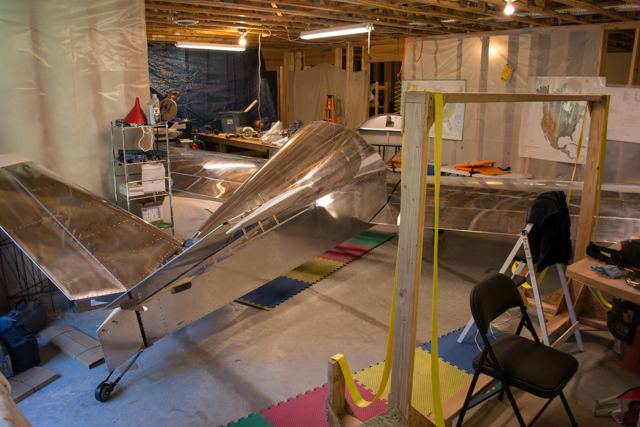
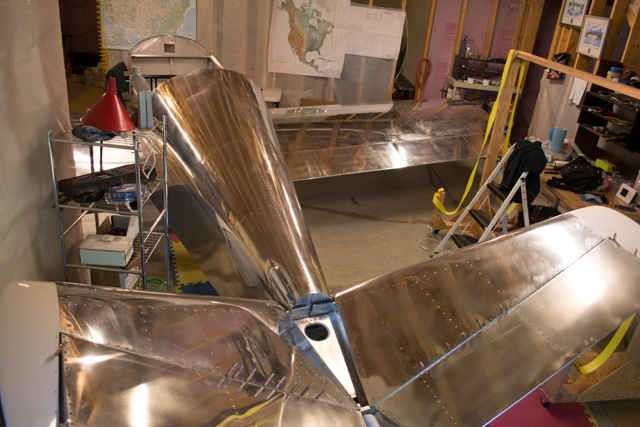
Finally, here are some glory shots of my Waiex with wings and flight controls attached.


3 Responses to Fuselage Completion #8 (Flight Control pre-rigging, VIDEO)