Total build time: 866 Hours.
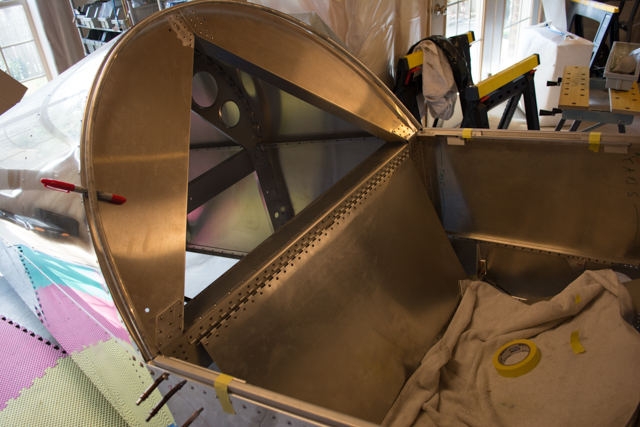
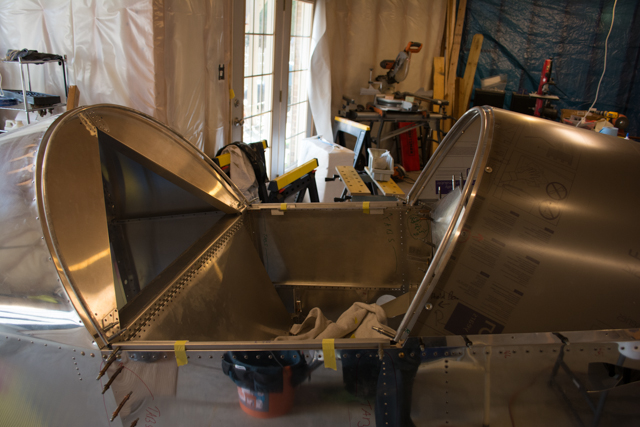
With my Mom and Bill in town for the week, I wanted to use their extra sets of hands to help me with moving and fitting the plexiglass canopy. I began by preparing the canopy frame. I’m actually installing a swing-back style canopy which I will detail more in another post.
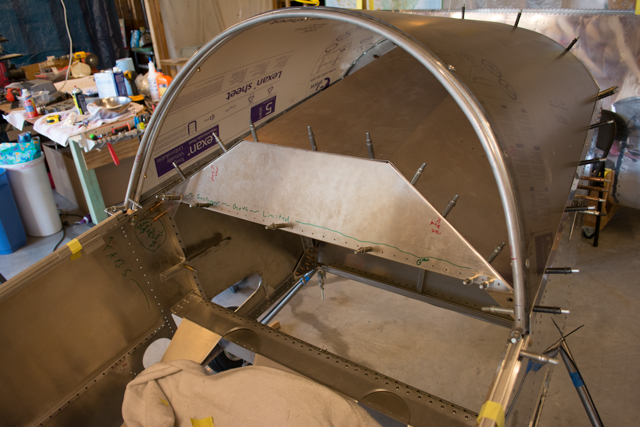
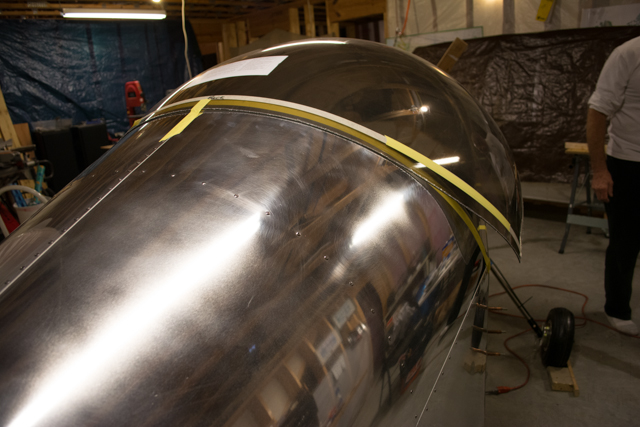
I cut and bent the frame bows to fit the contour of the windshield and turtledeck. These bows were a lot easier to bend (being hollow) than the windshield bow was.
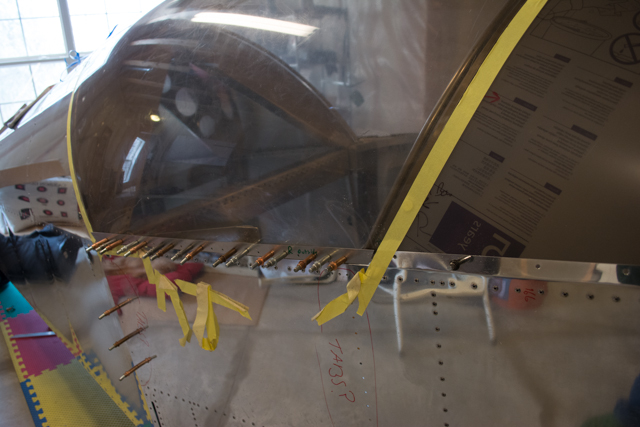
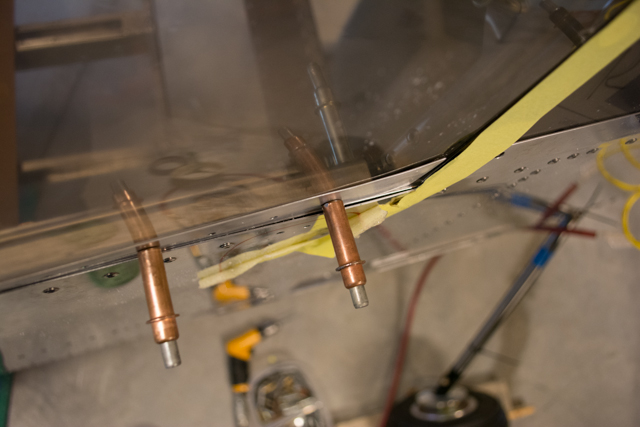
I added an additional rivet hole on the inside of the bow corners, which would allow me to use a cleco to hold the frame in position while fitting the canopy. I didn’t rivet the frame yet because I wanted to be able to clean out all of the debris after drilling all of the rivet and screw holes for the canopy.
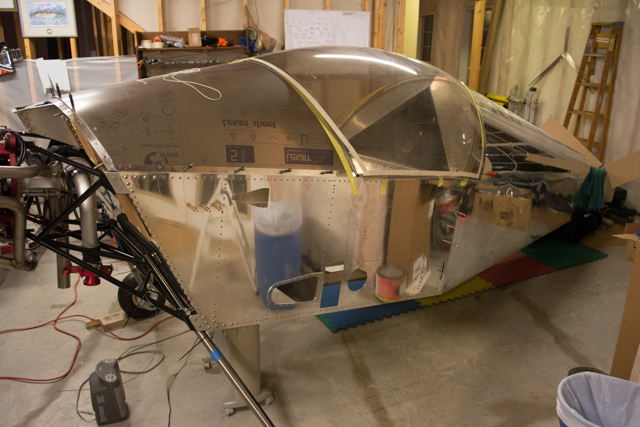
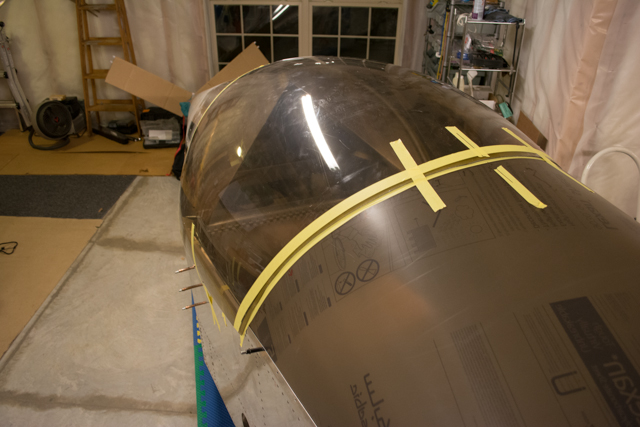
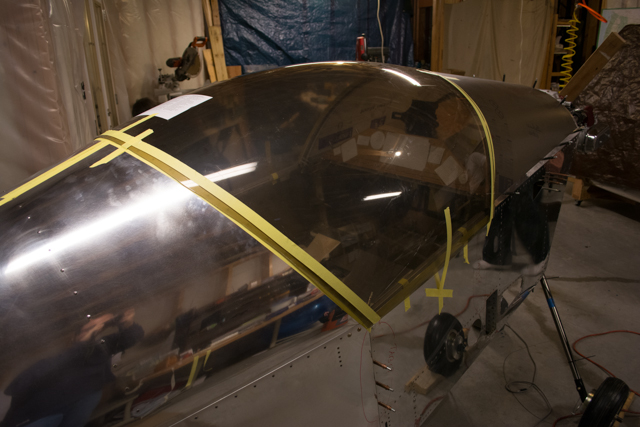
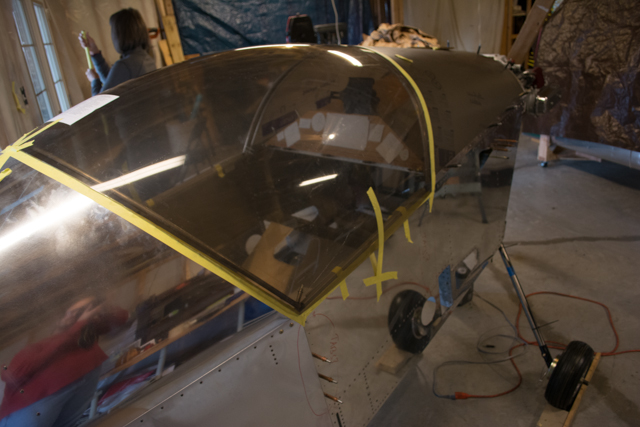
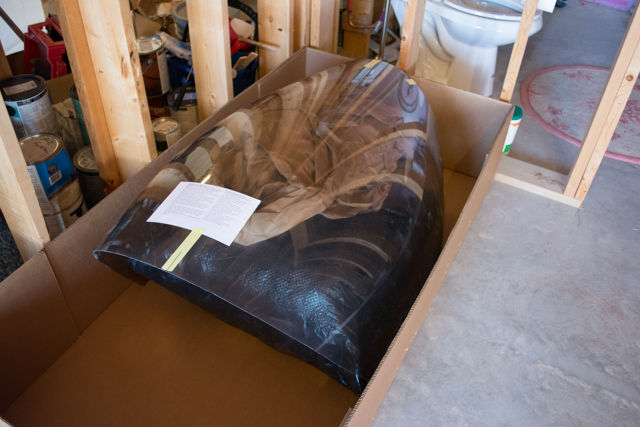
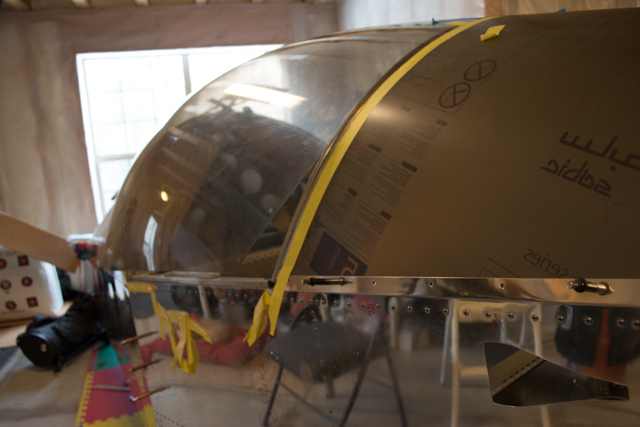
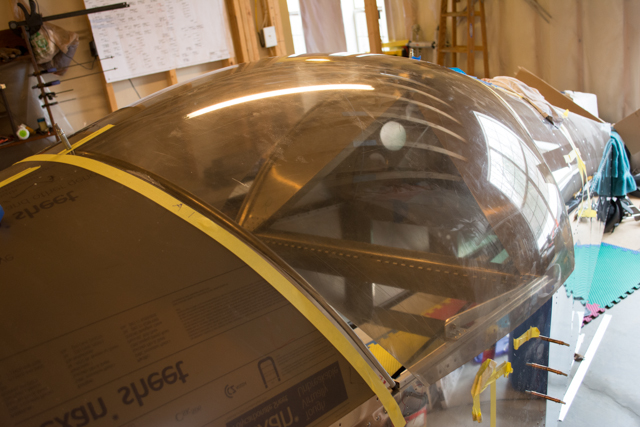
Next, the canopy was carefully placed into position for the initial marking and trimming.
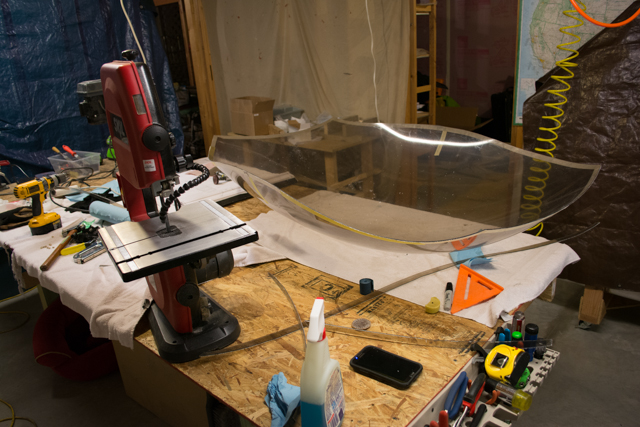
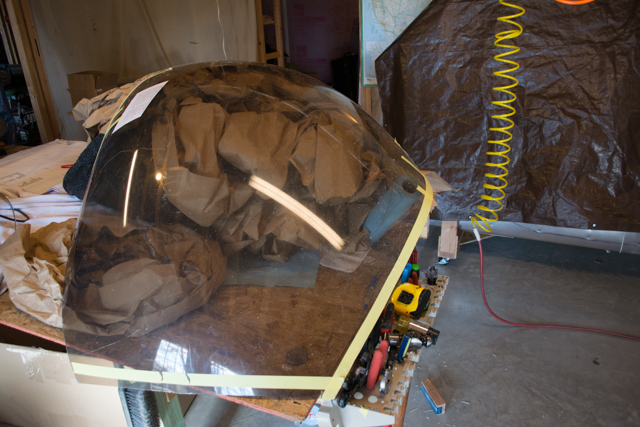
Initial trim cuts were done with a band saw.
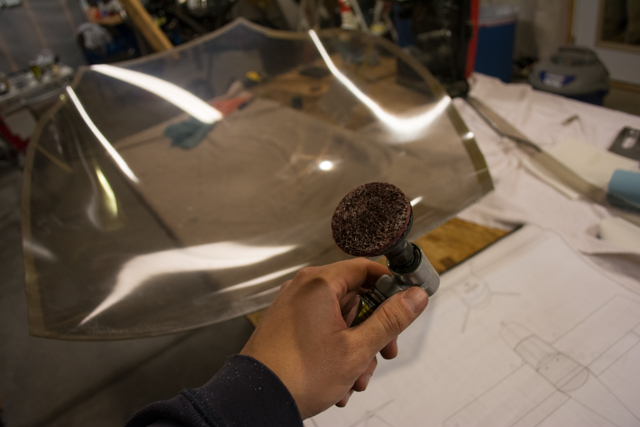
When cleaning up the band saw cuts I tried a variety of tools, and I found the best tool was a scotch brite pad in a die grinder. It removed material relatively quickly (by melting it away and leaved a nice clean edge to be finished with fine sandpaper.) I would actually use this tool for ALL of my trimming after the first 2 cuts on the band saw. My only wish is that I had bigger pads to work more quickly. I wore out the pads fairly quickly but they were cheap to replace.
This process repeated for what seemed like forever…. mark canopy, remove canopy, trim canopy, reinstall canopy, mark canopy… etc.
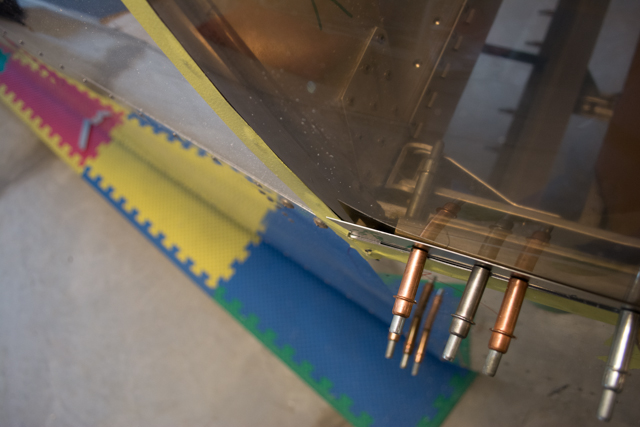
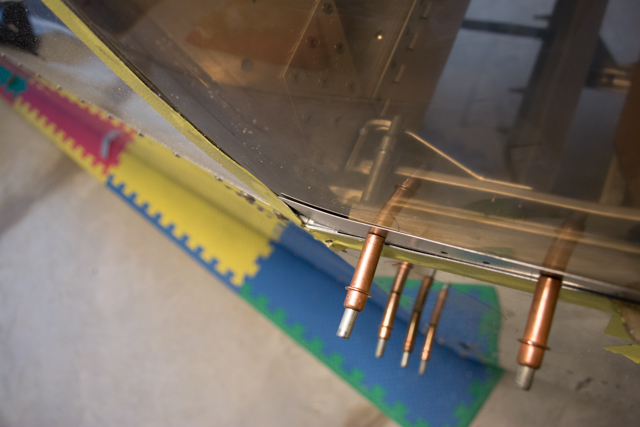
Up until this point, I just had the canopy bows in position to use for fitting. As the canopy got closer and closer to final size, I decided to stop trimming and wait for the canopy frame to be completed (with latches and swingback mechanism.) I’ll detail the swingback mechanism in a different blog post.
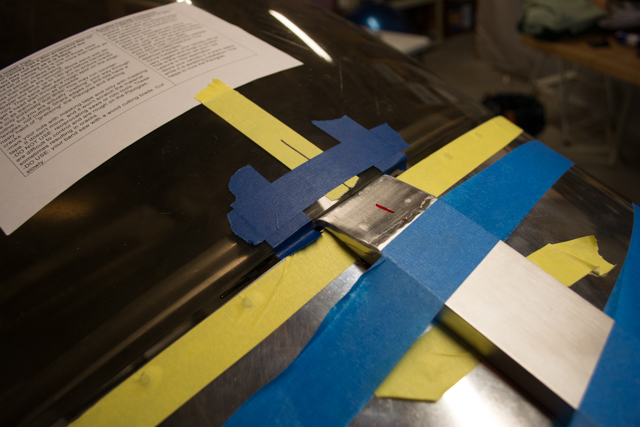
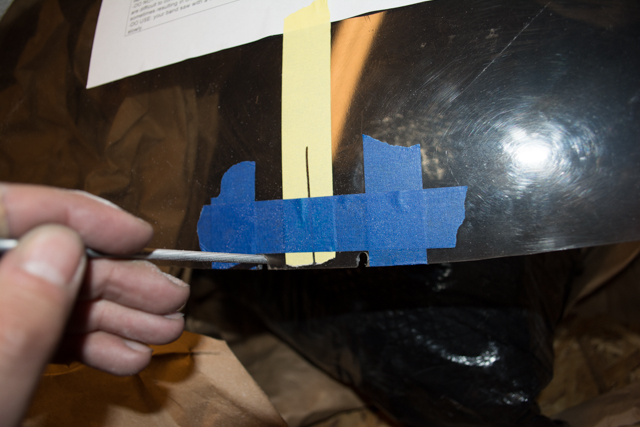
Once I had the canopy frame ready, the canopy went back on for more trimming. I made a notch in the plexiglass for the middle arm of the swingback mechanism.
More trimming… seemed like an endless process. Every time I thought it was a final trim on one edge, another edge needed trimming.
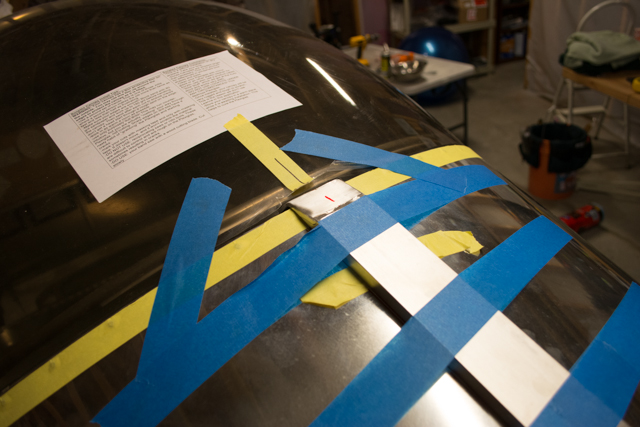
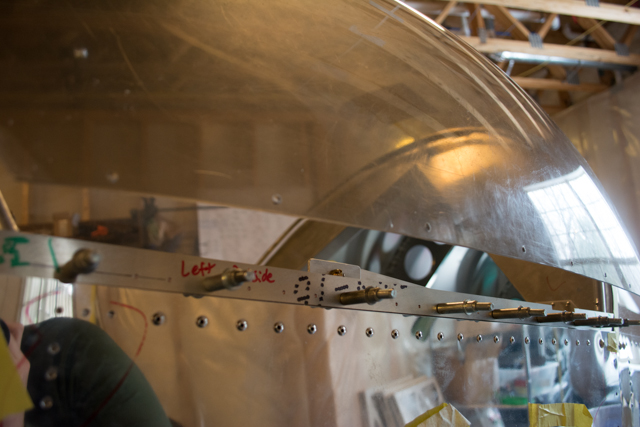
Since the swingback canopy doesn’t use a piano hinge on the right side, I had Bill fabricate another strap (identical to the one on the left side) to hold the plexiglass to the frame with rivets.
I put bends in those straps to help them stay flush with the canopy.
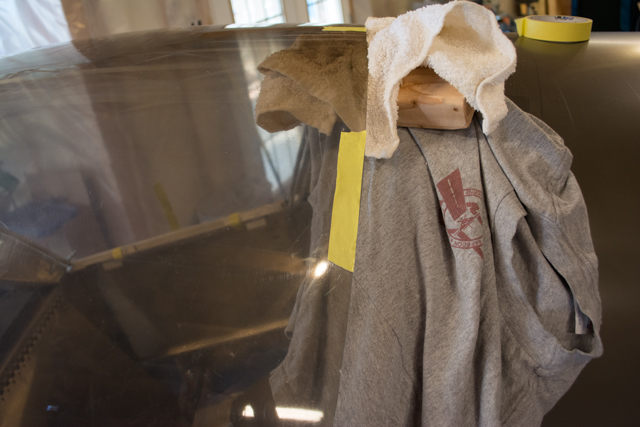
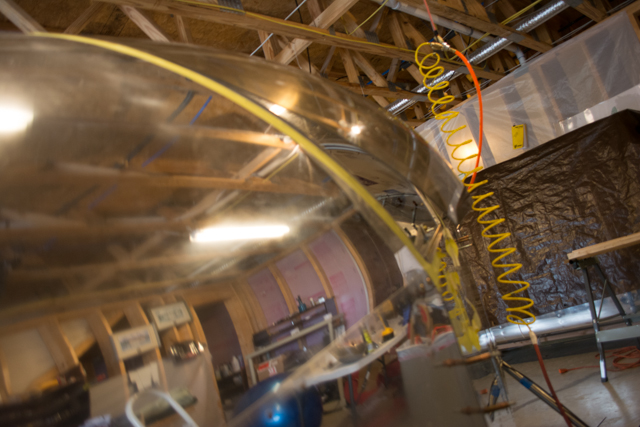
Trimming the canopy was an exercise in patience. I must have removed the canopy for trimming 30-40 times before it was done, each time being quite a messy process.


One Response to Fuselage Completion #12 (Canopy frame, trimming)